# https://kkb-mmmut.github.io/messageMe/
React Js
HTML/CSS/JSX
JS
React Hooks/Routing
Using Authentication by JWT Token.
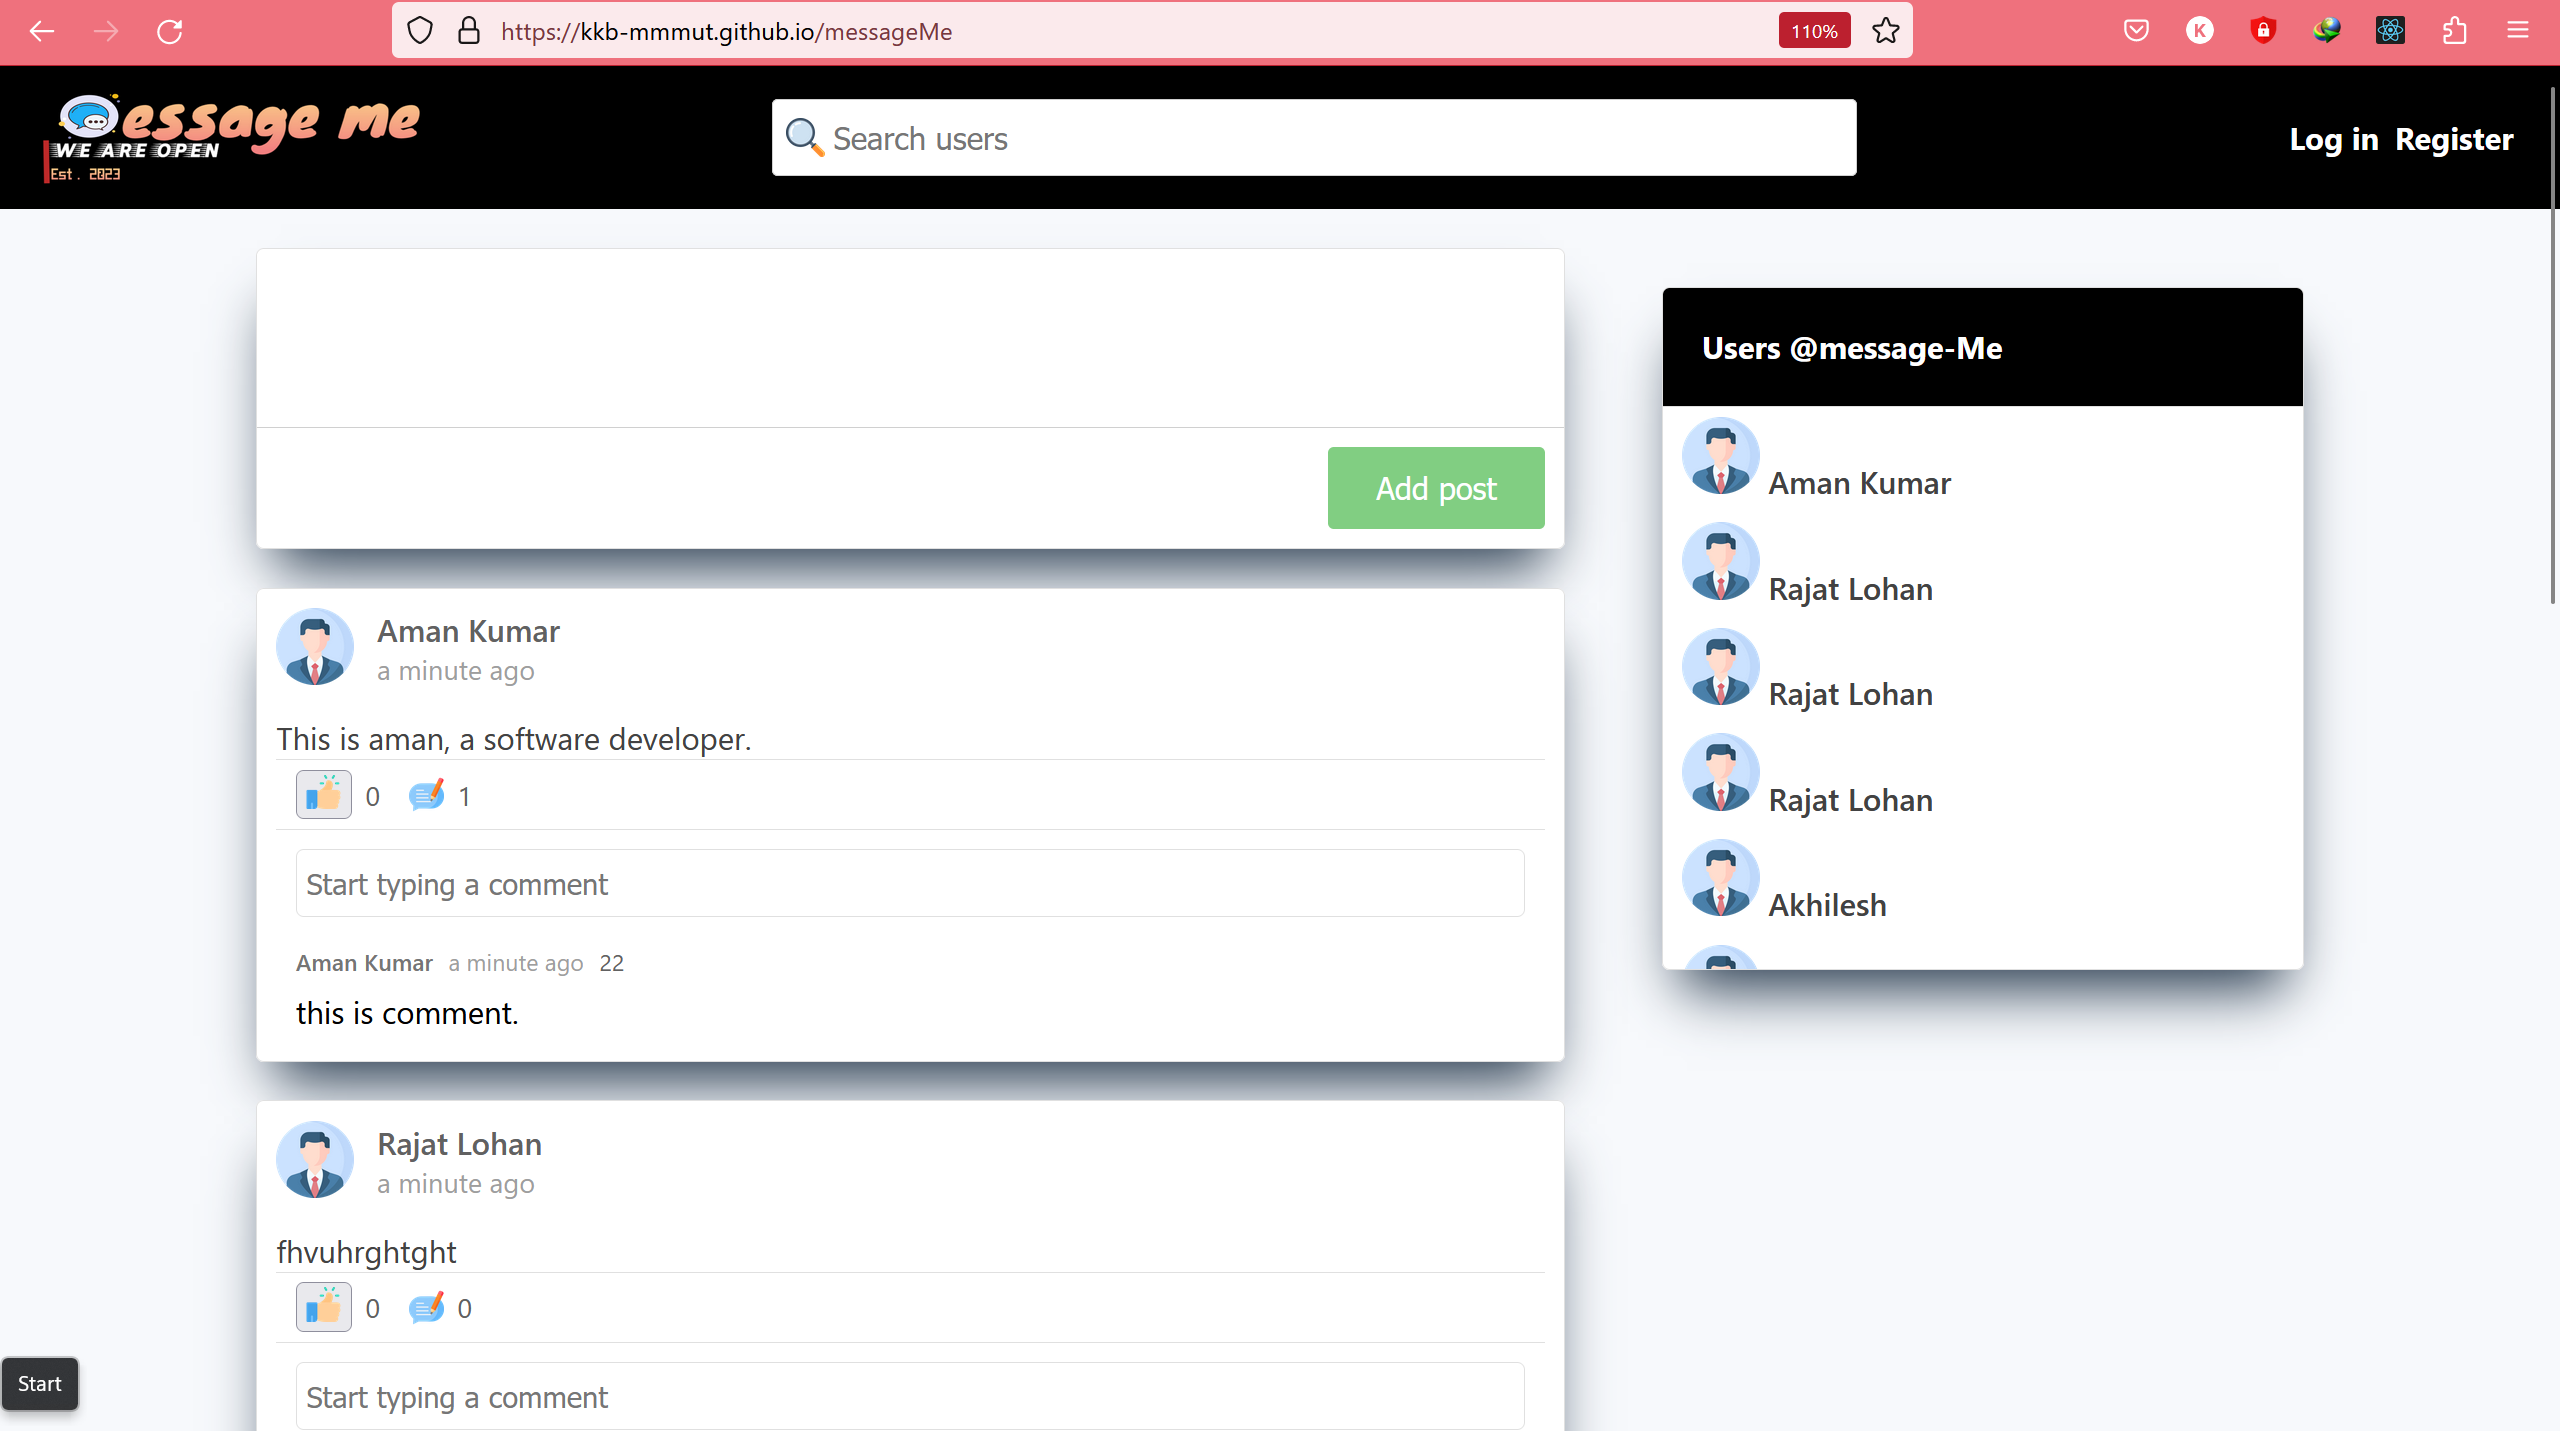
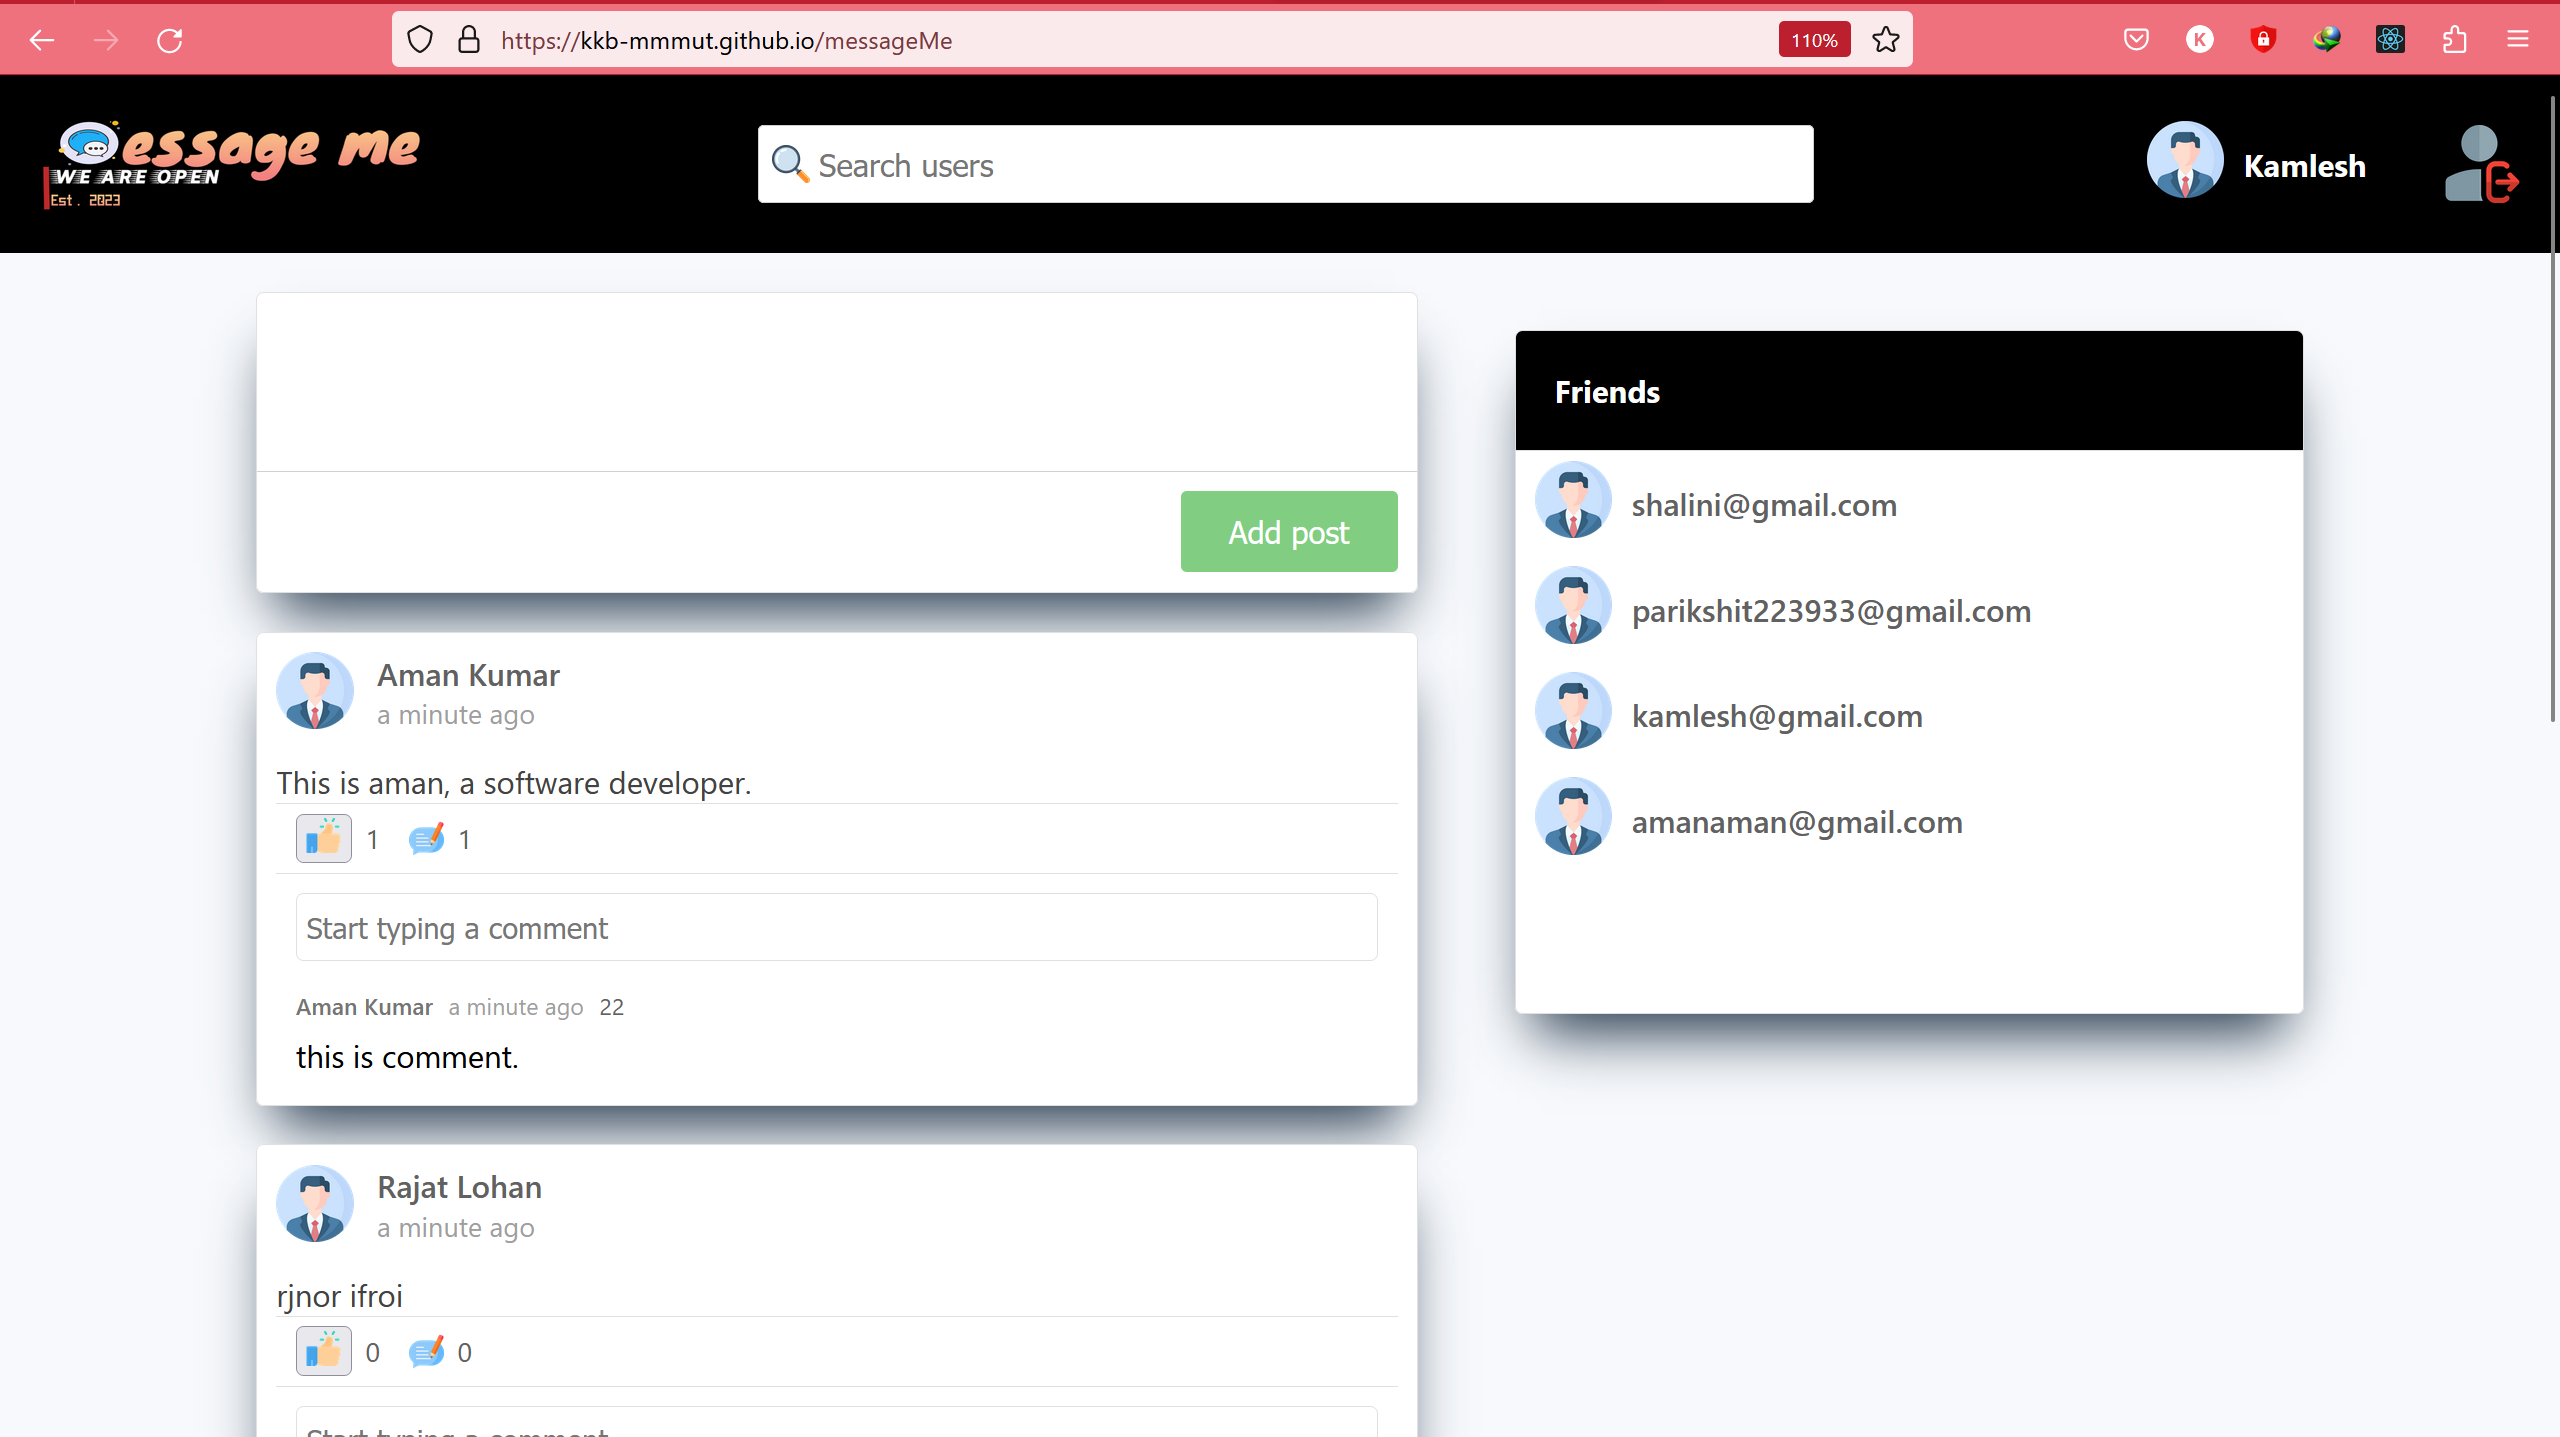
messageMe is social networking site which will basically have the features of login, signup, post creation, and deletion, like, comment, chat etc.
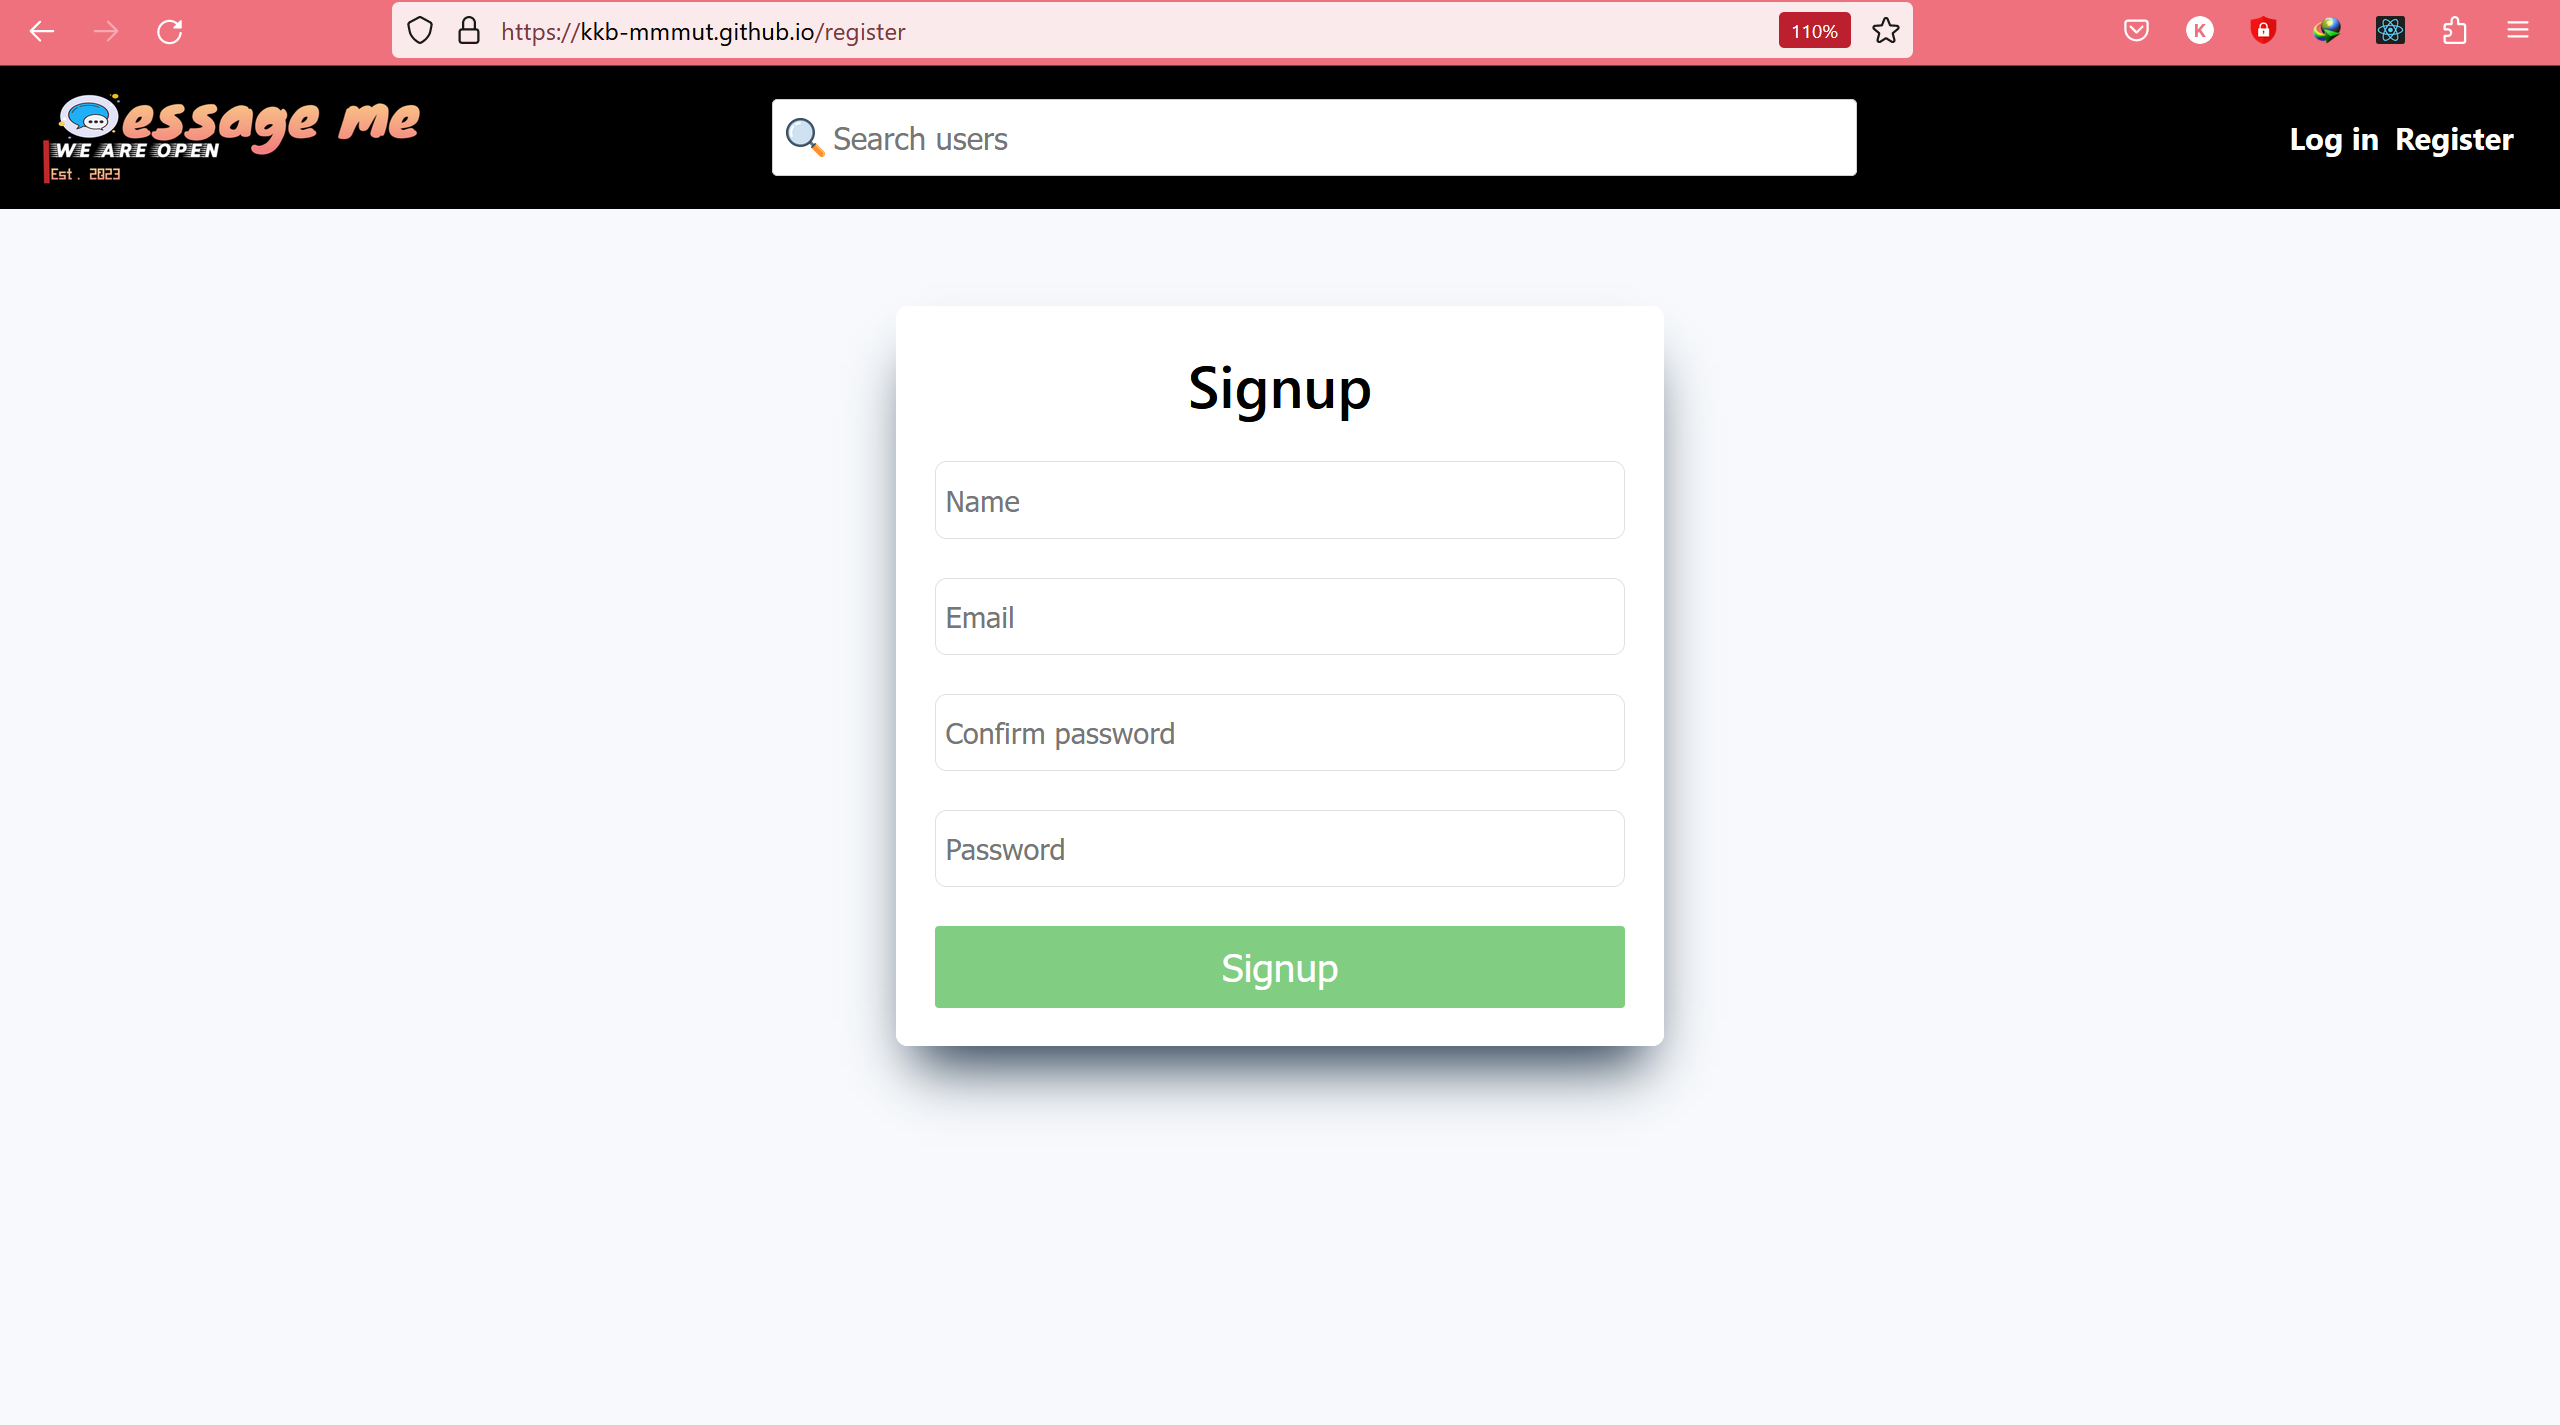
1-We can create the user by using signup page.
2-Fully working functionalty for liking post, comment on the post and able to see the users profile
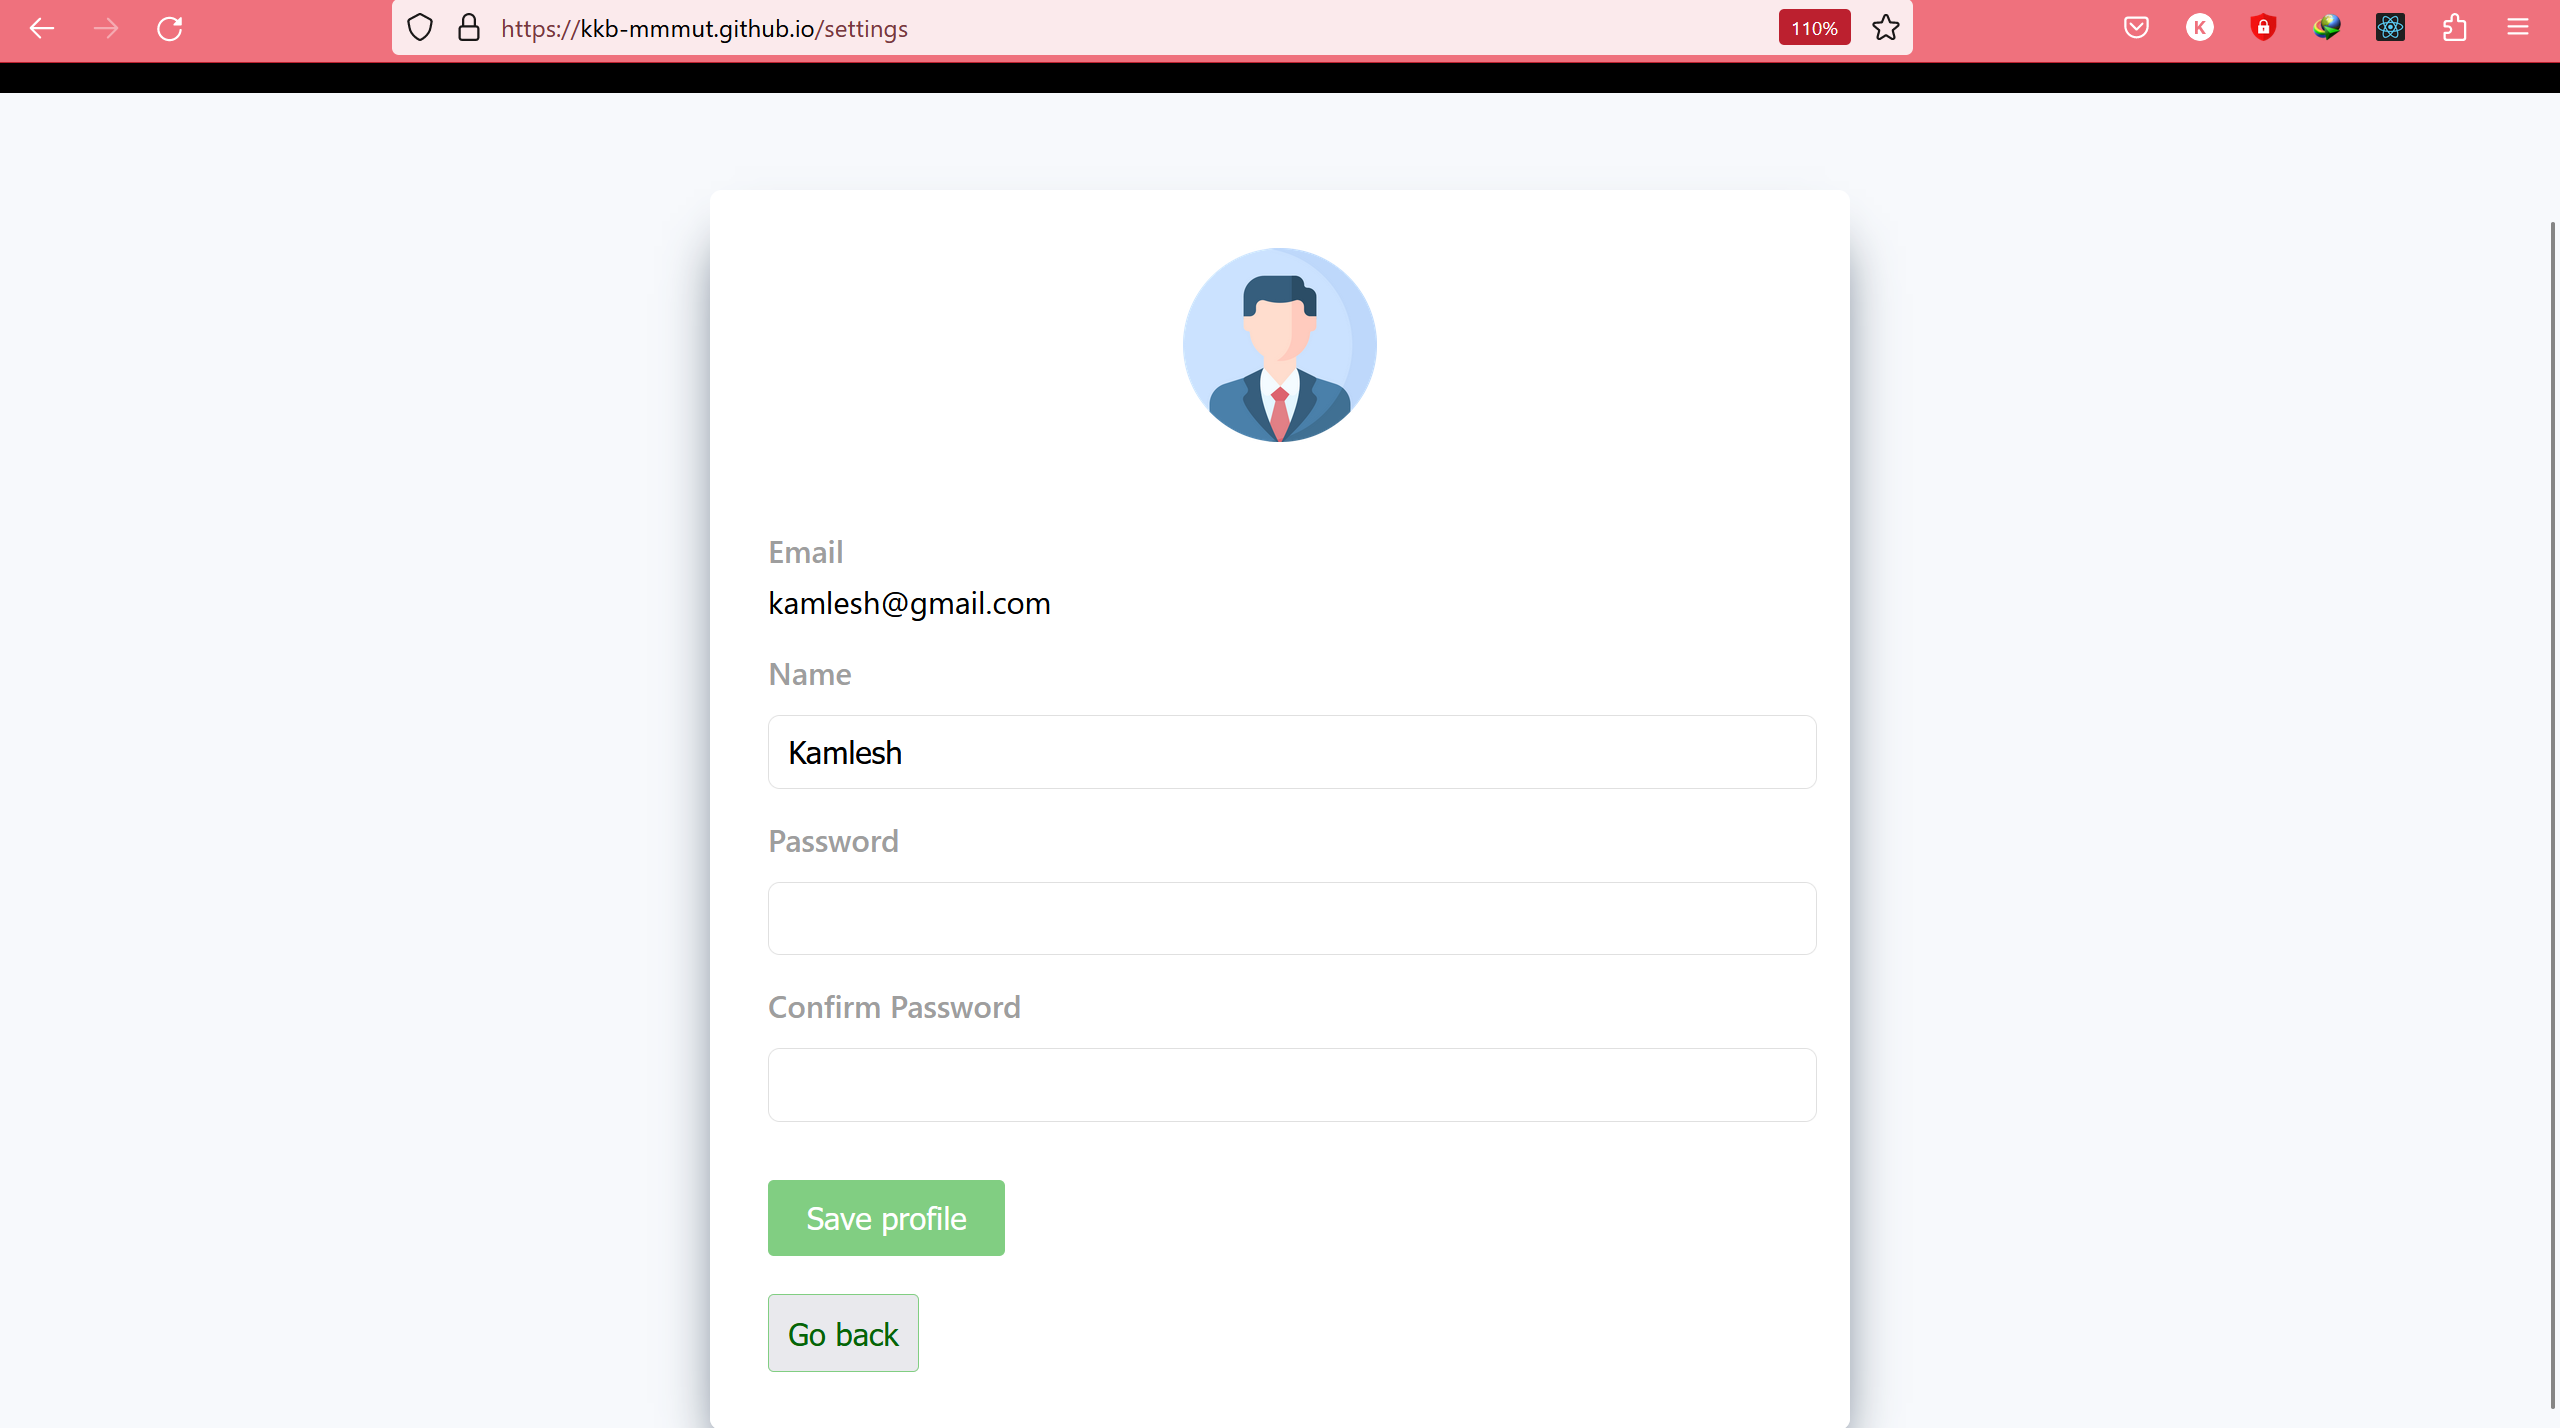
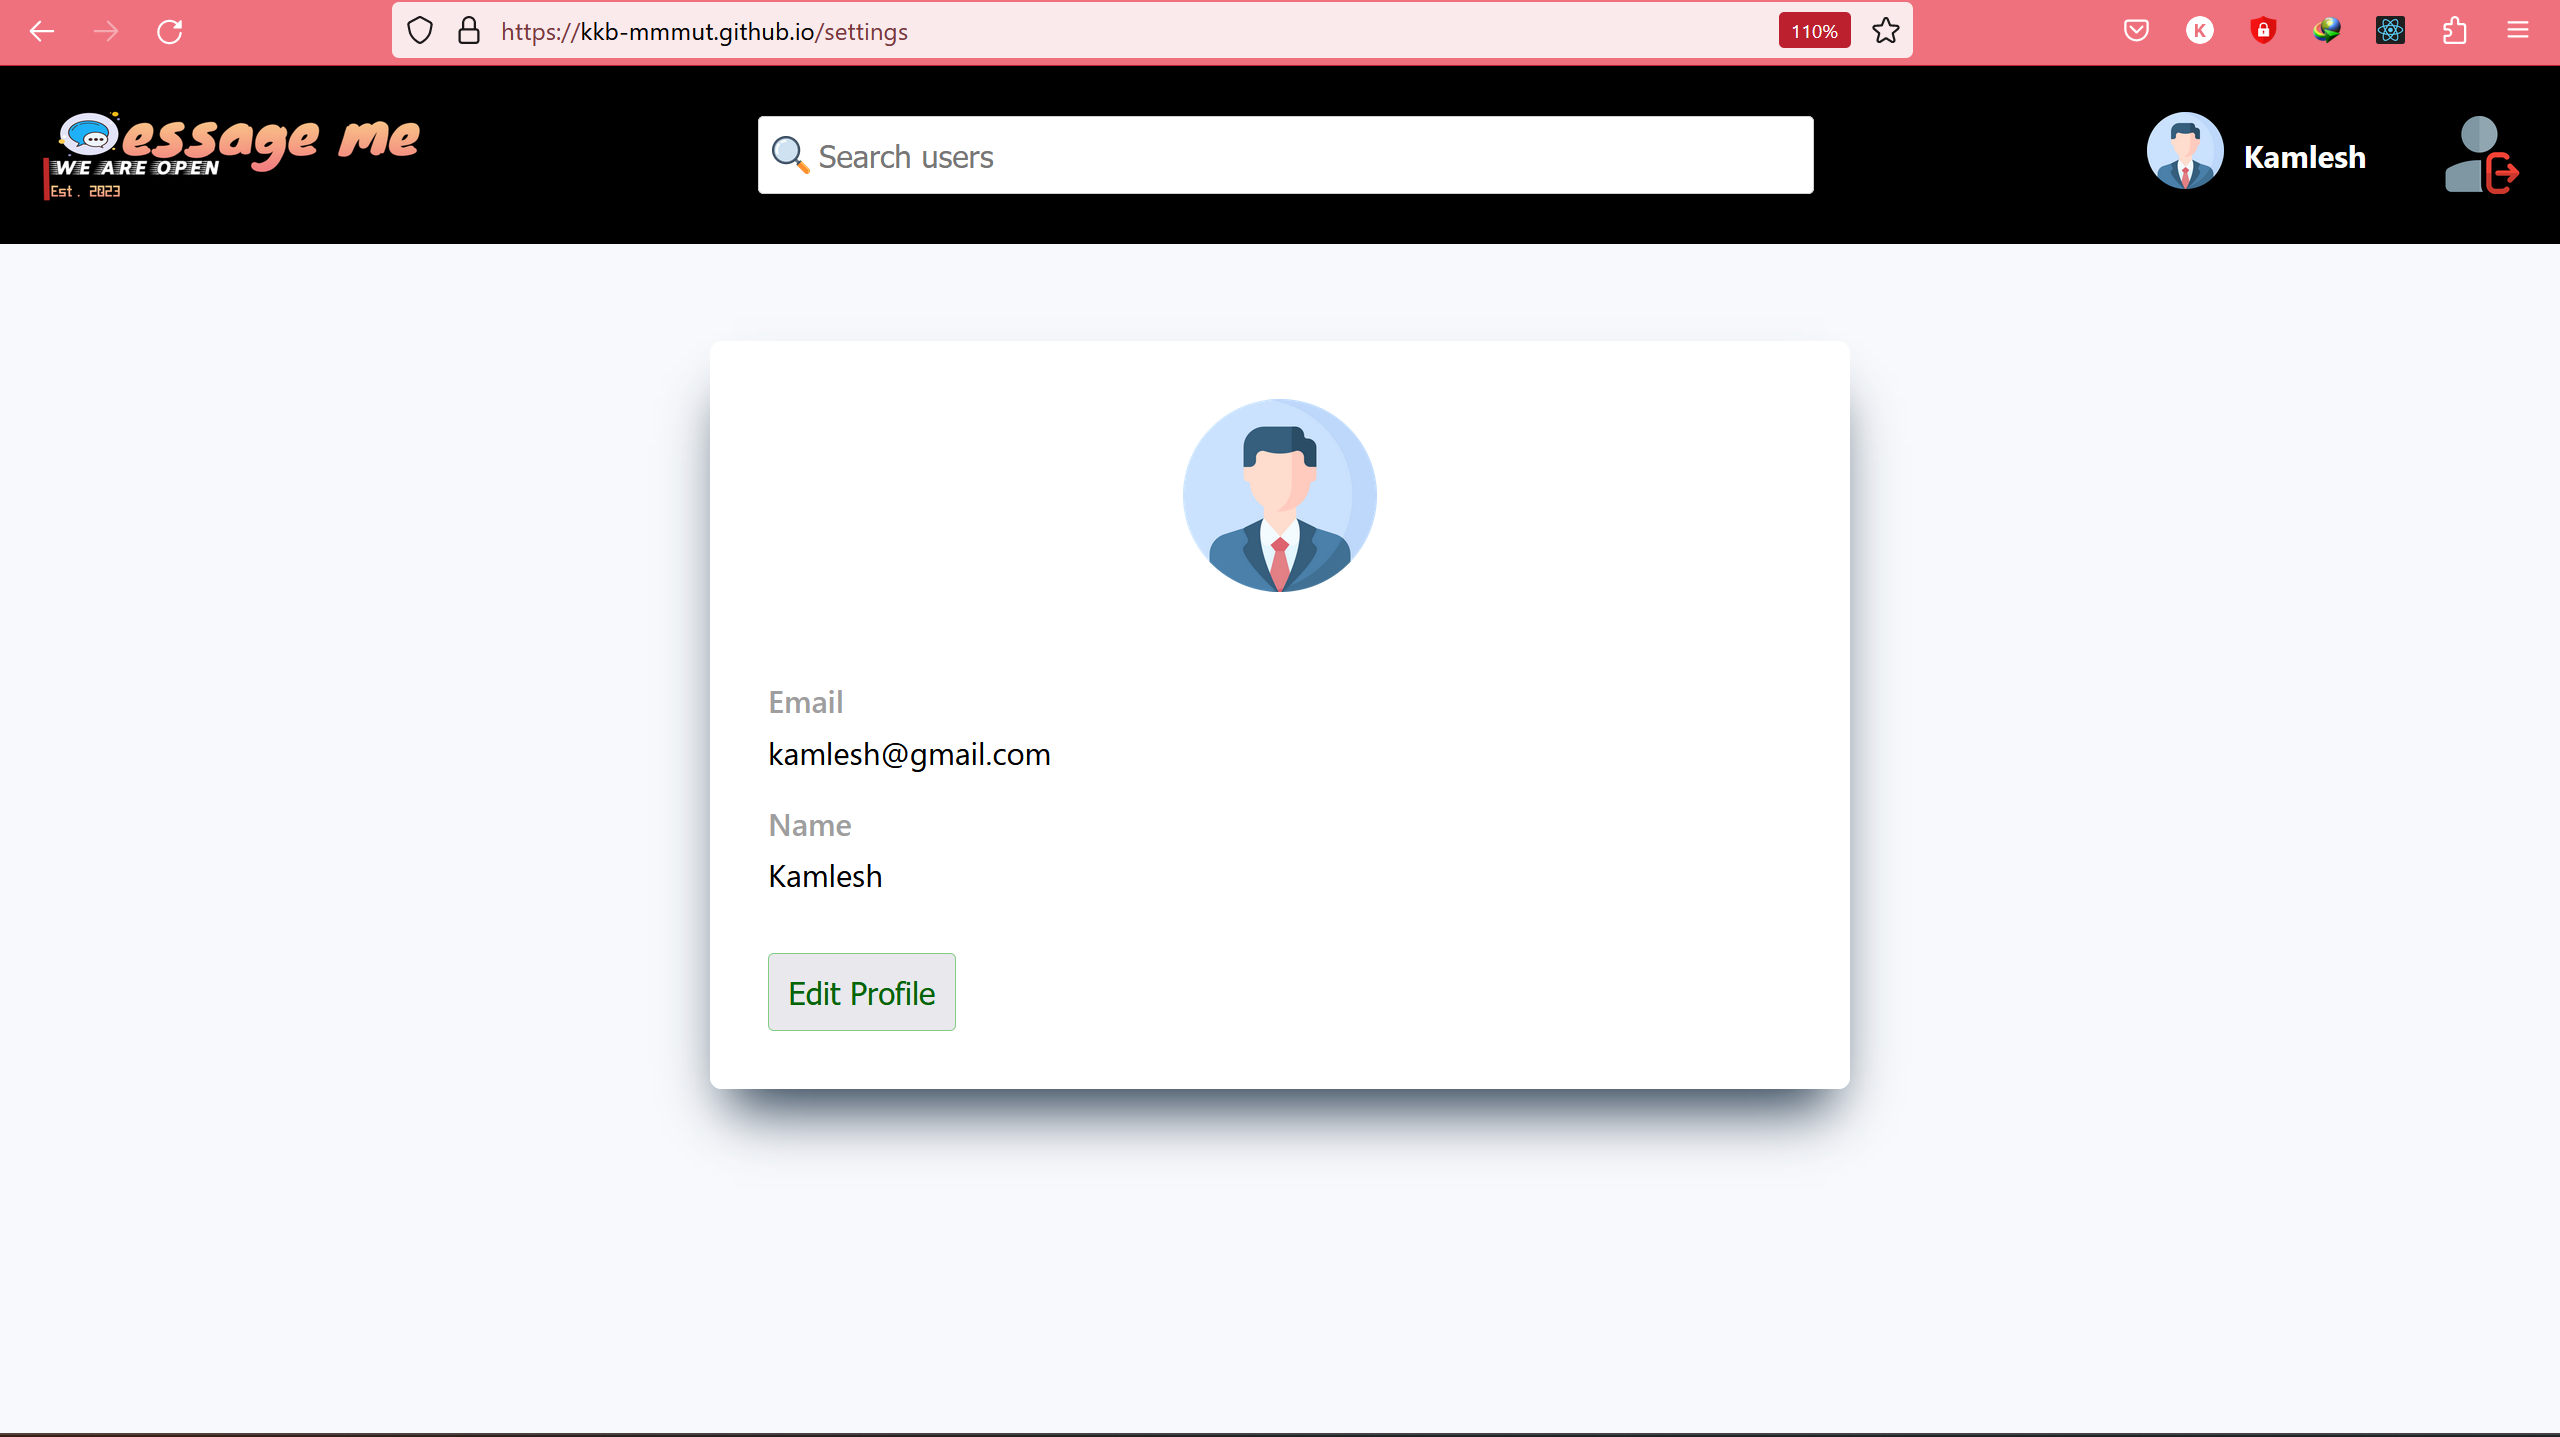
3-Fully working settings to change the user profile section like change the name and password.
4-Amazing user interface and awsome public interface .
5-Able to add friends and delete friends.
## In this section, we followed the following steps:

    1 - We created a file in the utils folder for storing constants and URLs that
    will be required when we will fetch the data.

    2 - Then we implemented the custom fetch function for fetching data
    from the APIs. It has 2 parameters body and customConfig.

    3 - Here we used the try and catch method so that the app doesn’t crash
    when an error is encountered.

    4 - We have used async-await syntax here with fetch.

    5 - An async function starts a request and returns a promise. When
    the request completes, the promise is resolved with the
    Response object. If the request fails, the promise is rejected.

    6 - The await keyword causes the JavaScript runtime to pause your
    code on this line, not allowing further code to execute in the
    meantime until the async function call has returned its result —
    very useful if subsequent code relies on that result! Therefore,
    the await keyword is used before the fetch function.

    7 - Since the body is an object and an object can’t be passed in fetch
    function. So, if it is present it is first converted into a string and then
    passed through the fetch function.

    8 - The response received is then converted into JSON format by using
    json() method.

    9 - If it is a success then data in JSON format is returned otherwise an error
    is returned.

    10 - For styling, we used CSS modules in which class names are scoped
    locally for avoiding naming conflicts.
JSON Web Token is a proposed Internet standard for creating
data with optional signature and/or optional paid encryption that keeps JSON
validating a certain number of claims. Tokens are signed using a private
secret or public/private key.

### The scenarios when we can use jwt token:

## Authorization:
This is the most important scenario where jwt token is
used. It helps to persist the user and once the user is logged in, the jwt
request will include all the resources, accesses that are permitted to
the user.

## Information Exchange:
Jwt tokens is a good way to exchange
information between two parties. It also helps us to check whether the
content tampered with during transmission or not.
The JWT access token is only valid for a finite period of time. Using an
expired JWT will cause operations to fail. This value is normally 1200 seconds
or 20 minutes.

## Jwt decode:
This is a small browser library that helps to decode jwt token
which is encoded.

## Command to install: `npm install jwt-decode`
