The Codegame Platform is a Python desktop application to create, distribute, discover, and run codegames.
A codegame is a serious game made of levels written in Litemark, a lightweight Markdown dialect.
A level is typically a hypertext that gratifies intellectual curiosity, with an embedded programming problem to solve.
The person who produces a codegame is the creator. The one who consumes a codegame is the user.
The creator can safely insert problems testing specifications in a level. The Codegame Platform evaluates the solution submitted by the user then unlock the next level if the solution is correct.
This project is suitable for:
- teaching programming, algorithms, data structures;
- building a well-articulated chain of puzzles with an exciting story behind it;
- automating coding interviews;
- fun, and more...
Now, let's build a codegame demo with the Codegame Platform.
$ pip install codegame$ pip install codegame --upgrade --upgrade-strategy eagerThe Codegame Platform has a command line interface to create, build and publish codegames.
Change the current working directory to the folder of the new codegame project. Then use the command init to initialize the folder.
$ cd /home/alex/cgame-demo
$ codegame init
Now you have a basic codegame project structure.
This is the root directory of the codegame project:
cgame-demo/
    assets/ # [1] this is where you store images
    dist/ # [2] folder to keep distribution packages
    source/ # [3] the main folder to store levels !
    CHANGELOG.md # [4] automatically updated
    codegame.json # [5] the config file of the project
    LATEST_RELEASE.md # [6] latest release
    README.md # [7]
[1]this is just a convention, you can ignore this folder and put your images somewhere else.[2]distribution packages are just ZIP archives generated by the Codegame Platform when you issue the commandbuild. You won't need to enter this directory since it's managed by the Codegame Platform.[3]this is where you store the Litemark files that represent the levels of your codegame.[4]this file is managed by the Codegame Platform.[5]when you issue the commandinitfor the first time, you will be asked to submit some information (author name, github repository...). This information is stored in this config file that you can edit.[6]when you issue the commandpublish, the content of this file is automatically cut and pasted in CHANGELOG.md.[7]there are some basic README text in this file that you can edit.
Note: don't forget to add a license file in the root directory of the codegame project.
Let's edit the folder source:
source/
    1.md # level 1
    2.md # level 2
    3.md # level 3
    index.json # we will store levels titles here
This is the content of index.json:
[
    "Welcome Dear Stranger !",
    "Time Is Money...",
    "The Year Of The Four Seasons"
]
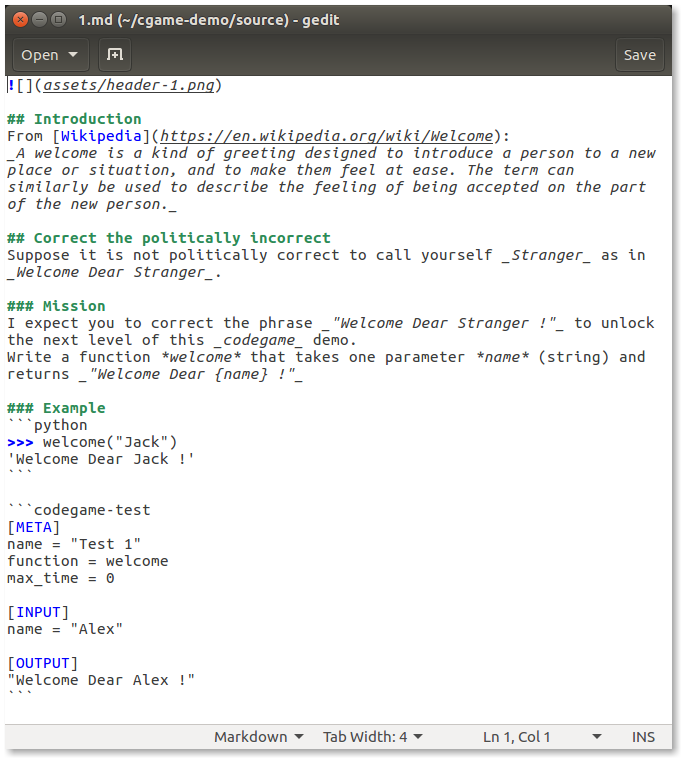
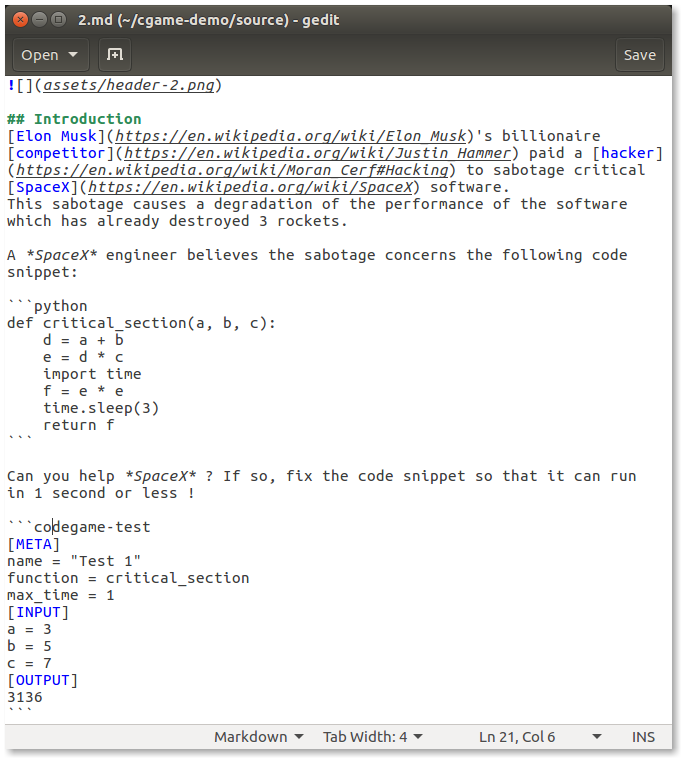
Each level is just a file with Litemark text inside.
You can preview the rendered level with the command preview:
# cd to the root directory of the codegame project
$ cd /home/alex/cgame-demo
# without any argument, this command will open the first level
$ codegame preview
# preview level 3
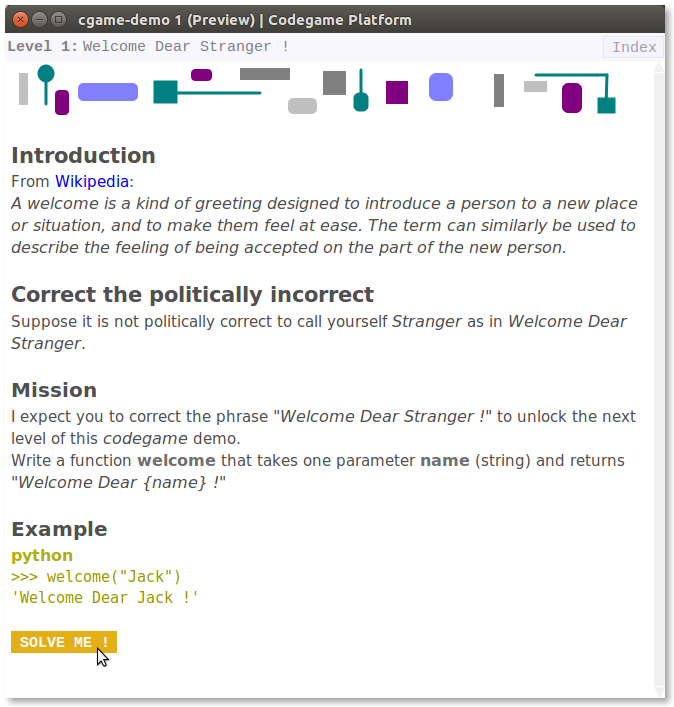
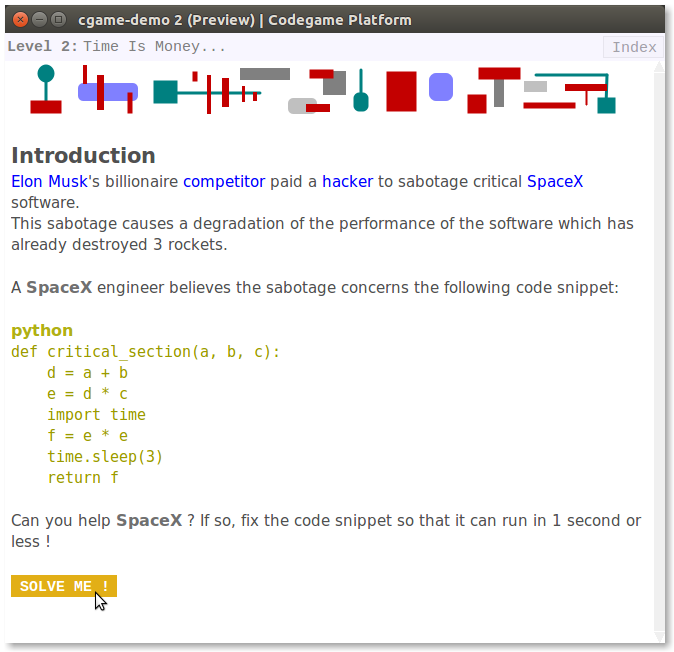
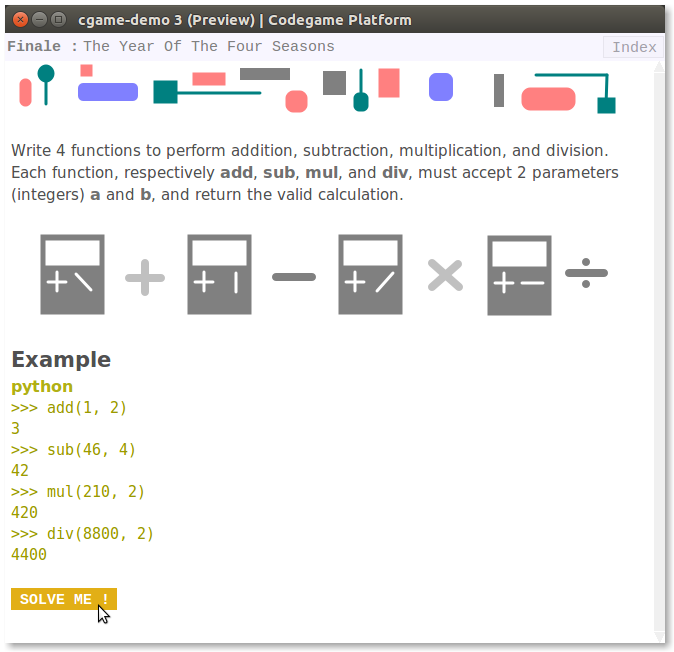
$ codegame preview 3The Codegame Platform introduces a new level to the user when they complete the problem defined in the previous level.
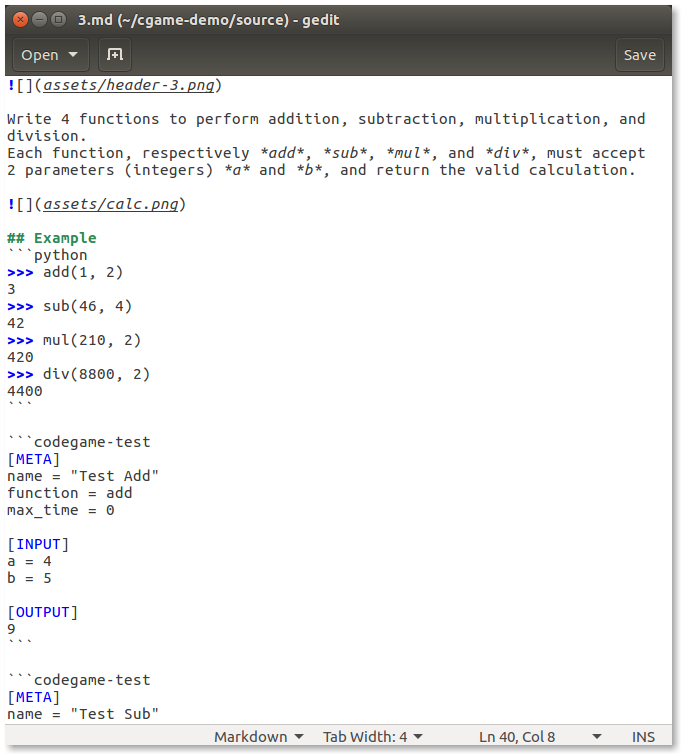
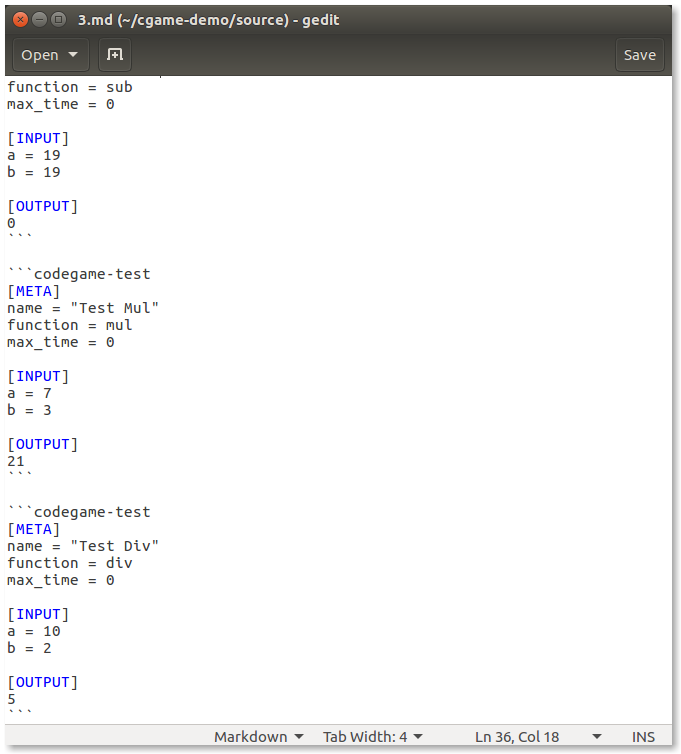
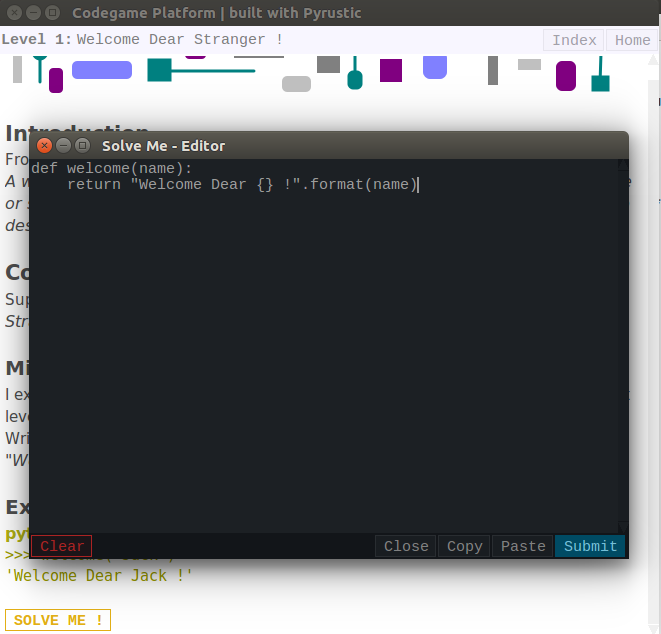
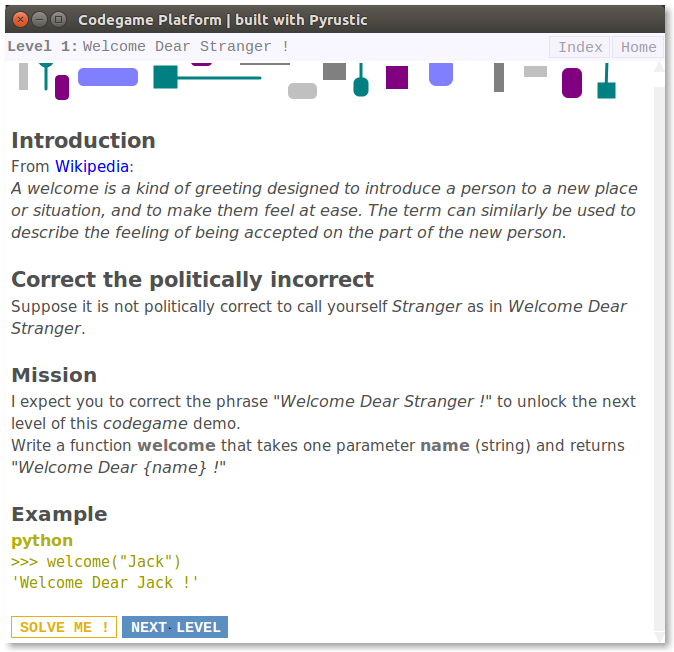
To insert a problem into a level, all you need to do is insert the test specifications to evaluate the solution in a special codeblock called codegame-test. The Codegame Platform will insert a SOLVE ME ! Button at the bottom of the level page. If the user clicks on the button, they will be prompted to submit a solution in an editor that will open. If the solution passes the tests, a NEXT LEVEL button will be inserted at the bottom of the level page.
Let's explore the content of the 3 levels in this codegame demo project.
You can clone the codegame demo project to study it:
$ git clone https://github.com/pyrustic/cgame-demo$ cd /home/alex/cgame-demo
$ codegame preview 1$ cd /home/alex/cgame-demo
$ codegame preview 2$ cd /home/alex/cgame-demo
$ codegame preview 3$ cd /home/alex/cgame-demo
$ codegame build$ cd /home/alex/cgame-demo
$ codegame publish$ cd /home/alex/cgame-demo
$ codegame info remote
# or
$ codegame info https://github.com/pyrustic/cgame-demo
# or
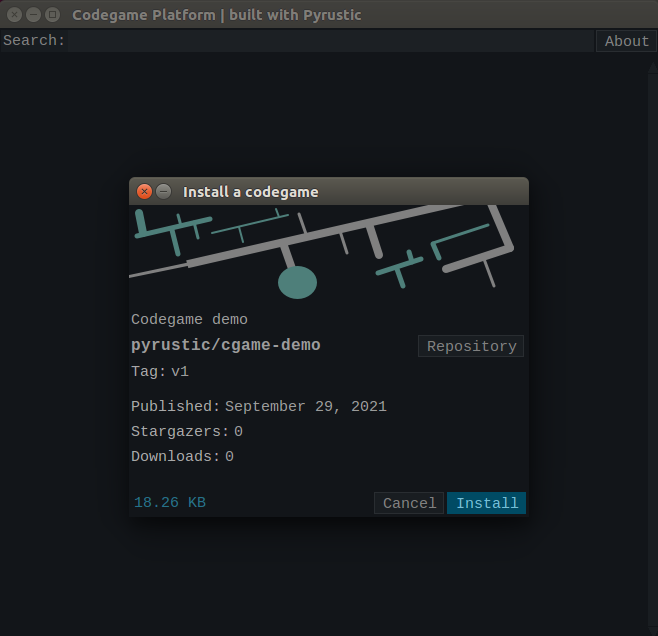
$ codegame info pyrustic/cgame-demoOpen the GUI of the Codegame Platform:
$ codegameThen copy-paste in the search bar the GitHub repository URL (or the shortcut "owner/repository") of the codegame to install.
The GUI of the Codegame Platform is inspired by Hubstore. Visit Hubstore !
This project is a work in progress...
