This is a Slack Bot that monitors one or more Slack channels for commands and interacts with a ZoneMinder system to report events and obtain information.
There are two parts to the project
- A script that is invoked by ZoneMinder whenever an event/alarm is detected (
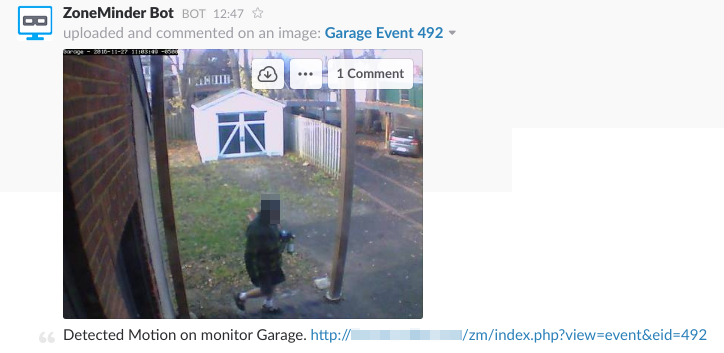
zonebot-alert). This will post a message with the most significant frame of the event to a specified Slack channel.
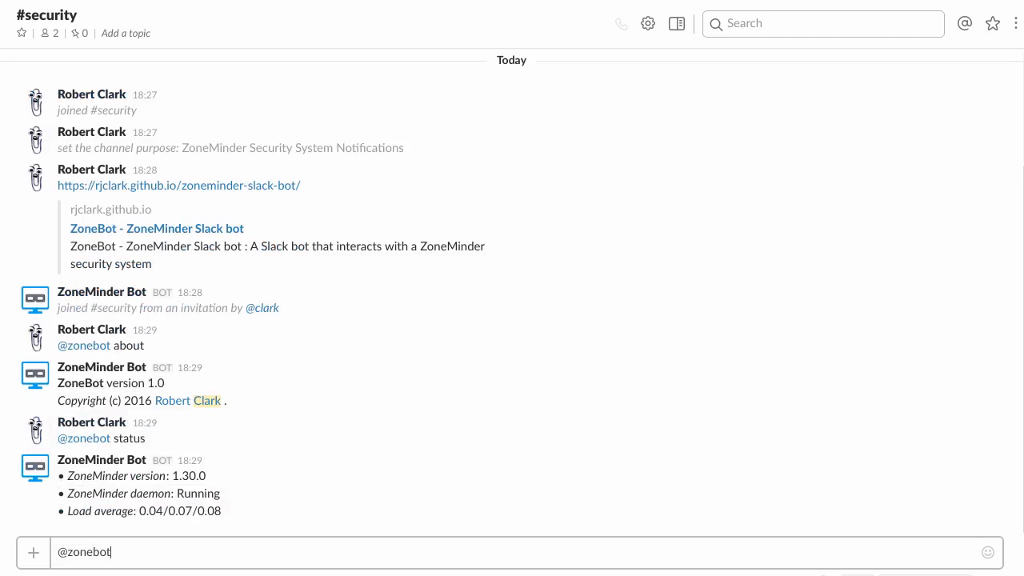
- A bot that listens in a Slack channel for commands from approved users and passes them along to the ZoneMinder server.

The primary use for this bot is to allow access to some parts of a ZoneMinder system that is behind a firewall, without having to expose the actual system to the Internet. Making a ZoneMinder system available to the Internet has several requirements (static IP, secure system) that may not be feasible for all users.
By providing a bot that can interact with both ZoneMinder and Slack, remote access to and notification from ZoneMinder is possible, without needing a static IP. The security and authentication provided by the Slack environment is used to control access to the script, and the bot also has a permissions section in it's configuration that controls which users are allowed which actions.
The easiest method of installation is via pip as the package is available from the Python Package Index
> pip install zonebotThis will create a script called zonebot in your path ("which zonebot" will tell you exactly where) that you can run.
You can download the source from GitHub and build it yourself if you would like.
- Download the release you want from https://github.com/rjclark/zoneminder-slack-bot/releases
- Extract it
- Run
python setup.py build install
You can also clone the source from GitHub if you would like to build the very latest version. This is not guaranteed to work. The unreleased source code from GitHub could be in the middle of development and running it directly is not recommended.
- Clone this repository https://github.com/rjclark/zoneminder-slack-bot
- Run
python setup.py build install
Also installed is a sample configuration file called zonebot-example-config.cfg. You can copy this to your preferred location for config files and edit it to put in your Slack API token and the ID of your bot user
The example configuration file is installed into the Python package directory on your system, which can be somewhat difficult to find. The latest version of the file is always available from the GitHub repository if needed.
To configure the bot, you will need several pieces of information
- Your Slack API token. This can be found by
- Going to the Slack Bot user page and creating a new bot user. You will have a chance to get the API token here
- Going to the page for your existing bot user.
- The User ID of your bot user. This can be found by:
- Running the script
zonebot-getiddistributed with this package and providing the name of the Slack bot user and you Slack API token as command line options. For example:
- Running the script
> zonebot-getid  -a "your-slack-token" -b zoneminder
> User ID for bot 'zoneminder' is AA22BB44C
Once you have those, make a copy of the config file and add the Slack API token and user ID of the bot, You will also want to edit the Permissions section.
NOTE: The default config file allows only read permission to the ZoneMinder system.
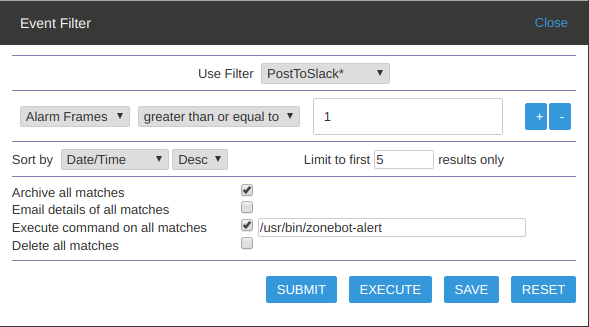
If you want ZoneMinder events posted to Slack as they occur, you must define a ZoneMinder filter that invokes the zonebot-alert script. The script gets all required configuration information from the same config file as the bot.
The default config file can be placed in any of these locations (checked in this order)
- Any file specified by the
-c/--configcommand line option $XDG_CONFIG_HOME/zonebot/zonebot.confif theXDG_CONFIG_HOMEenvironment variable is defined${DIR}/zonebot/zonebot.conffor any directory in theXDG_CONFIG_DIRSenvironment variable~/.config/zonebot/zonebot.conf/etc/zonebot/zonebot.conf/etc/default/zonebot
- The best way to report problems is to log a report on the GitHub Issues page https://github.com/rjclark/zoneminder-slack-bot/issues for this project.
- If you do not have a GItHub account, you can also contact me via email: clark@exiter.com
If you wish to contribute, pull requests against the GitHub repository, master branch, are welcomed.
If you are new to the concept of building either a Python application or a Slack bot, I encourage you to review the excellent posting over at Full Stack Python called How to Build Your First Slack Bot with Python. This document will provide a summary of the requirements and steps necessary, but it assumes a basica familiarity with the tools and environment that the linked article covers in some depth.
This list of tools from the First Slack Bot blog is all that is needed to build this bot.
- Either Python 2 or 3
- pip and [virtualenv](https://virtualenv.pypa.io/> en/stable/) to handle Python application dependencies
- A Slack account with a team on which you have API access.
- Official Python slackclient code library built by the Slack team
- Slack API testing token
It is also useful to have the Slack API docs handy while you're building this tutorial.
- Use
virtualenvandpipto create a development
> virtualenv venv
> source venv/bin/activate
    (or . venv/bin/activate.fish of you use the fish shell)

> venv/bin/pip install install -r requirements.txt-
Obtain a Slack API token (and optionally create a dedicated bot user for the API token) from Slack
-
Since the API token needs to remain secret, you should set it as an environment variable rather than putting it into any source file.
> export SLACK_BOT_TOKEN='your slack token pasted here'-
Run
utils/get_bot_id.pyto get the number ID of the bot (as opposed to the name you gave the bot user. This is also our first real test of the API token -
Put the bot ID into an environment variable as well.
> export BOT_ID='bot id returned by script'Later on the BOT_ID and SLACK_API_TOKEN (along with a lot of the other config options) will be loaded from a config file. This is to make running the script as a daemon less of a hassle.
