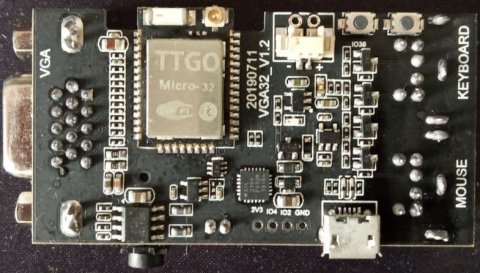
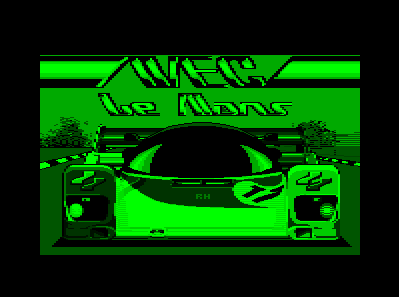
Port from Tom Walker's PC emulator (AMSTRAD CPC) to TTGO VGA32 v1.x (1.0, 1.1, 1.2, 1.4) board with ESP32.
I have made several modifications:
- x86 PC to ESP32 port
- PSRAM is not used, it works in ESP32 with 520 KB of RAM (TTGO VGA32 v1.2)
- Use of a single core
- Low-income OSD
- Created project compatible with Arduino IDE and Platform IO
- AY8912 emulation (fabgl library) reduced version of dcrespo3d(David Crespo Tascón)
- Screen adjustment X
- Emulation CPU speed menu (AUTO), sound, keyboard
- Support for 8 and 64 color mode (reduced version by Ricardo Massaro).
- DSK support with 42 tracks and 11 sectors
- Emulates only the CRTC 0
- Supports 0, 1 and 2 video mode
- VGA 400x300
- VGA 320x200 with or without borders
- CPC 464 and 664 emulation
- CPC 6128 emulation (unstable)
- AMX Mouse emulation (reduced library by Rob Kent jazzycamel)
- It is now possible to have 400x300 64 color video mode, 128 KB mode, as well as mouse and sound all active.
- Green monochrome palette to simulate GT65
Required:
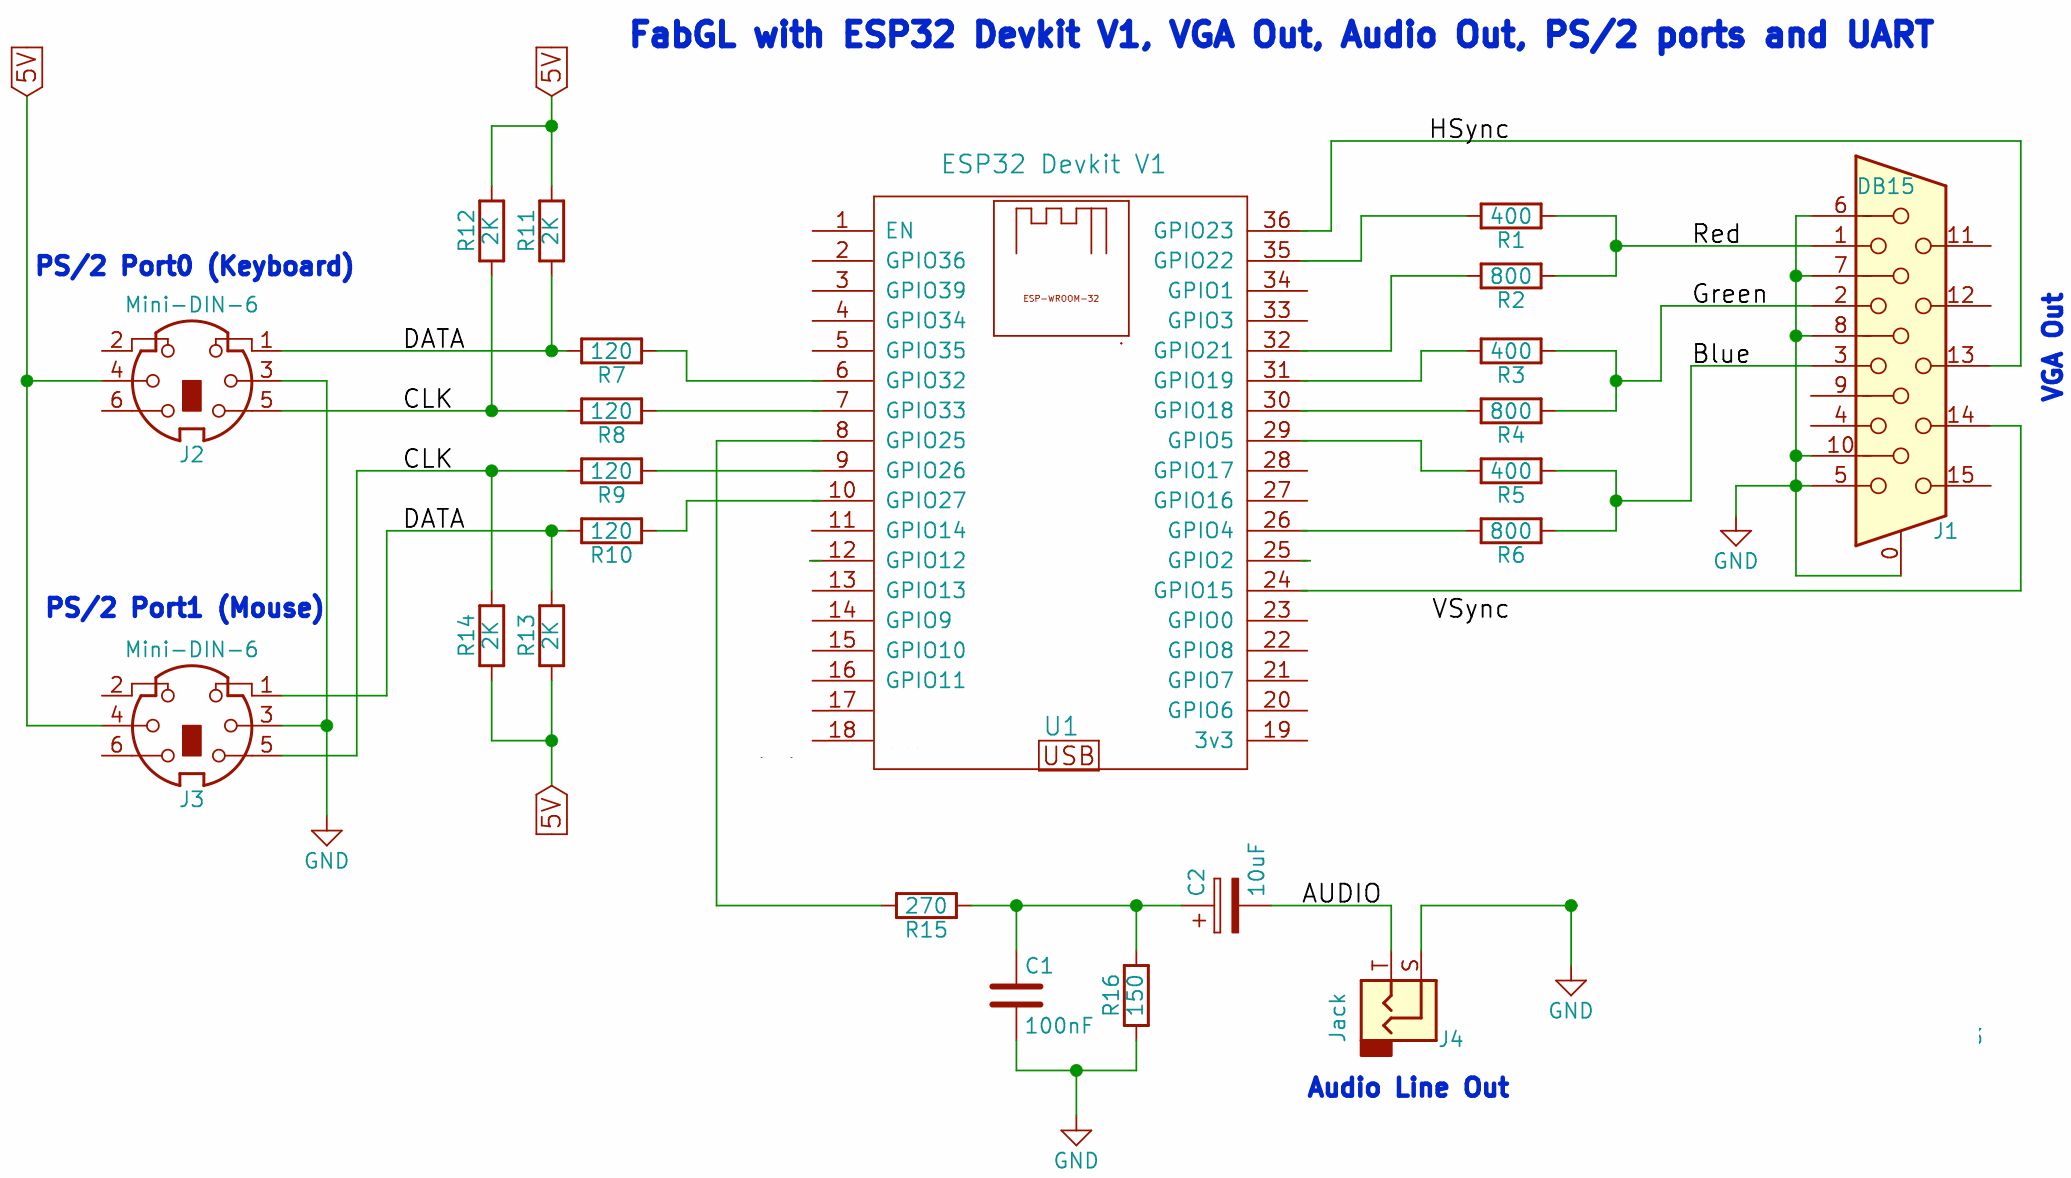
- TTGO VGA32 v1.x (1.0, 1.1, 1.2, 1.4)
- Visual Studio 1.48.1 PLATFORMIO 2.2.1 Espressif32 v3.3.2
- Arduino IDE 1.8.11 Espressif System 1.0.6
- Arduino fabgl 0.9.0 reduced library (included in PLATFORMIO project)
- Arduino bitluni 0.3.3 reduced library (included in project)
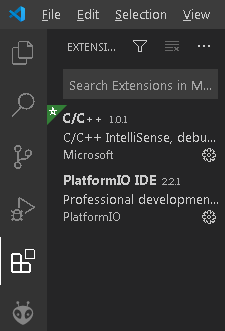
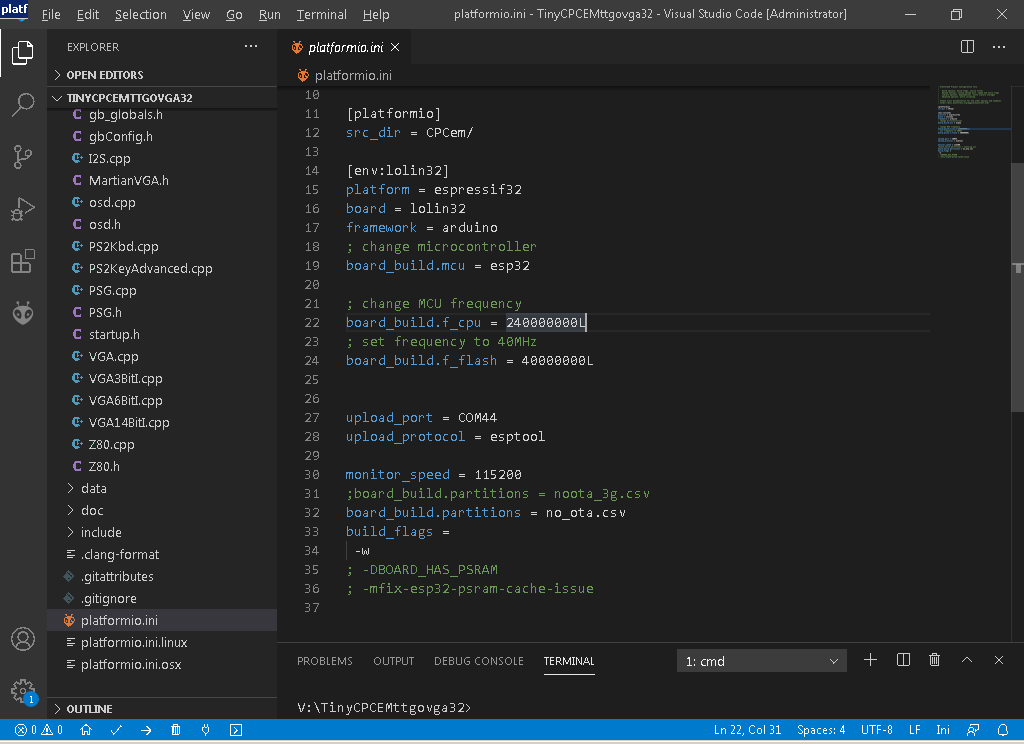
PLATFORMIO 2.2.1 must be installed from the Visual Studio extensions. Espressif32 v3.3.2 is also required. Then the working directory TinyCPCEMttgovga32 will be selected. We must modify the file platformio.ini the option upload_port to select the COM port where we have our TTGO VGA32 board. Then we will proceed to compile and upload to the board. No partitions are used, so we must upload the whole compiled binary. It's all set up so you don't have to install the bitluni and fabgl libraries.
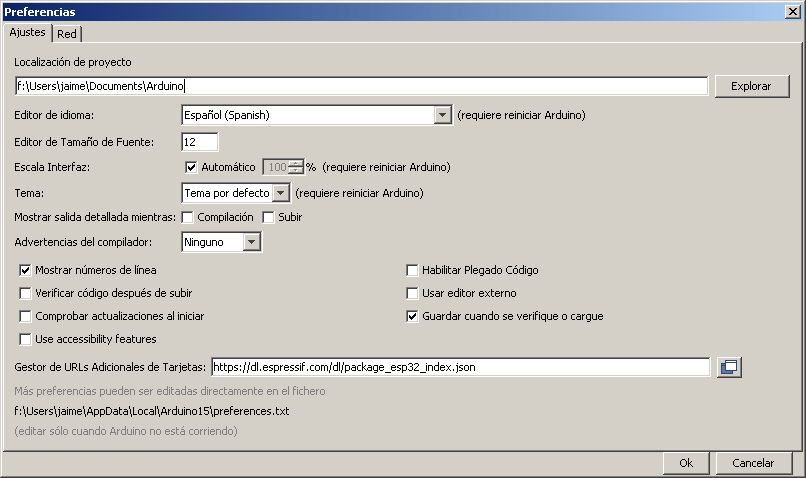
The whole project is compatible with the structure of Arduino 1.8.11. We only have to open the CPCem.ino from the CPCem directory. We must install the spressif extensions in the additional card url manager https://dl.espressif.com/dl/package_esp32_index.json The project is now ready, so no bitluni or fabgl libraries are needed. We must deactivate the PSRAM option, and in case of exceeding 1 MB of binary, select 4 MB of partition when uploading. Although the code does not use PSRAM, if the option is active and our ESP32 does not have it, an exception will be generated and it will restart in loop mode.
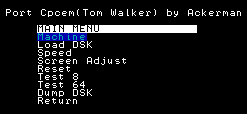
The following actions are allowed from the menu (key F1):
- Select Machine allows you to choose CPC 464, 664 or 6128.
- Select DSK allows to choose the disk.
- X screen offset
- Allows you to skip a frame
- Change the milliseconds of polling for video, keyboard and sound
- Change the milliseconds of waiting in each frame
- Sound Volume (100%, 75,%, 50%, 25%, 5%)
- Sound active or muted
- CPU wait in AUTO mode (set 20 ms per real frame) or the wait in ms of your choice
- Mouse Detect, allows to re-initialize the mouse, if it has been disconnected while hot
- Mouse ON and OFF, allows you to disable the mouse reading. This way the emulation is faster.
http://tomeko.net/online_tools/file_to_hex.php?lang=en The DSK are in DUMP format to save memory, and you must use the dsk2h tool to generate the necessary .h.
The file gbConfig.h options are selected:
- use_lib_400x300: 400x300 video mode is used.
- use_lib_320x200_video_border: 320x200 video mode with borders is used, so the screen size is halved. This mode consumes less RAM than 400x300 and is faster.
- use_lib_320x200_video_noborder: 320x200 video mode without borders is used. In this mode the screen is not halved, but the borders are lost. This mode consumes less RAM than 400x300 and is faster.
- use_lib_vga8colors: Forces to use RGB 8-color mode (3 pins). Outputs 8 colors, as opposed to 64 in normal mode (6 pins RRGGBB).
- use_lib_sound_ay8912: It uses a 3-channel mixer in dirty mode, emulating the AY8912. It consumes some RAM. It requires the reduced fabgl 0.9.0 library, already included in the project.
- use_lib_log_serial: Logs are sent by serial port usb
- usb_lib_optimice_checkchange_bankswitch: Only switches banks when they are different, gaining speed.
- use_lib_128k: Allows to use 128K mode, including 6128 rom at compilation, as well as 2 blocks of 64KB memory. It is in the testing phase, and as it requires more RAM, you have to use other low RAM consumption configuration options.
- use_lib_cheat_128k: 128 KB experimental mode.
- gb_ms_keyboard: You must specify the number of milliseconds of polling for the keyboard.
- gb_ms_sound: You must specify the number of milliseconds of polling for the sound.
- gb_frame_crt_skip: If it is 1 it skips a frame.
- gb_delay_emulate_ms: Millisecond wait for each completed frame.
- use_lib_amx_mouse: A PS/2 mouse is used as if it were an AMX mouse (emulated). The use of the mouse consumes some CPU and memory.
- gb_delay_init_ms: Specifies a number of initial milliseconds to wait for the mouse to start up in order to detect it correctly.
- use_lib_amx_mouse_lefthanded: Left-handed mouse (swaps buttons)
- gb_ms_mouse: Sampling in milliseconds of each mouse reading.
- use_lib_lookup_znptable: Uses look-up table in FLASH for BCD calculations. It consumes 256 bytes.
- use_lib_lookup_znptable16: Uses look-up table in FLASH for BCD calculations. Consumes 64 KBs.
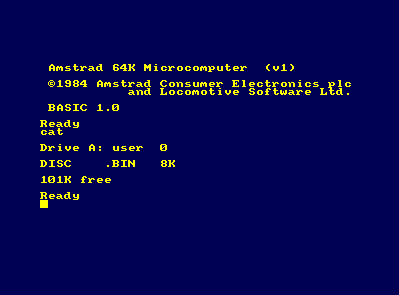
When starting the ESP32, it is run in CPC464 mode by loading the BASIC. We can choose the following games:
- Corsair Trainer
- Babas Palace
- Amsthrees
- Sokoban
- Max Desk: mouse test
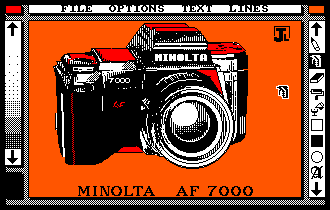
- AMX mouse: Image editor with mouse
Everything has been compacted into several discs:
 Disk 1
  babaspalace (run "disc.bas")
   cod0.bin 40K
   cod1.bin 2K
   disc.bas 1K
   loader.bin 1K
  amsthree (run "amsthree.bin")
   amsthree.bin 38K
  sokoban (run "sokoban.bin")
   sokoban.bin 9K
   sokoban.dat 19K


 Disk 2
  corsair trainer (run "disc.bin")
   code.bin 16K
   codex.bin 16K
   data.bin 17K
   disc.bin 8K
   intro.bin 17K
   menuexo.bin  3K
  amxmousev2 (run "amx.bas")
   amx.bas 1K
   art.bin 9K
   art.icn 2K
   char.bin 1K
   colhats.bin 1K
   demloa.bin 1K
   demo.rs 9K
   icondes.bas 10K
   monmc.bin 1K
   mspr.bin 2K
   ocode.bin 1K
   pat1.pcn 1K
   patdes.bas 8K
   pgen.bas 11K
   rom.icn 2K
   rsxb.bin 2K
   scrload.bas 2K
   vdutab.o 1K


 Disk 3
  Max desk hide (run "maxdesk")
   maxdesk 1k
   maxdesk.n01 1k
   maxdesk.n02 34k
   maxdesk.n04 17k
   maxdesk.n05 2k
   sysvars.bin 1k
In order to use a mouse as if it were an AMX Mouse, it is required to activate the support in the configuration file. Left-handed mouse configuration is allowed (also from the OSD), as well as sampling times, all in the gbConfig.h file.
Tool dsk2h
 input/
  dsks/
  romextra/
 output/
  dataFlash/
   dsk/
   romextra/
Then we must copy the directory dataFlash into the project TinyCPCEMttgovga32\CPCem overwriting the previous dataFlash folder. It is recommended to clean up the project and recompile it.
This tool is very simple, and does not control errors, so it is recommended to leave you the files with very simple names and as simple as possible.
The project in PLATFORM.IO is prepared for 2 MB of Flash. If we need the 4MB of flash, we will have to modify the entry in the file platform.ini
board_build.partitions = huge_app.csvIn the Arduino IDE, we must choose the option Partition Scheme (Huge APP).
When we want to load another game, we must reset, either by selecting the Machine menu or Reset.
If we want to launch the game arkanoid , we must choose from the menu Load or Run ROM , then Run ROM and finally it will ask us to select Arkanoid . At the end, we select High ROM (0..15) , where we put for example slot 1, and in a couple of seconds, | arkanoid will be written.
If we choose just Load ROM , it will do the same as above, but without launching the RSX | arkanoid . This file name must match the actual name of the internal game.
If we have several ROMS games, for example 3weeks.rom and 3weeks2.rom , we must load 3weeks.rom in slot 1 and 3weeks2.rom in slot 2, and finally launch the main one, which in this case would be 3weeks.rom
More information about ROMS: https://www.cpcwiki.eu/index.php/ROM_List
The Tilde key is taken out with the combination SHIFT + F10.
