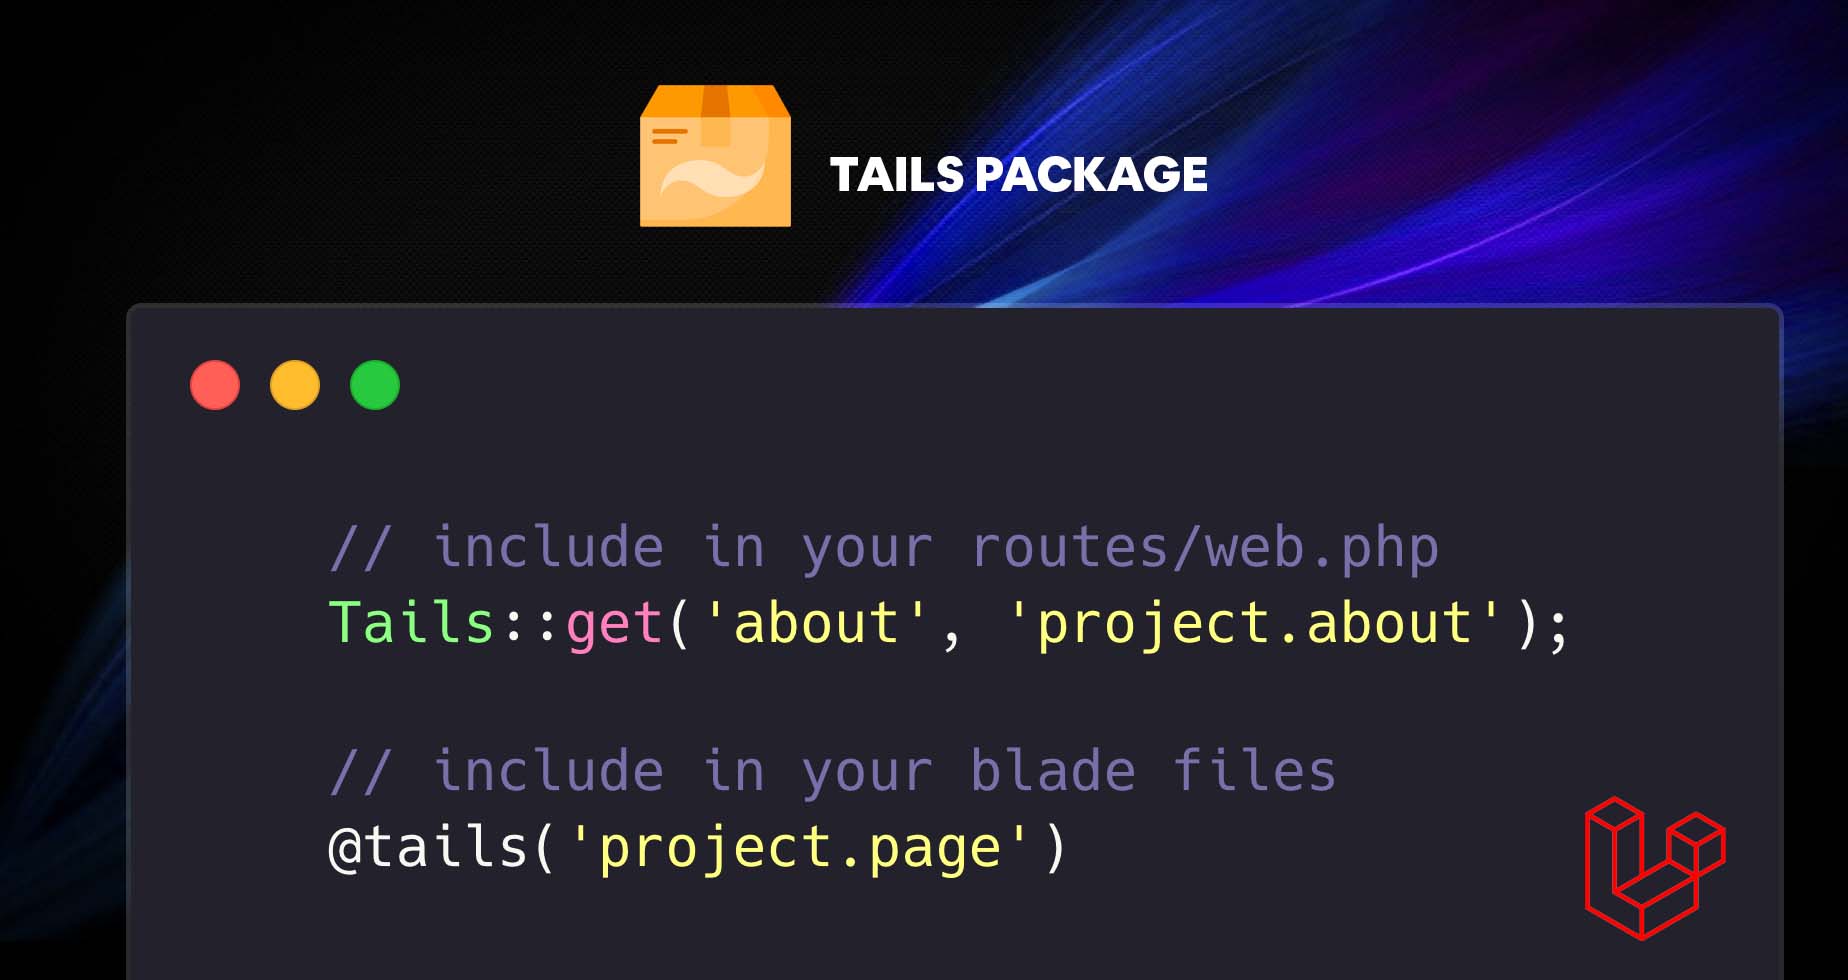
This package will allow you to easily fetch designs that you have created in the Tails page builder. Follow the steps below to learn how to install, configure, and use this package.
You can install the package via composer:
composer require devdojo/tailsRun the following command to publish the Tails config:
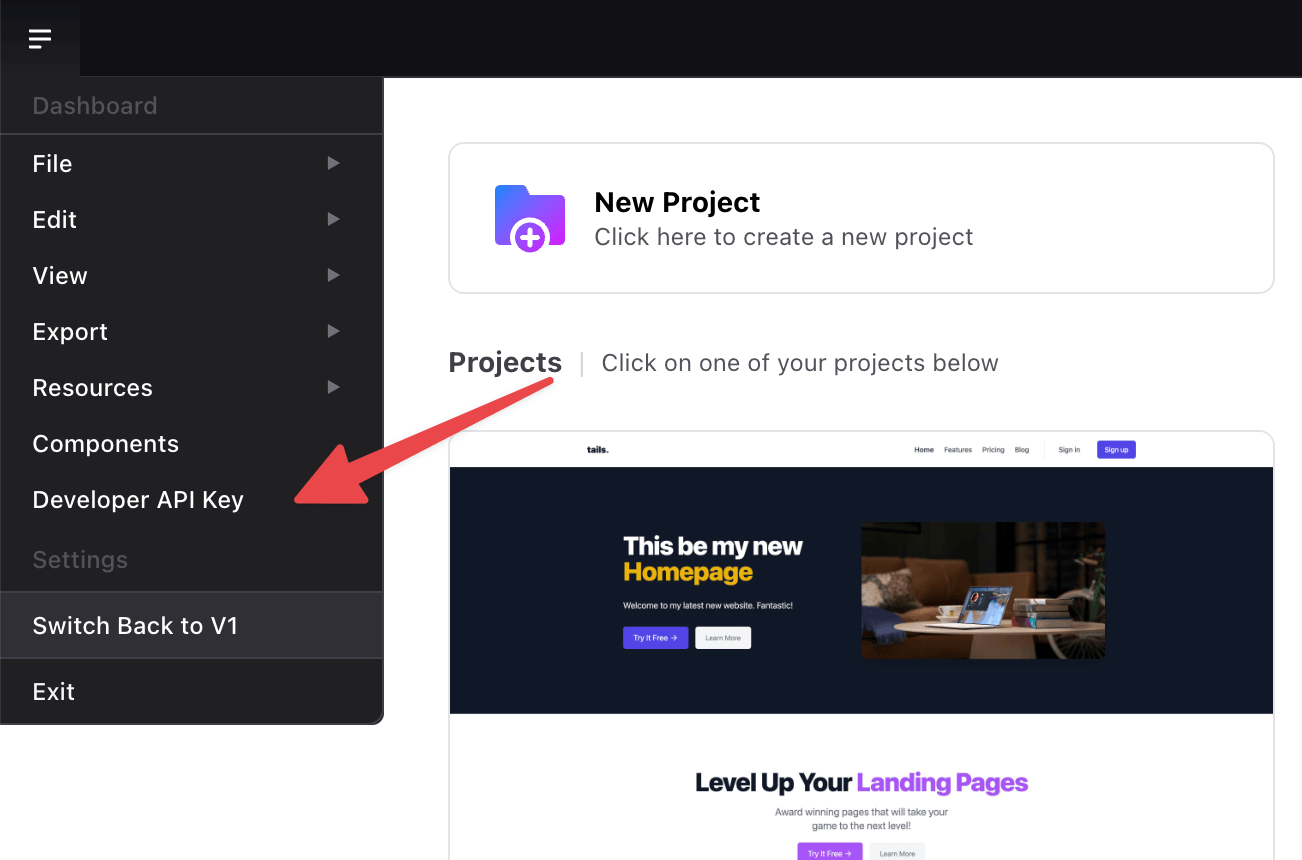
php artisan vendor:publish --tag=tailsVisit https://devdojo.com/tails/app and click the Developer API Key button from the menu.
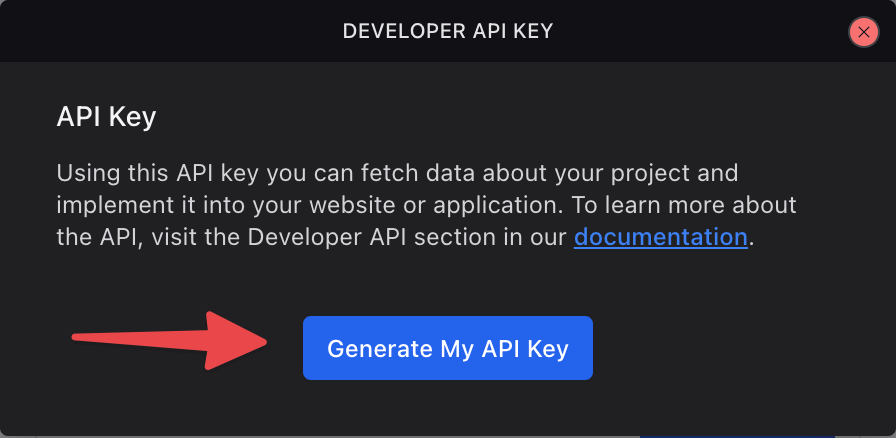
When you click this button it will open up a modal window that looks like the following:
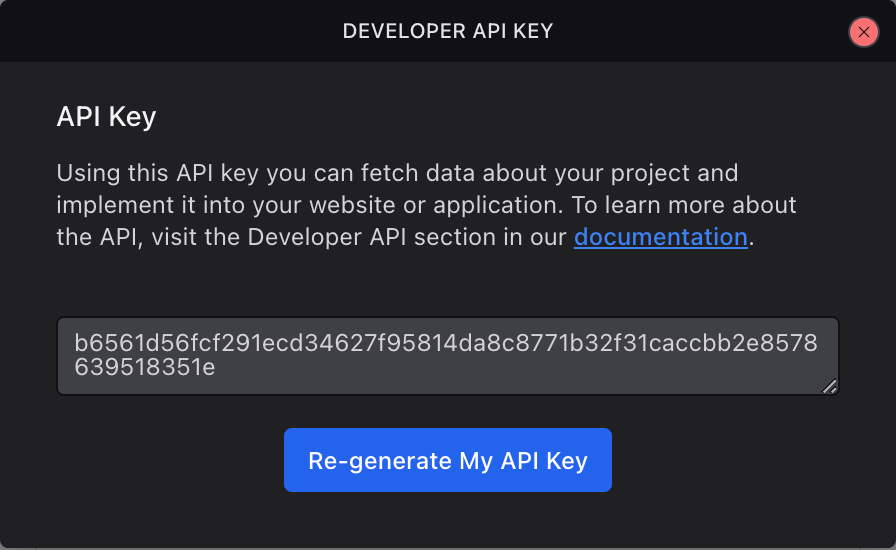
Simply, click the Generate My API Key button and you'll be presented with your new API Key.
If you ever need to re-generate your key, you can click the Re-generate My API Key button and it will be refreshed.
You will need to add your API key that you got in the previous step to your .env file. It should look something like the following:
TAILS_API_KEY=b6561d56fcf291ecd34627f95814da8c8771b32f31caccbb2e8578639518351eWe've added a really simple artisan call for you to test out the functionality and confirm that your application is talking to the Tails API. Simply, run the following artisan command.
php artisan tails:pingIf you get a response that says pong, you have successfully authenticated and connected to the API.
We've made it really easy to display the designs you created with tails inside of your application. You can display the page from a specific route or include the design inside an existing blade file. Let's cover displaying the page on a route first.
The simplest way is to add a Tails route is to add the following inside of your routes/web.php file:
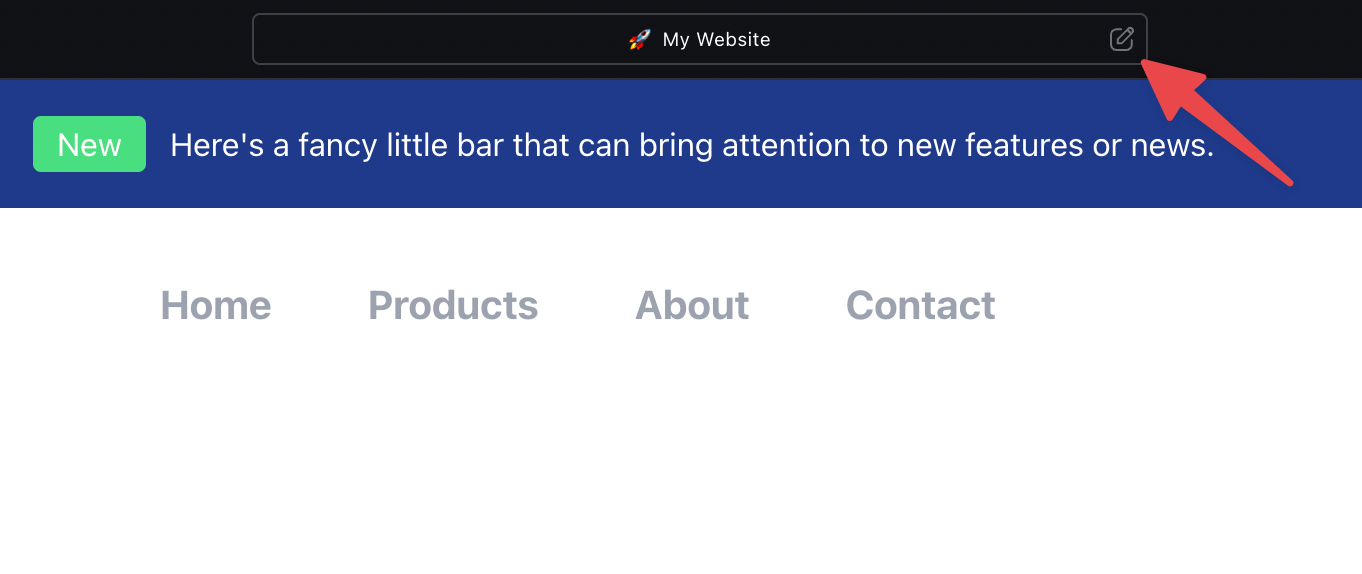
Tails::get('/', 'project-name');This will load the design from the homepage of a project called project-name. You can find the project slug for your specific project by clicking on the settings bar at the top of a project.
This will show you the following modal:
In the example from the image above, the slug you would use is in this case ismy-website, so your route would look like the following:
Tails::get('/', 'my-website');This doesn't have to map to the homepage, it could map to any route:
Tails::get('welcome', 'my-website');Additionally, you can load any page from a specific project by using dot notation, like so:
Tails::get('about', 'my-website.about');The code above 👆 will fetch the design from an about page inside the my-website project and load it up from your application at the /about route 🤙 Easy peasy, like Mac & Cheesy!
Next, you may want to include a specific design inside of an existing blade file. You can easily accomplish this with the following syntax:
@tails('my-website');Using dot notation, you can also load the design for a specific page:
@tails('my-website.about')By default the @tails directive will only return the content inside the <body> of the design. If you wish to fetch the full HTML of the page you can specify it after the : symbol, like so:
@tails('mywebsite.about:html')Using the @tails directive you can retrieve all the information about a specific page using : notation. Here is an example structure of the API response:
{
    html: 'Full HTML of the page',
    header: 'Header info for the page',
    body: 'Body content for the page',
    footer: 'Footer content for the page',
    project: {
        title: 'Title',
        slug: 'slug',
        icon: 'icon',
        icon_type: 'Type os icon or link (may also be upload, but this is also just a link url)',
        settings: 'settings',
        custom_head: 'custom head content',
        custom_footer: 'custom footer content',
        cdn_css: 'Comma separated list of CSS CDN links',
        cdn_js: 'Comma separated list of JS CDN links',
        created_at: 'Date Created',
        updated_at: 'Last Updated'
    },
    page: {
        title: 'Title',
        slug: 'slug',
        settings: 'settings',
        custom_head: 'custom head content',
        custom_footer: 'custom footer content',
        styles: 'The TailwindCSS styles, you will need to wrap these in a <style> tag if you wish to apply the styles to a page',
        order: 'Really only relevant in the editor, but you can also use these orders to display them somewhere on your site',
        created_at: 'Date Created',
        updated_at: 'Last Updated',
        components: {
            [
                html: 'HTML of specific component',
                order: 'The order of the component on the page',
                created_at: 'Date Created',
                updated_at: 'Last Updated',
            ]
        }
    }
}
You can retrieve all this information using the @tails directive like so:
@tails('my-website');
@tails('my-website:html');
@tails('my-website:header');
@tails('my-website:body');
@tails('my-website:footer');

@tails('my-website:project.title');
@tails('my-website:project.slug');
...

@tails('my-website:page.title');
@tails('my-website:page.slug');
...
Here is an example of how you would display a page with the minified styles and the HTML body conent:
<style>
    @tails('my-website:page.styles')
</style>

@tails('my-website')By default all the requests that are made to fetch designs from the Tails API is cached on your applications end. This means that when a user visits your website or application it doesn't have to talk to the Tails API, resulting in faster page loads. Unfortunately since it's cached, your application needs to know when a new version of this page has been updated and show the updated version to your users. You can easiily solve this by enabling the webhook.
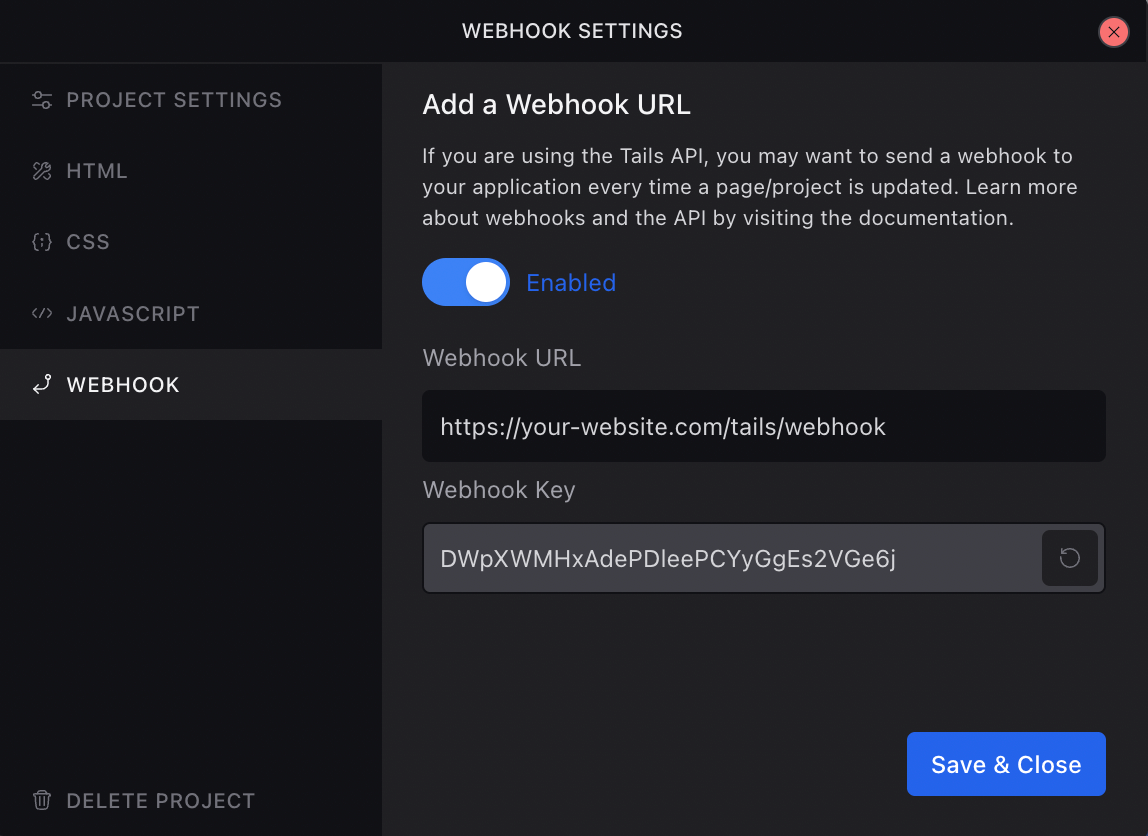
In the project settings modal there is a tab on the left called Webhook, on this tab you will need to turn on the webhook and enter in your webhook URL:
Your webhook URL is going to be your-website.com/tails/webhook, this route /tails/webhook, has already been added in this package. All you have to do is enter the URL inside of the textarea.
Note: If you need to change the tails webhook URL set the TAILS_WEBHOOK_URL env. This will change /tails/webhook to whatever you want.
In the Webhook modal you will also see another input labeled Webhook Key, you will need to copy this value and paste it into your .env file like so:
TAILS_WEBHOOK_KEY=DWpXWMHxAdePDleePCYyGgEs2VGe6j
This is a security measure, it will gaurentee that the Tails application is the only application sending requests to that endpoint. After you've added this key to your environment file and updated the correct URL in the Webhook modal, you should be all set.
Each time you are working in the Tails application and a page is saved, it will send a webhook to your application telling it which pages need to be cleared from the cache, this way the new version will be served up the next time someone visits that page.
Note: If you are working on an app from your local machine, you will need to make sure it is accessible from a live URL. You can use tools like Expose or Ngrok to create a live URL of your local website. They both have some free options that will work for testing your webhook functionality. BTW, using the https:// version instead of the http:// version will work better.
That's the basics on how to setup this package and use with Tails.
Thanks for using Tails and feel free to reach out to us on Twitter with any issues or recommendations and we'll try and get back to you in an appropriate time frame. Thanks again for using our products. You rock 🤘
You can use the Webhook to automatically clear cached pages and show the most up-to-date version; however, you can manually clear these cached files by running the following command:
php artisan tails:clearNow, when you view a page that calls the Tails API, you will get a new version of that page.
Please see CHANGELOG for more information what has changed recently.
Please see CONTRIBUTING for details.
If you discover any security related issues, please email tony@devdojo.com instead of using the issue tracker.
The MIT License (MIT). Please see License File for more information.
This package was generated using the Laravel Package Boilerplate.


