As part of the AppMob course from third and last year of Bachelor, we have created an API. This API is a travel journal, and we'll build an app to work with the API.
We really recommend that you first download the app and compile it with Ionic first, like described here.
But if you want to preview the app without all the hassle of installing stuff and compiling the code, please use your mobile device and go to this link to test the app live or you can test our interactive mock-up here.
This application aims to centralize and log all your trips and places you visit. TraveLog aims to use geolocation and images to accurately catalog your travels.
In addition, you can share your travels with all TraveLog users, and discover your next trip to organize!
Based on an API, this application can be used on any smartphone running iOS or Android, but also tablets and desktop devices.
Here is a list of all functionalities of the app:
- Account creation
- Account login
- Picture creation
- Place creation
- Place search
- Trip creation
- Trip search
- User profile edit
- User search
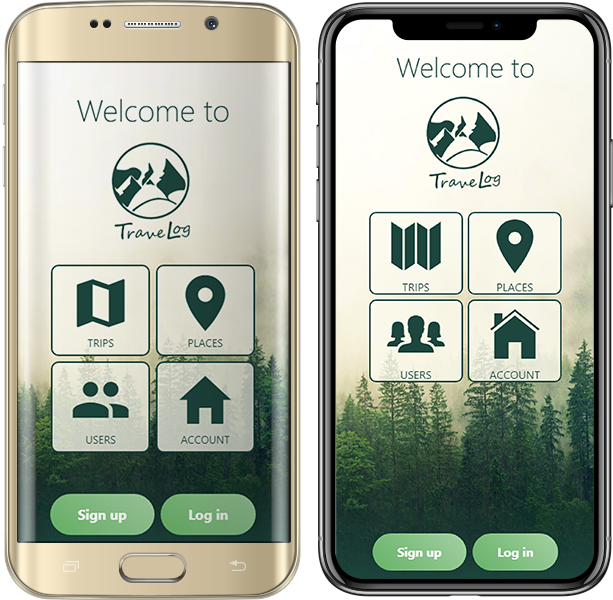
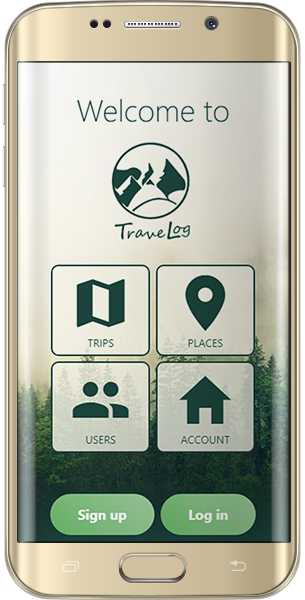
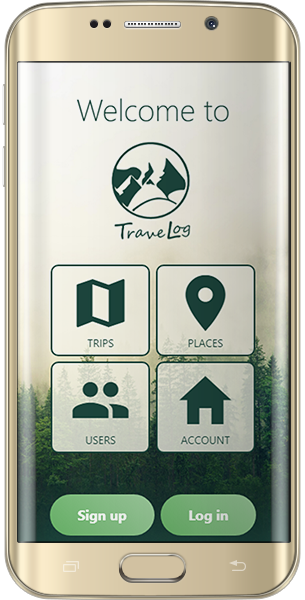
Home screen:
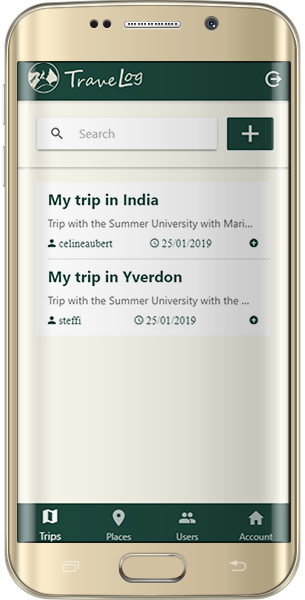
Trips list:
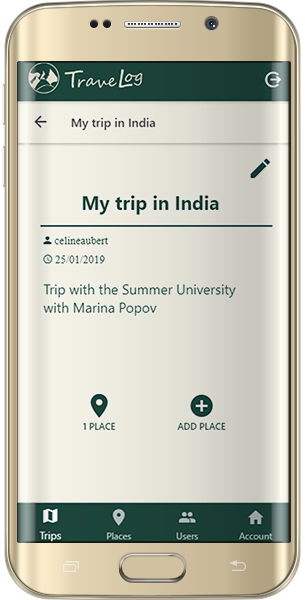
Trip modification:
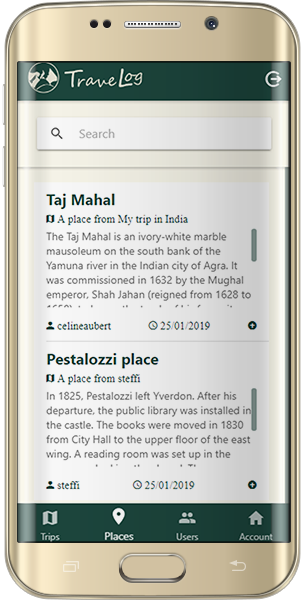
Places list:
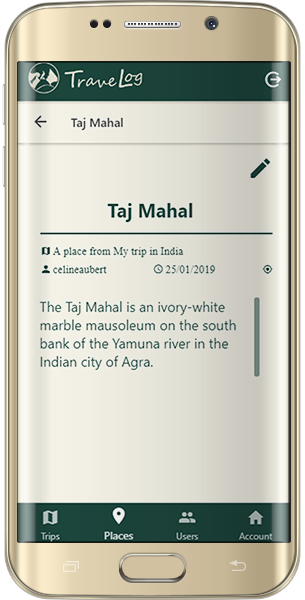
Place modification:
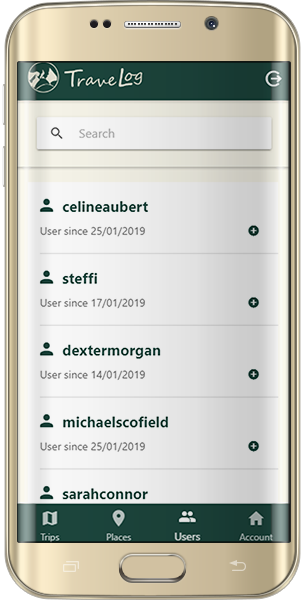
Users list:
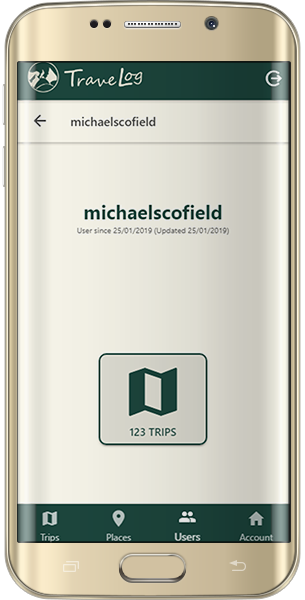
User details:
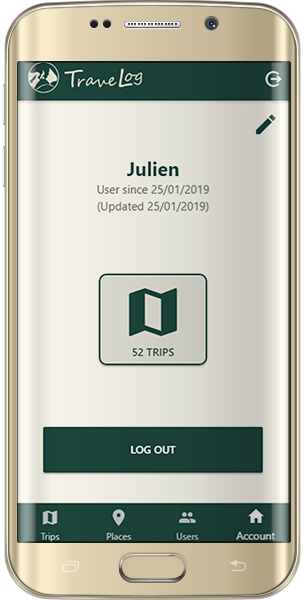
Your details:
For developping this app, we used the following technologies:
If you want to run and test the app locally on your device, you'll need the following:
- a PC or Mac
- a mobile device (it looks like our app runs better on Android for the moment. Sorry, fruits lovers)
- NPM, on your computer
- Git, on your computer
- Ionic DevApp, install it on your smartphone (require Android 4.1 or later // iOS 9.2 or later)
-
First, download a copy of this repo on your computer
-
Unzip the folder on your computer
-
Navigate to
src/app/config.sample.tsand duplicate it in the same folder -
Rename the new file to
config.ts -
In this file, replace every
API_URL_HEREandAPI_KEY_HEREwith your own APi URLs and keysexport const config = { apiUrl: 'API_URL_HERE', qimgUrl: 'API_URL_HERE', qimgSecret: 'API_KEY_HERE' }
-
Open Git Bash, and navigate to the project folder using
cd /path/to/the/folder -
Now, we need to install all the packages and dependencies for this project. To do so, run this command in Git Bash:
npm install
NPM will parse all the dependencies declared in the
package.jsonandpackage-lock.jsonfiles and install them in the project's folder -
Once NPM has finished, to run the app on your computer and use the Ionic DevApp at the same time, run this command in Git Bash:
ionic serve -c
This command compiles the code, and creates a webserver that'll run on your computer. A new tab on your favorite web browser will open, with the app running. To open the app in Ionic DevApp, go to the chapter How to use Ionic DevApp
You can run any Ionic app directly on your smartphone, and unleash the power of the geolocation, camera access, accelerometer and more.
Once you run the ionic serve -c command, open Ionic DevApp.
-
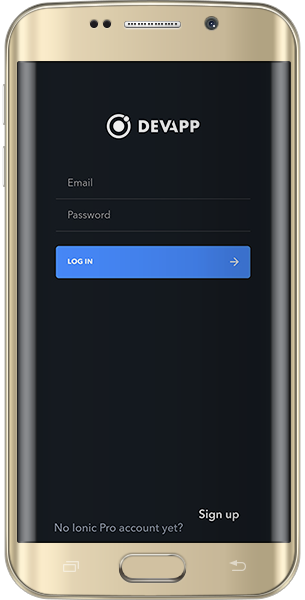
First, log in to your account or create one. Don't worry, it's absolutely free
-
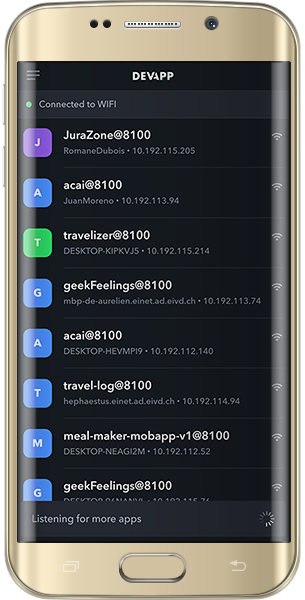
A list with running Ionic app will be displayed. Search your app within the list. To distinguish your app from the other, you can either use the name of the app and the name of your computer.
Make sure you're on the same network on both your computer and your smartphone !
-
Click on the name of your app to start using it with your smartphone, and voilà !
-
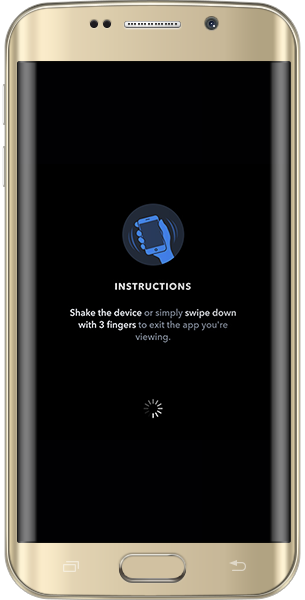
When you want to stop using it, and go back to the app list, just swipe down with three fingers or shake your device
