InstallationMacOsX
Tutorial updated September 2013, with support for Snow Leopard 10.6.8 and Snow Lion 10.8.4
Git is the Source Code Management used by MarkUs. You can find some documentation on GitHub. You will also have to set-up a GitHub account. [[How to set-up Git on Mac Os X|http://help.github.com/mac-set-up-git]]
Once everything is set up and you have forked MarkUs, clone your repo:
git clone <your_repo>

Git clone your repo
Note : You can either use PostgreSQL or MySQL or SQLite3 as database
SQLite3 is easier to install, but should only used in development, not in production. You may also experience database conflicts, in particular if you want to test PDF Conversion. In case of PDF Conversion, you MUST use PostgreSQL or MySQL
Once you have decided what database best suits you :
- Setting up the Database (SQLite)
- Setting up the Database (MySQL)
- Setting up the Database (PostgreSQL)
To correctly build some libraries, you need ruby headers. On Mac OS X, ruby-headers are provided with Xcode. Xcode 3.2.6 is only available to those with a developer account, and Xcode 4.6.x is available for free to users running the latest versions of OS X. If you're running OS X 10.7+, you'll also need the Command Line Tools package.
To download Xcode, go to http://developer.apple.com/xcode/
The package is quite big (4GB). Once downloaded, open the archive or dmg and run the installer:
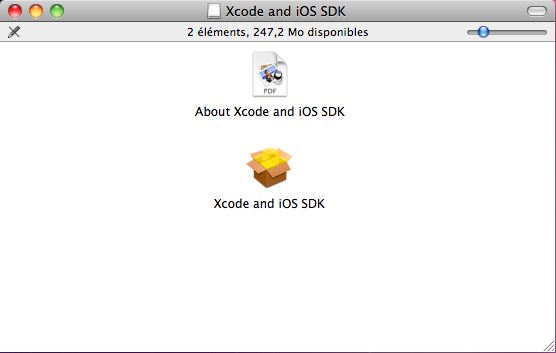
Install Xcode 3/4 for Mac OS X
To manage our ruby environments, it's recommended that you download and install RVM. It can be found at: https://rvm.io/ or you can simply run:
$ \curl -L https://get.rvm.io | bash -s stable
Next we'll install the latest version of Ruby 1.8.7:
$ rvm install ruby-1.8.7
$ rvm use ruby-1.8.7
You can download the subversion source code from: http://subversion.tigris.org/downloads/subversion-1.6.17.tar.gz
Once downloaded, extract the archive and cd to it:
$ tar xvzf subversion-1.6.17.tar.gz
$ cd subversion-1.6.17
Next, configure it for the Ruby 1.8.7 version you're using with RVM, and install it. In this case, we're using ruby-1.8.7-p374:
$ ./configure --with-ruby-sitedir=~/.rvm/rubies/ruby-1.8.7-p374/lib/ruby \
  --prefix=`echo ~`/.rvm/rubies/ruby-1.8.7-p374 --disable-mod-activation \
  --without-apache-libexecdir

$ make
$ make swig-rb
$ make install
$ make install-swig-rb
First, you will need rubygems (previously installed)
To ensure you have a good version of rubygems, please do:
$ gem --version
If your version of rubygems is < 1.8.15, please update it ! To update Rubygems, please do:
$ gem update --system
This section assumes, you have gem version >= 1.8.15 (required for rails version >= 3.0.13). MarkUs uses bundler to manage all gems. Install only bundler as a gem and bundler will install all other Gems. Make sure to install Bundler in the Ruby environment used by MarkUs.
To install bundler, run the following:
# gem install bundler
# PATH=$PATH:/Library/PostgreSQL/9.0/bin/:/usr/local/mysql/bin/ bundle install
Please note that bundler may ask you for your root password.
Bundle also allows some selective installation. To install only sqlite3 support, execute the following:
$ bundle install --without postgresql mysql
To install only postgresql support, execute the following:
$ PATH=$PATH:/Library/PostgreSQL/9.0/bin/ bundle install --without sqlite mysql
To install only mysql support, execute the following:
$ PATH=$PATH:/usr/local/mysql/bin/ bundle install --without postgresql sqlite
As you can see, you may have to indicate to Bundler the path where PostgreSQL or MySQL were installed.
If during install you receive the following error:
Installing mysql2 (0.2.18)
Gem::Installer::ExtensionBuildError: ERROR: Failed to build gem native extension.

/Users/username/.rvm/rubies/ruby-1.8.7-p374/bin/ruby extconf.rb
checking for rb_thread_blocking_region()... no
checking for rb_wait_for_single_fd()... no
checking for mysql.h... no
checking for mysql/mysql.h... no
-----
mysql.h is missing.  please check your installation of mysql and try again.
-----
*** extconf.rb failed ***
Could not create Makefile due to some reason, probably lack of
necessary libraries and/or headers.  Check the mkmf.log file for more
details.  You may need configuration options.
Then at around line 120, remove the two instances of -Wno-null-conversion and -Wno-unused-private-field from /usr/local/mysql/bin/mysql_config.
If instead, during install, you receive the following error:
Library not loaded: libmysqlclient.18.dylib
Then try:
sudo ln -s /usr/local/mysql/lib/libmysqlclient.18.dylib /usr/lib/libmysqlclient.18.dylib
Once installed, you will see a green message telling you everything is ready:

Bundler complete message
Note : If your want to test PDF conversion on MarkUs, don't forget to set to true the PDF_SUPPORT variable in config/environments/development.rb
After installation, you can run the following to list all gems used by MarkUs:
$ bundle exec gem list --local

*** LOCAL GEMS ***

abstract (1.0.0)
actionmailer (3.0.20)
actionpack (3.0.20)
activemodel (3.0.20)
activerecord (3.0.20)
activeresource (3.0.20)
activesupport (3.0.20)
arel (2.0.10)
bourne (1.5.0)
builder (2.1.2)
bundler (1.3.5)
columnize (0.3.6)
dynamic_form (1.1.4)
erubis (2.6.6)
exception_notification (3.0.1)
faker (1.1.2)
fastercsv (1.5.5)
i18n (0.5.0)
json (1.8.0)
kgio (2.8.0)
linecache (0.46)
machinist (1.0.6)
mail (2.2.20)
metaclass (0.0.1)
mime-types (1.23)
mocha (0.14.0)
mysql2 (0.2.18)
polyglot (0.3.3)
rack (1.2.8)
rack-mount (0.6.14)
rack-test (0.5.7)
railroady (1.1.0)
rails (3.0.20)
railties (3.0.20)
raindrops (0.11.0)
rake (10.1.0)
rbx-require-relative (0.0.9)
rcov (1.0.0)
rdoc (3.12.2)
rghost (0.9.3)
routing-filter (0.3.1)
ruby-debug (0.10.4)
ruby-debug-base (0.10.4)
rubyzip (0.9.9)
shoulda (3.3.0)
shoulda-context (1.1.4)
shoulda-matchers (1.5.6)
thor (0.14.6)
time-warp (1.0.13)
treetop (1.4.14)
tzinfo (0.3.37)
unicorn (4.6.3)
will_paginate (3.0.4)
ya2yaml (0.31)
Create databases::
$ bundle exec rake db:create:all     # creates all the databases defined in config/database.yml
$ bundle exec rake db:create         # creates the database defined in config/database.yml
Next, you can execute some rake tasks to test your MarkUs installation. Sometimes, the "Rake Tasks" view doesn't work in RadRails but you can run the commands from the Terminal.
Enter the following commands:
$ bundle exec rake db:schema:load
$ bundle exec rake db:migrate
Next, you can load the initial database models for the current environment:
$ bundle exec rake db:seed
Now, start the server using:
$ bundle exec rails s
Another rake task that might be useful if you ever want to drop and recreate the database from db/schema.rb:
$ bundle exec rake db:reset
You can learn more about other rake tasks by entering:
$ bundle exec rake -T
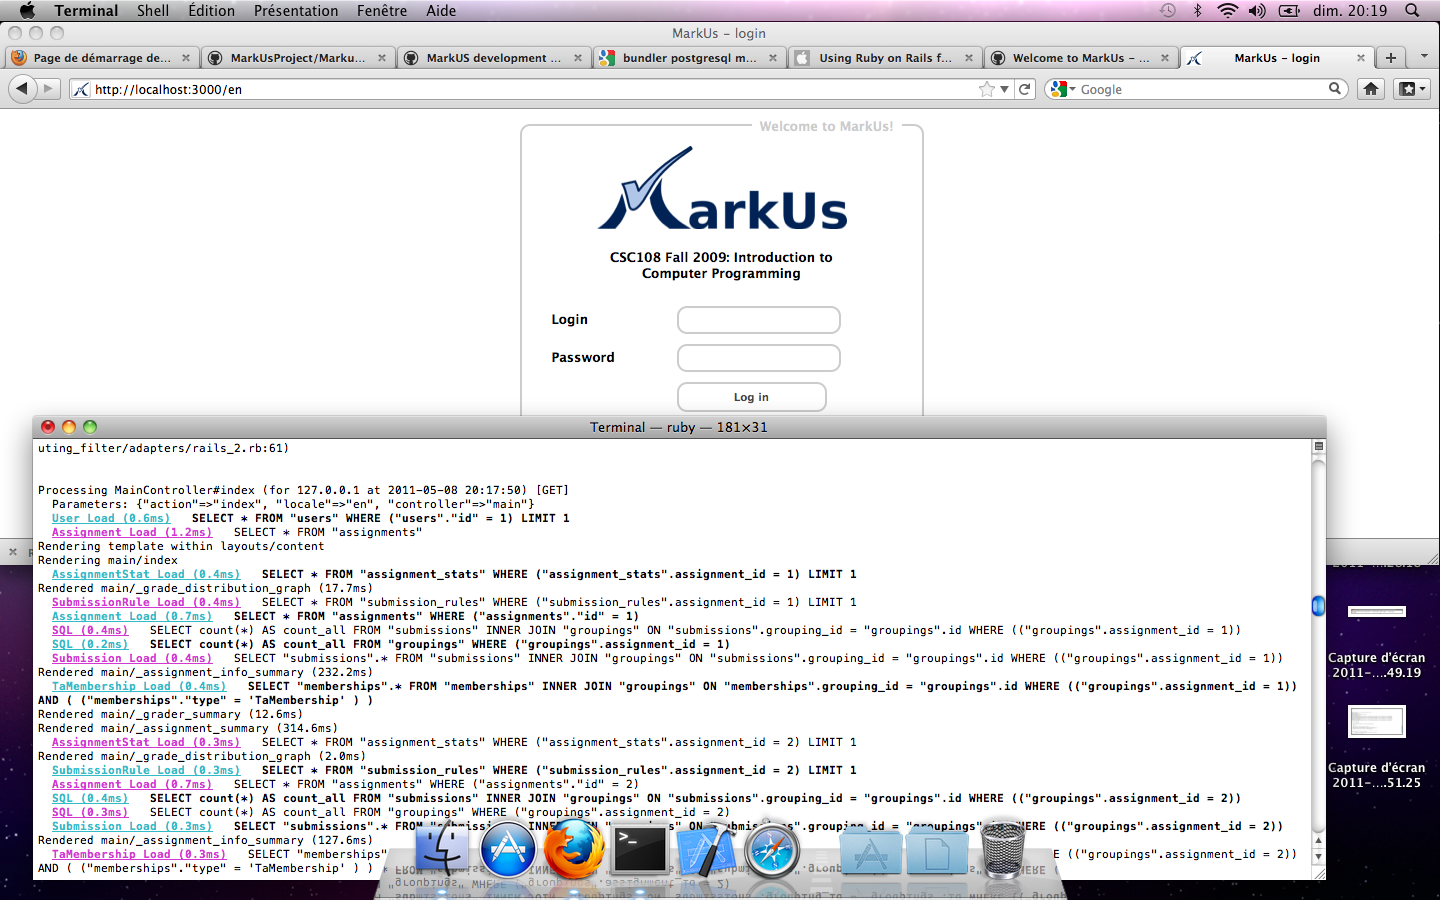
You should now be able to access MarkUs at http://localhost:3000 in your browser.
The default admin user is 'a' with any non-empty password. Look at db/seeds.rb for other users.
Happy Coding!
MarkUs is now working on your computer !