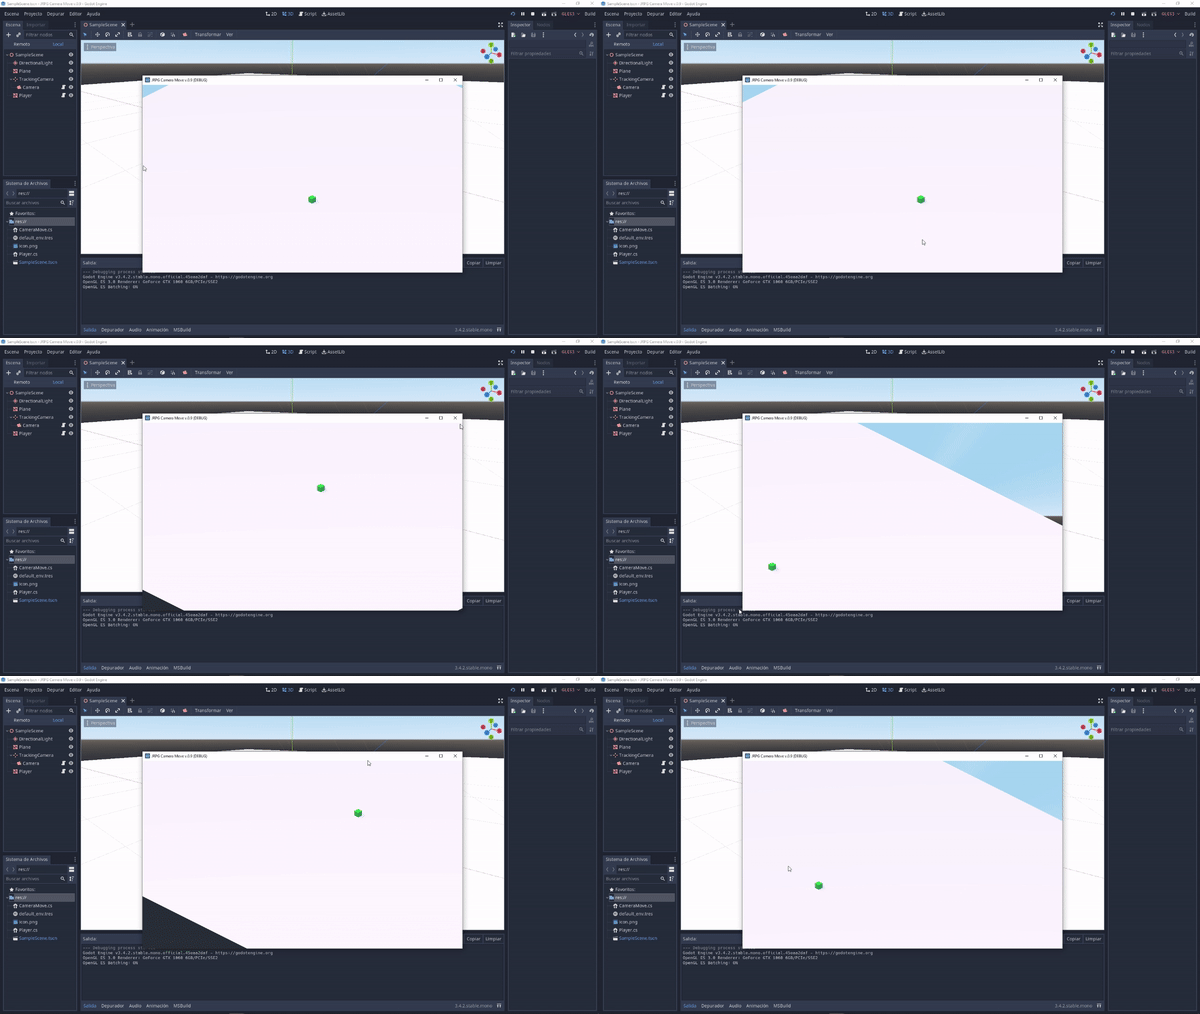
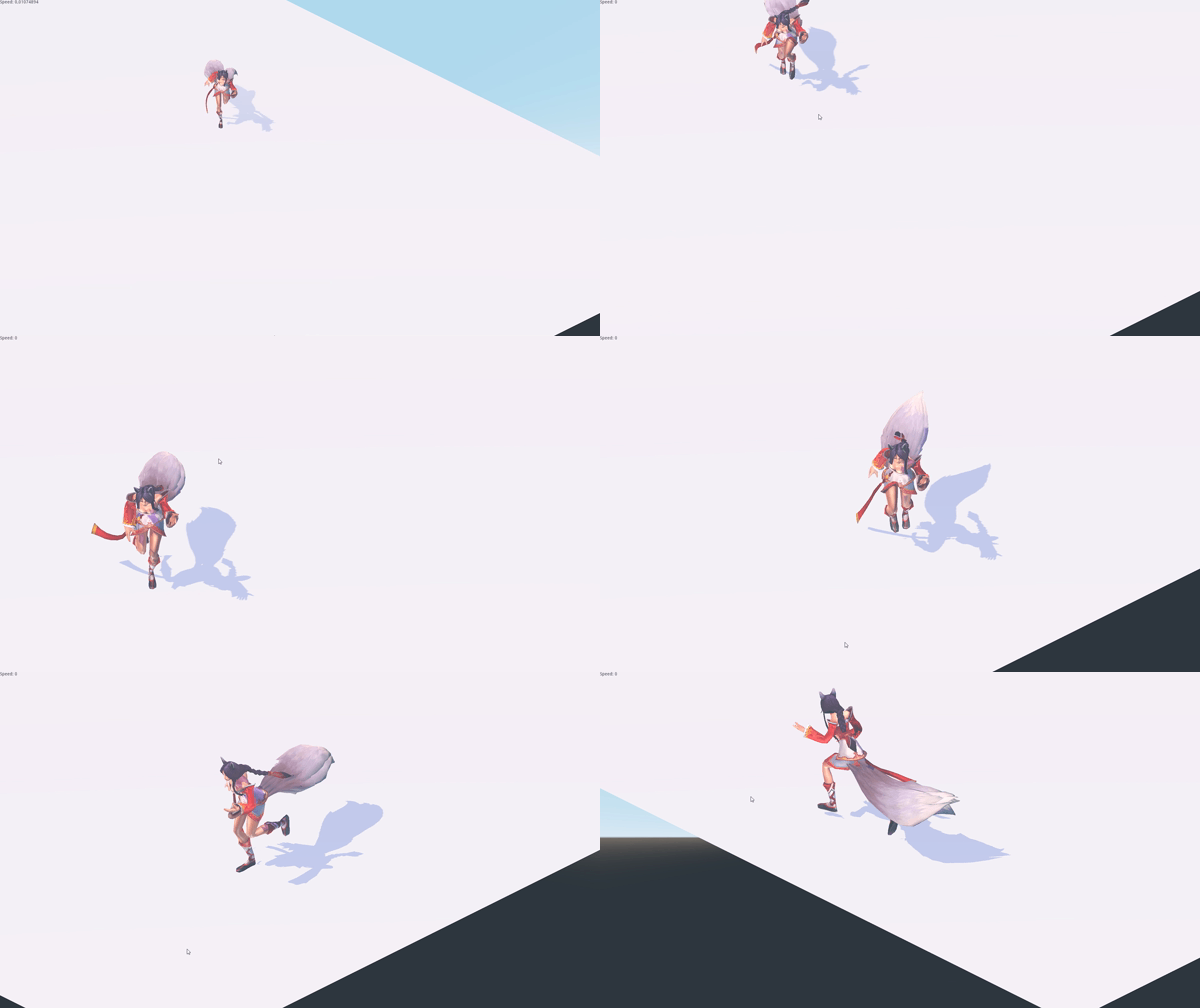
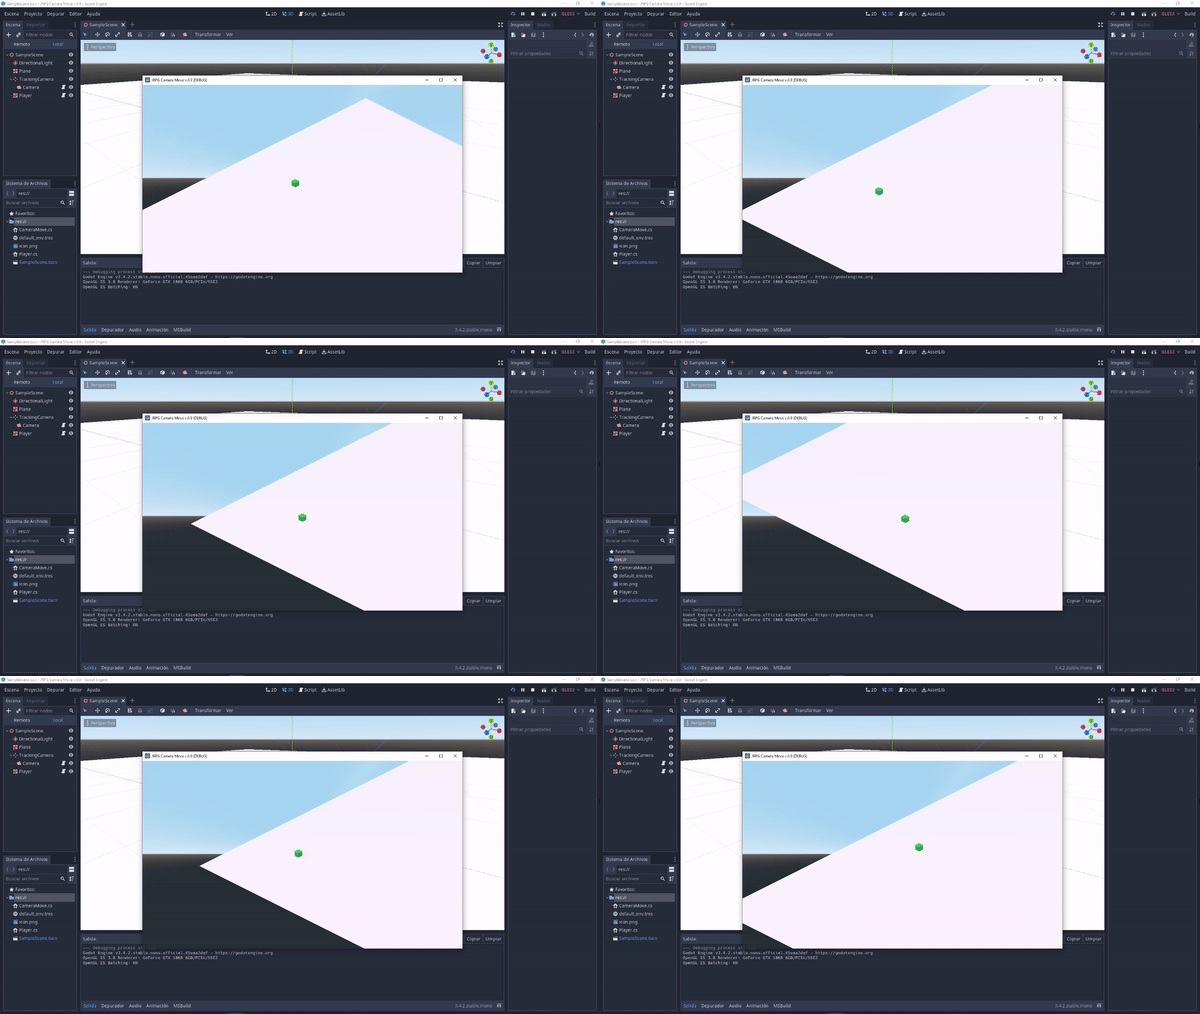
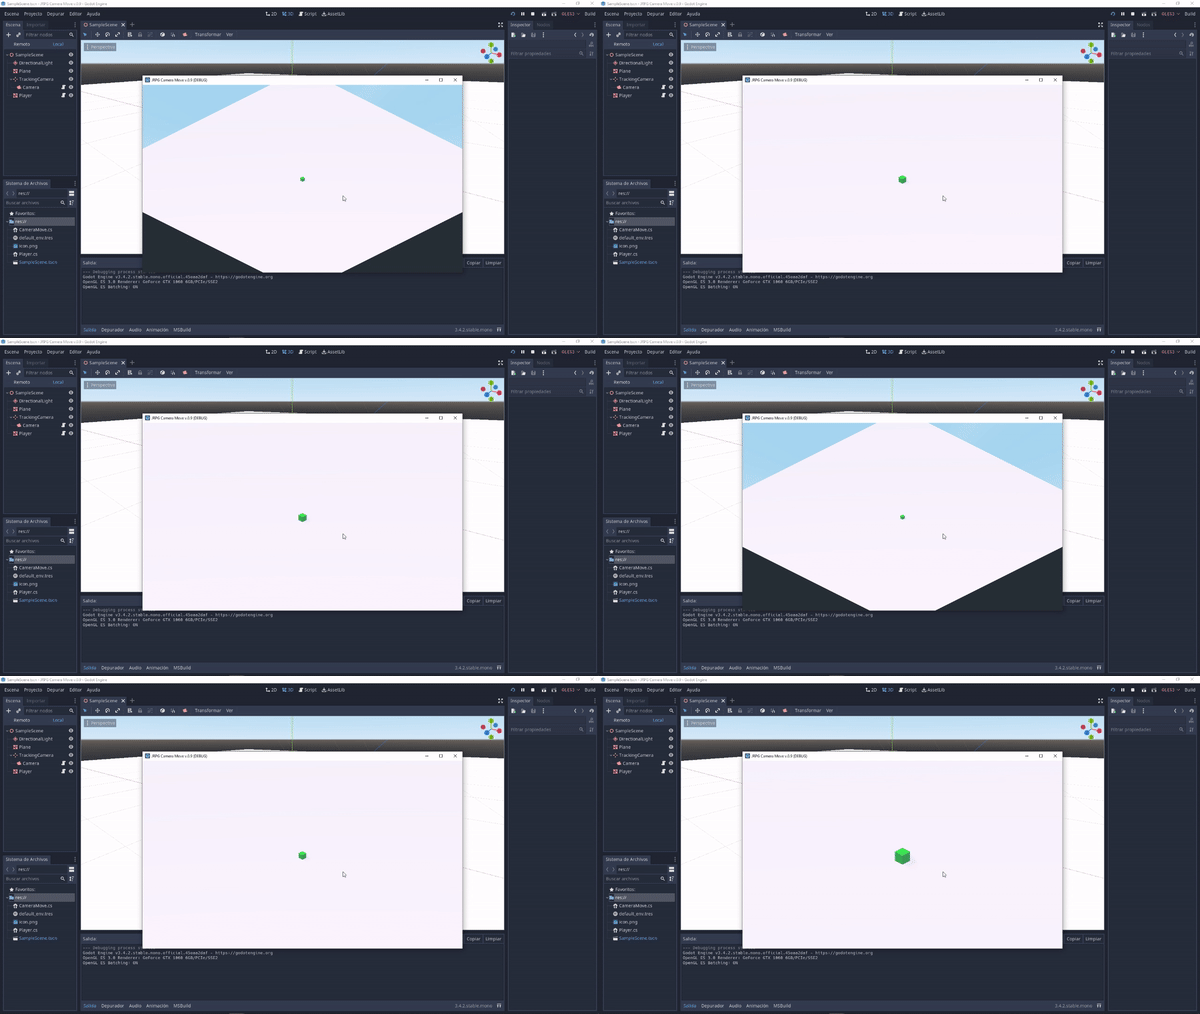
A plugin RTS camera move system made in Godot Engine 3.4 imitating to the Northgard game.
+ Recent version V.0.9.5 with new features and fixes applied.
- Plug-in development written in C#.JRPG-camera-move-v.0.9 it's a tool designed for to RTS Games and RPGs. Let you make a real time strategy 3D game.
Move Camera with Mouse in Godot 3D, fading in and in-out smoothing, customizable parameters, keyboard camera control, player tracking camera, zoom in-out. Displacement across map x, y, z and diagonal with Map Range Clamped system. Set up the "Kinematic Character Move" interactive.
The Y key is used to lock or free-view camera.
Free-View Cam: First gif image
Lock-View Cam: Second gif image
Keys A, W, D, S is used to move character and tracking with camera smoothing.
The mouse wheel scrolling + or - is used to Zoom in-out Camera. Even you can scrollable and zoom.
MacOS
Linux
Windows
Godot_v3.4.2-stable_mono_win64 (Mono Version).
Don't matter if you code in GDScript, it enabled for both C# or GDScript.
GLES3 (GPU Driver Compatibility OpenGL 3.3).
- Copy or clone repository inside of ➤ C:\Users\YourName\Documents\YourGodotProject
- Rename the folder "northgard-camera-move-plugin-for-godot" to "addons".
- Run Godot Engine 3.4 (C# Version required to run the plugin).
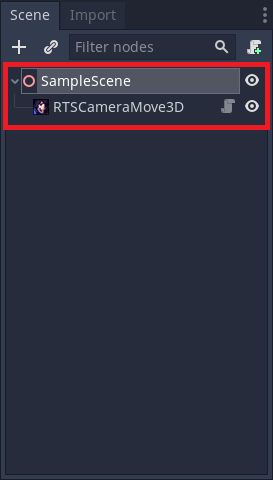
- Create a new node type Spatial and rename for 'SampleScene'.
- Attach a new script type C# (give it another name that is not SampleScene).You will be able to remove it later and choice GDScript.
- Now clicked in Build or Alt + B.
- To enable the freshly installed plugin, open Project > Project Settings at the top of the editor then go the Plugins tab.
- Active to enable the plugin > rts_camera_move
- Press the "Add Child Node" button at the top left of the Scene dock to create a node. This button adds the chosen node as a child of the currently selected one or, in an empty scene, as the root.
- Select the node Spatial > RTSCameraMove3D. You can type it's name to filter down the list.
- Click the RTSCameraMove3D node and check the "Editor Description" to know how to set up the Input Maps.
- Set up the Input Map to enable Mouse Zoom and Character Move (PASS 9). Project > Project Settings > Input Map.
- Finally the set-up has been completed, save the project and press Build.
- Run the Game.
If you have any questions or doubts comment in the description into below.
- How to set up the parameters and settings?
Into Godot editor double-click FileSystem > addons > rts_camera_move > "SampleScene.tscn". Now in the new window can going to SampleScene > TrackingCamera > Camera and here variables it can be changed. - What is size map clamped it?
Higher values than the default value means a symmetric larger map. It should keep the same dimensions on both sides to avoid clamping critical errors. - How to does put my 3D character model and animation?
It's super easy, select on folder addons/rts_camera_move/SampleScene.tscn (double click) in the inspector, and replace ahri_base node for your own.
Configure to Scale X 0.1, Y 0.1, Z 0.1, Translation X 0.0, Y 0.1, Z 0.0 and Rotation Degrees -180 or choice your custom set-up. That's it.
Do you want more features?, check it out repositories weekly.
Consider making a donation to support my work:
Enjoy it!
