- Pig is a dice rolling game (also known as Skunk).
- Screen #1 allows the user to enter the number of players in the game and their corresponding names.
- Screen #2 allows players to play Pig and displays a scorecard.
- I first programmed the Skunk game in Java using Eclipse.
- It produced output to terminal.
- It is located in the SkunkGame repo of my Github page.
- A detailed game description can be found in the SkunkGame README.md file.
- Frontend screen designs (screen1.py and screen2.py) were sketchd out in PyCharm using python's Tkinter GUI frameowrk on Windows.
- The backend will be translated from Java into Python using Spyder IDE shipped with Anaconda on Mac OSX.
| Software | Version | Location |
|---|---|---|
| Homebrew | 2.4.0 | Mac: User/local/Cellular |
| Powershell | 7.0.3 | |
| OpenSSL | 2.8.3 | |
| pip | ||
| ------------- | ----------- | ---------------------------- |
| Anaconda | 3 | |
| Python | 3.8 | |
| Spyder | 4.1.4 | |
| Kite | ||
| ------------- | ----------- | ---------------------------- |
- I first designed both screens in Tkinter (UI framework inherent to python 3) to sketch out a basic layout for the game (see figures 1 and 2).
- I use the PIL Imaging Libary, which excludes me from using Pillow. (verify this - which did I install? They are mutually exclusive.)
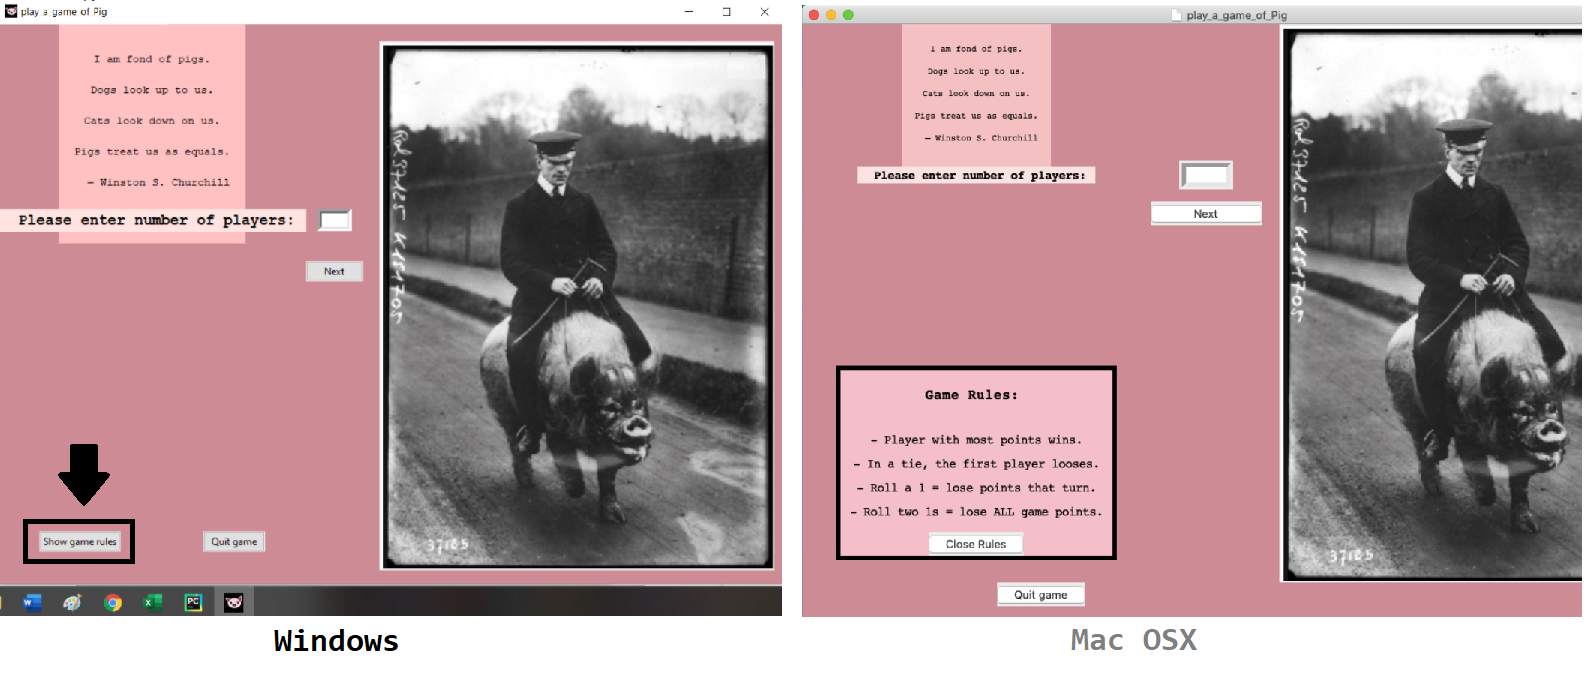
Figure 1. Screen 1 demonstrates basic button click to display game rules
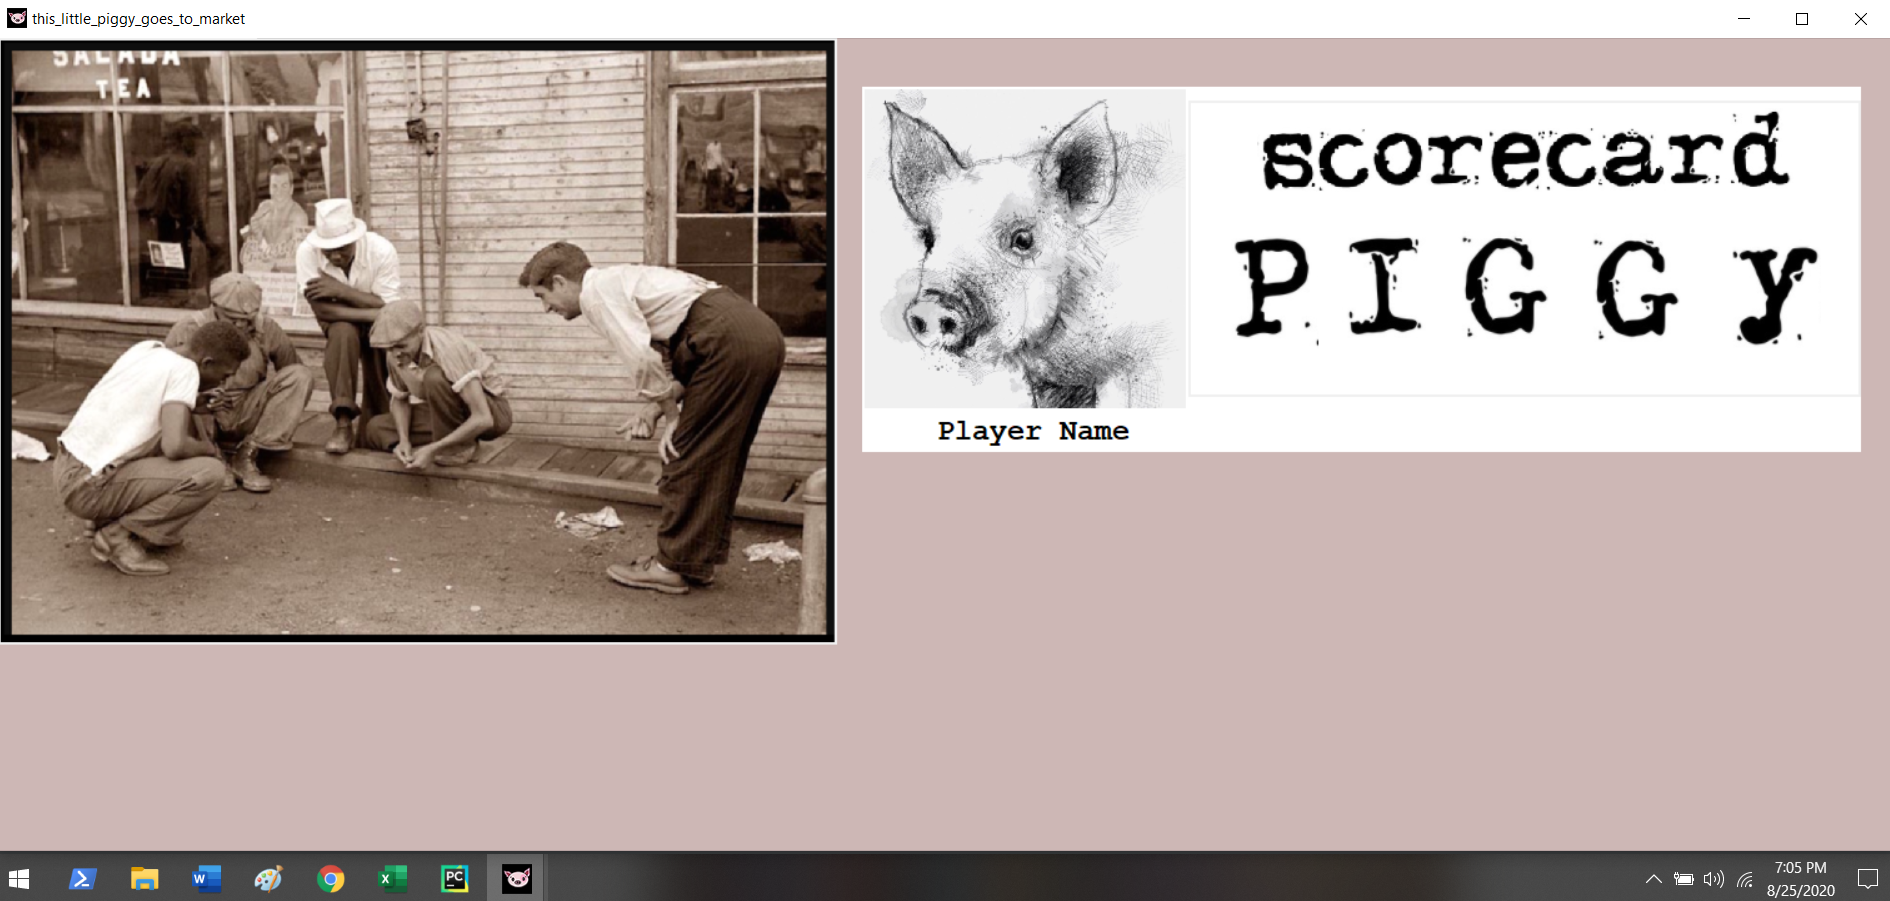
Figure 2. Screen 2 is where players take turns rolling dice and a scorecard will be displayed
- Having aquainted with Tkinter, I started fresh.
- I programmed into a blank file containing only necessary widgets required to test UI functions.
- Design elements from screen1.py and screen2.py can be added in quickly later.
- This file is called piggy.py and contains a class for instantiating Window objects.
- The window1 object contains the functionality for screen 1 (see figure 3).
- A second instantiaion of the Window object can be easily adopted to accomidate screen2.
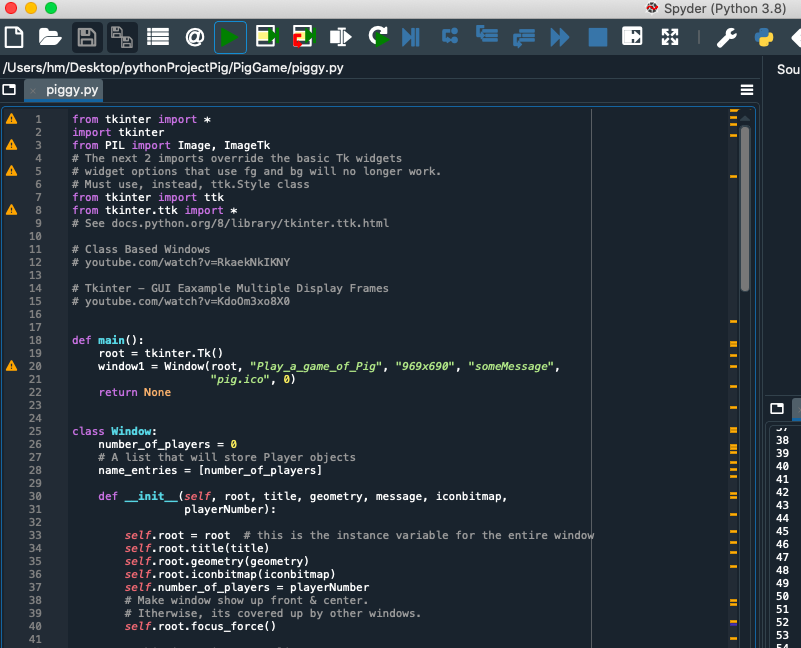
Figure 3. The Window class
- The class based window accepts and validates user input for the number of players and the names of each player.
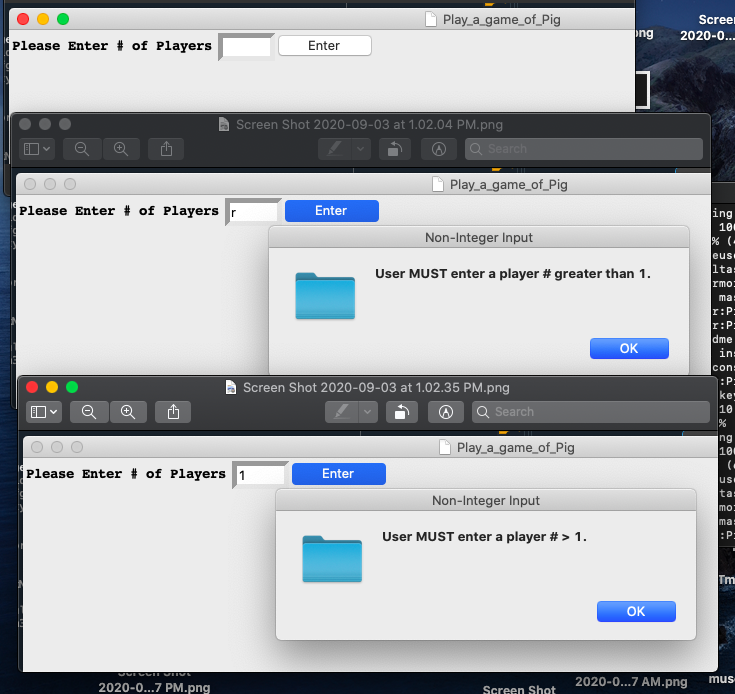
Figure 4. User input validation for screen 1
- This step concludes basic programming for the View in MVC.
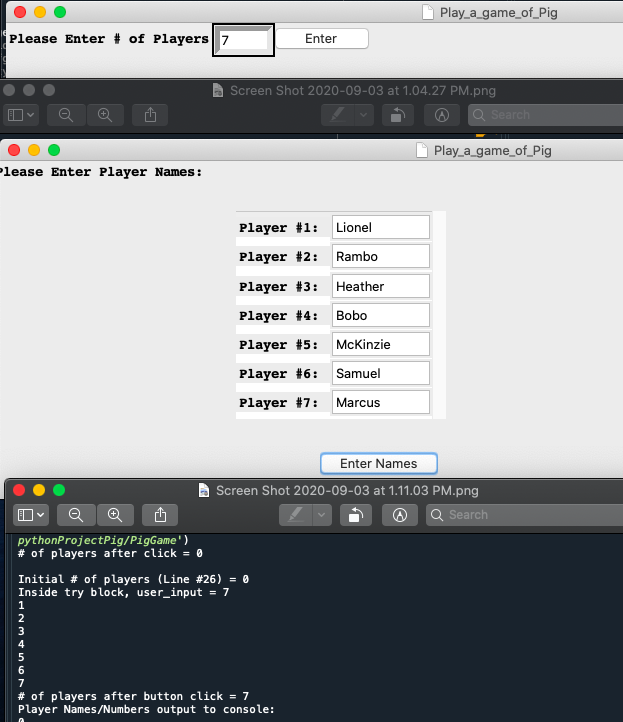
Figure 5. User input required to run the program
- Remember to make the controller navigate to the 2nd window (not the 1st window)
- write something here...
Resources for merging this frontend (multiple class based windows) together with the python backend:
- Python: Tkinter Class Based Windows - tutorial series on Udemy $15
- Tkinter - GUI Example Multiple Display Frames
- Model View Controller Pattern
- Object Oriented Programming Crash Course with Tkinter
- An Example of Model View Controller Design Pattern with Tkinter Python
- tkinter — Python interface to Tcl/Tk
- Python QT framework for the next time I do something like this:
- Qt for Python
- How to make an executable:
- Standalone Python EXE Executable - Python Tkinter GUI Tutorial #40
- How to Convert any Python File to .EXE