Walkthrough
Writing a Twitter bot is fairly easy, but jumping through the hoops required to actually get it posting is a real drag. Twitter switched their API authorization to OAuth in 2010. They require anyone using their API to post tweets to do so via OAuth. You can get some technical details about this on their page Authenticating Requests with OAuth. Here's a quick taste:
To use the Twitter API, the first thing you have to do is register a client application. Each client application you register will be provisioned a consumer key and secret. This key and secret scheme is similar to the public and private keys used in protocols such as ssh for those who are familiar. This key and secret will be used, in conjunction with an OAuth library in your programming language of choice, to sign every request you make to the API. It is through this signing process that we trust that the traffic that identifies itself as you is, in fact, you.
Here's how to setup an app that you can use to run chatterbot:
First, go to Twitter's Register New Application page. You need to be logged into Twitter at this point, but you do not need to be logged in as your bot. Fill out this form (click to make biggish):

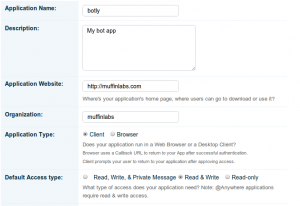
Fill out the form with entries like this:
- Application Name: You can name it anything you want.
- Description: Put whatever you like here
- Application Website: Got a website? Put it here
- Organization: Anything should be fine
- Application Type: Important: choose Client here
- Default Access type: choose Read & Write if you want to send Tweets. Chatterbot doesn't support Direct Messages, so there's no point in choosing that option.
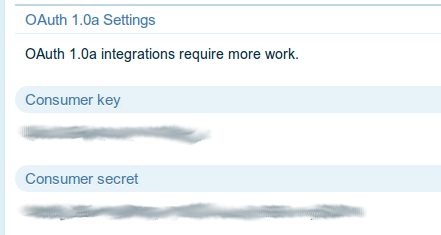
When this is done, you have successfully setup an app! You'll get a page with a bunch of API key information.
Under "OAuth 1.0a Settings", make a note of the Consumer key/secret values. Make sure you don't use the @Anywhere Settings key by mistake. You want these values:
OK, now run your bot script. Chatterbot will detect that it doesn't have your consumer key/secret, and will ask you to enter them:
****        API SETUP TIME!         ****
Hey, looks like you need to get an API key from Twitter before you can get started.
Please go to this URL: https://twitter.com/apps/new

Choose 'Client' as the app type.
Choose 'Read & Write' access.

Paste the 'Consumer Key' here: <ENTER CONSUMER KEY FROM ABOVE, HIT ENTER>
Paste the 'Consumer Secret' here:  <ENTER CONSUMER SECRET FROM ABOVE, HIT ENTER>
Unless you mis-copy the values, or something goes wrong, you'll get another prompt, to authenticate your bot itself to use your app. To do this, login to Twitter as your bot, then follow the instructions:
Please go to the following URL and authorize the bot.
http://api.twitter.com/oauth/authorize?oauth_token=xyz123
Paste your PIN and hit enter when you have completed authorization.
Twitter will show you a screen like this:
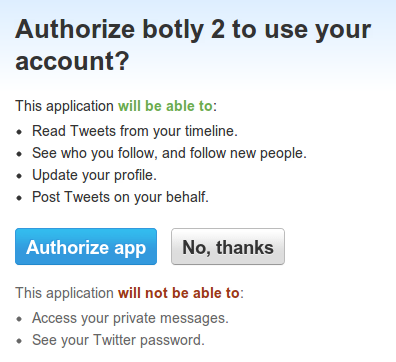
If you authorize the app, you'll get a PIN number:
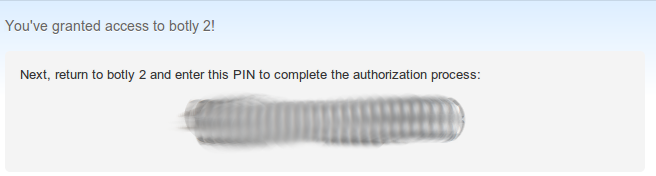
Paste that into chatterbot and hit Enter. Chatterbot will take that PIN, and use it to get the key/secret the bot needs to use the Twitter API. That's it! Chatterbot will save your config entries to a settings file, and you shouldn't need to do this again. If you want to setup multiple bots, you can re-use the app key/secret again, but you will need to go through the app authorization process and get a new PIN key.
This is all a bit of a pain, but after you've done it once or twice, it's not too big of a deal.