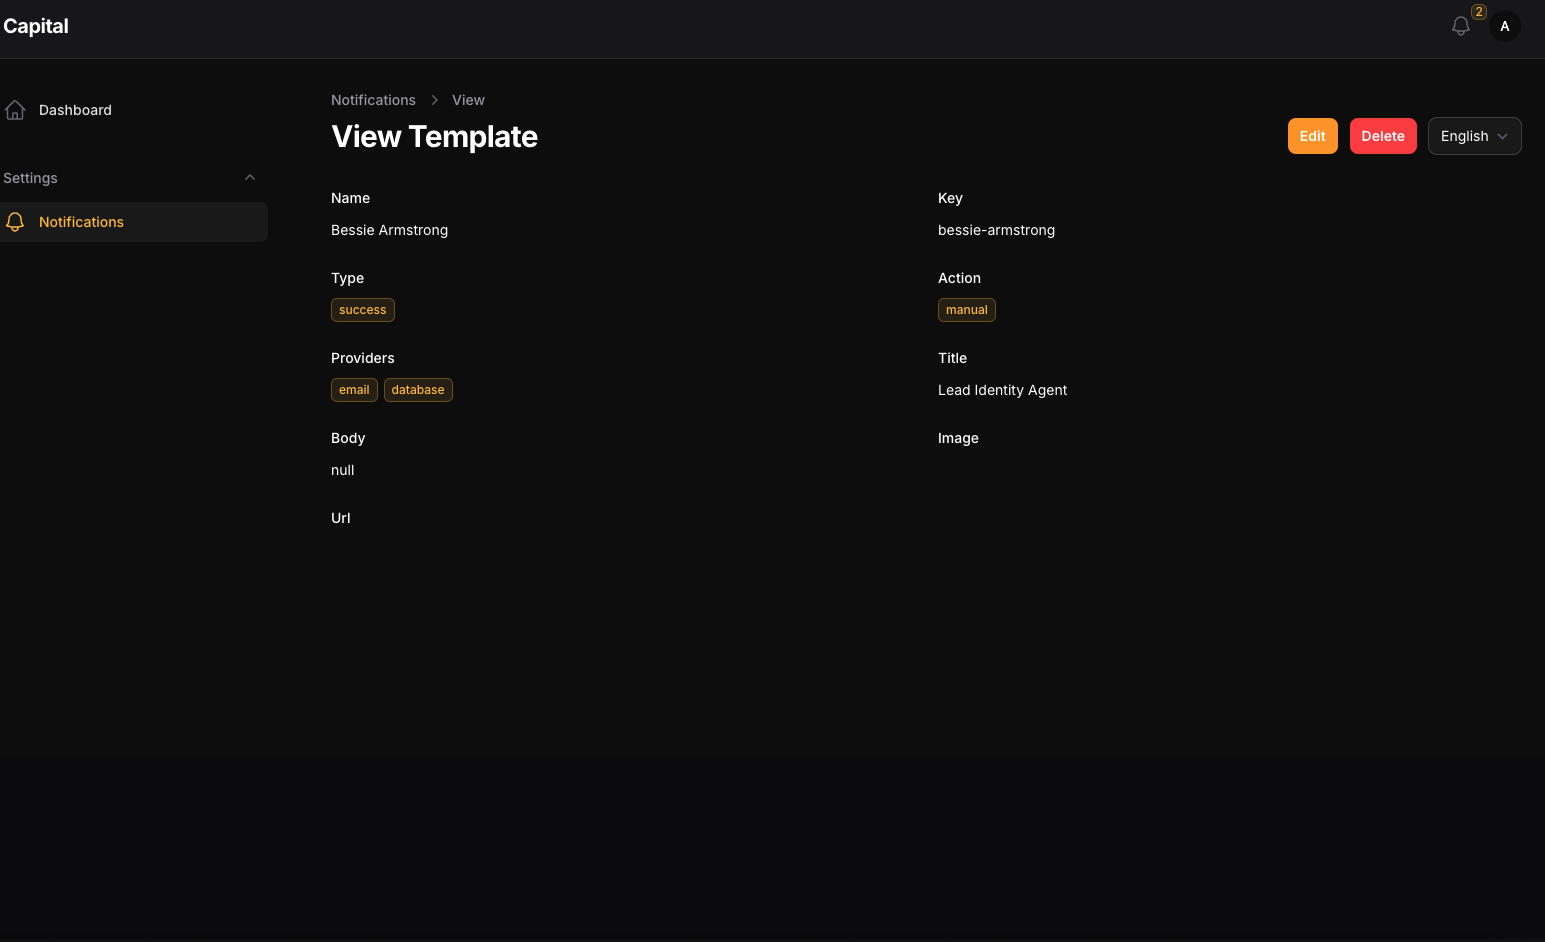
Send notification to users using notification templates and multi notification channels, it's support Filament Native Notification Service with macro, and a full integration to FCM service worker notifications
- Send Notification to users using drivers
- Use Filament Native Notification
- Use Notification Templates
- Notification Logs
- Use Multiple Notification Channels
- Hide Notifications Resources
- Use Database Driver
- Use Email Driver
- Custom Driver Register
- Custom Type Register
- Custom Action Register
- Multi Users Register
- Register Notification Templates
composer require tomatophp/filament-alertsafter install your package please run this command
php artisan filament-alerts:installif you are not using this package as a plugin please register the plugin on /app/Providers/Filament/AdminPanelProvider.php
->plugin(\TomatoPHP\FilamentAlerts\FilamentAlertsPlugin::make()
)to set up any model to get notifications you
<?php

namespace App\Models;

use Illuminate\Contracts\Auth\MustVerifyEmail;
use Illuminate\Database\Eloquent\Factories\HasFactory;
use Illuminate\Foundation\Auth\User as Authenticatable;
use Illuminate\Notifications\Notifiable;
use Laravel\Fortify\TwoFactorAuthenticatable;
use Laravel\Jetstream\HasProfilePhoto;
use Laravel\Sanctum\HasApiTokens;
use Spatie\Permission\Traits\HasRoles;
use TomatoPHP\FilamentAlerts\Traits\InteractsWithNotifications;

class User extends Authenticatable
{
    use HasApiTokens;
    use HasFactory;
    use HasProfilePhoto;
    use Notifiable;
    use TwoFactorAuthenticatable;
    use HasRoles;
    use InteractsWithNotifications;
...the notification is run on queue, so you must run the queue worker to send the notifications
php artisan queue:workyou can use the filament native notification and we add some macro for you
use Filament\Notifications\Notification;

Notification::make('send')
    ->title('Test Notifications')
    ->body('This is a test notification')
    ->icon('heroicon-o-bell')
    ->color('success')
    ->actions([
        \Filament\Notifications\Actions\Action::make('view')
            ->label('View')
            ->url('https://google.com')
            ->markAsRead()
    ])
    ->sendUse(auth()->user(), \TomatoPHP\FilamentAlerts\Services\Drivers\EmailDriver::class);
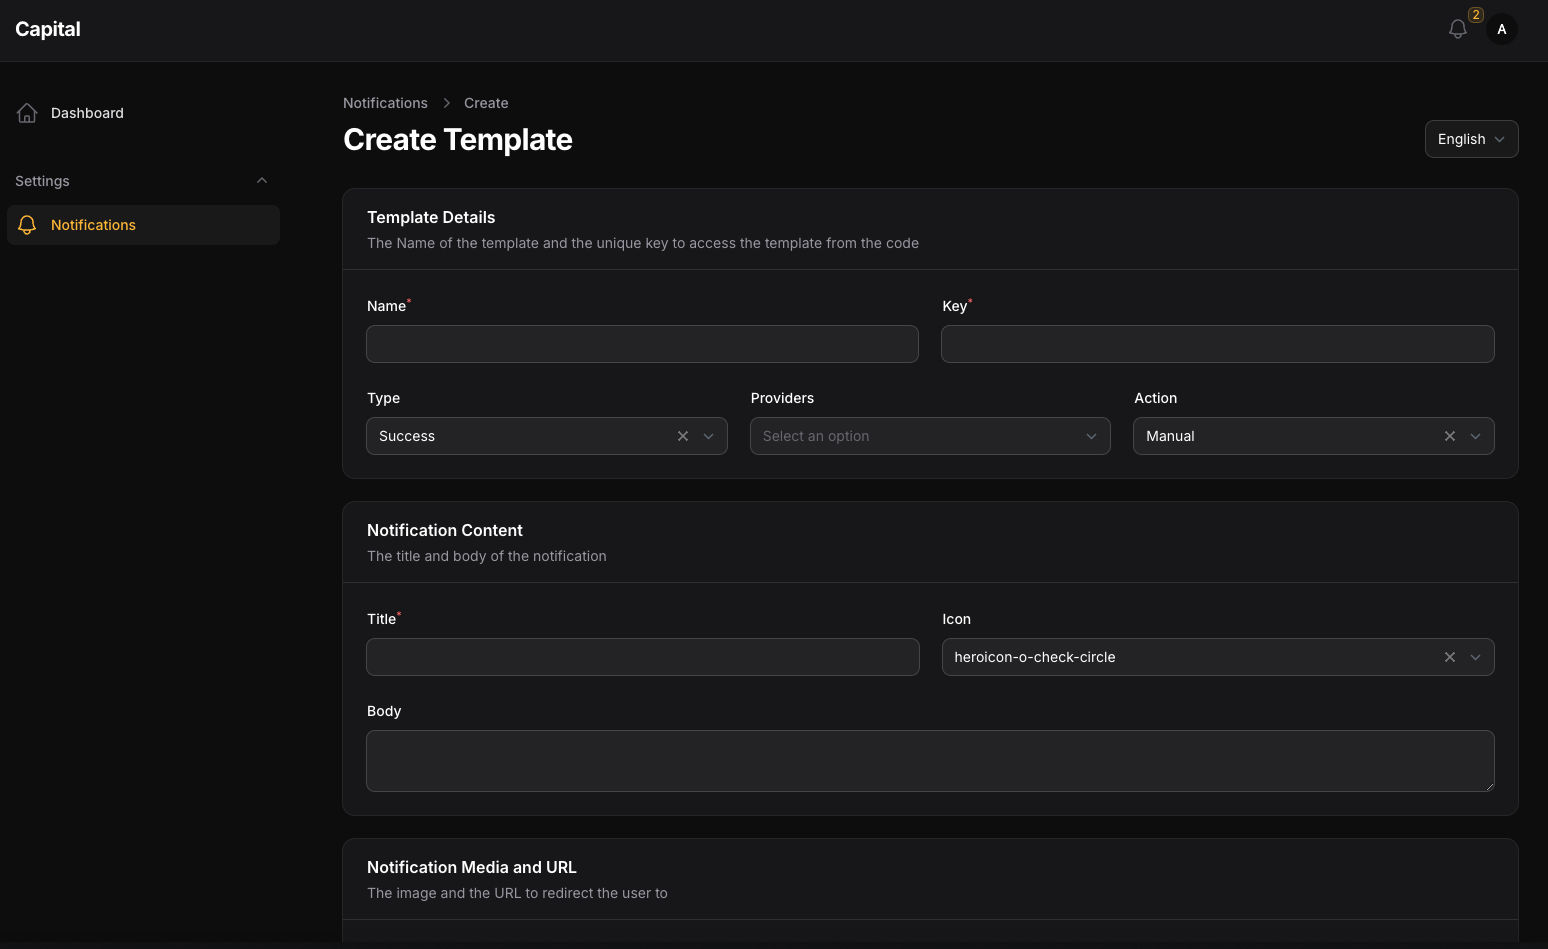
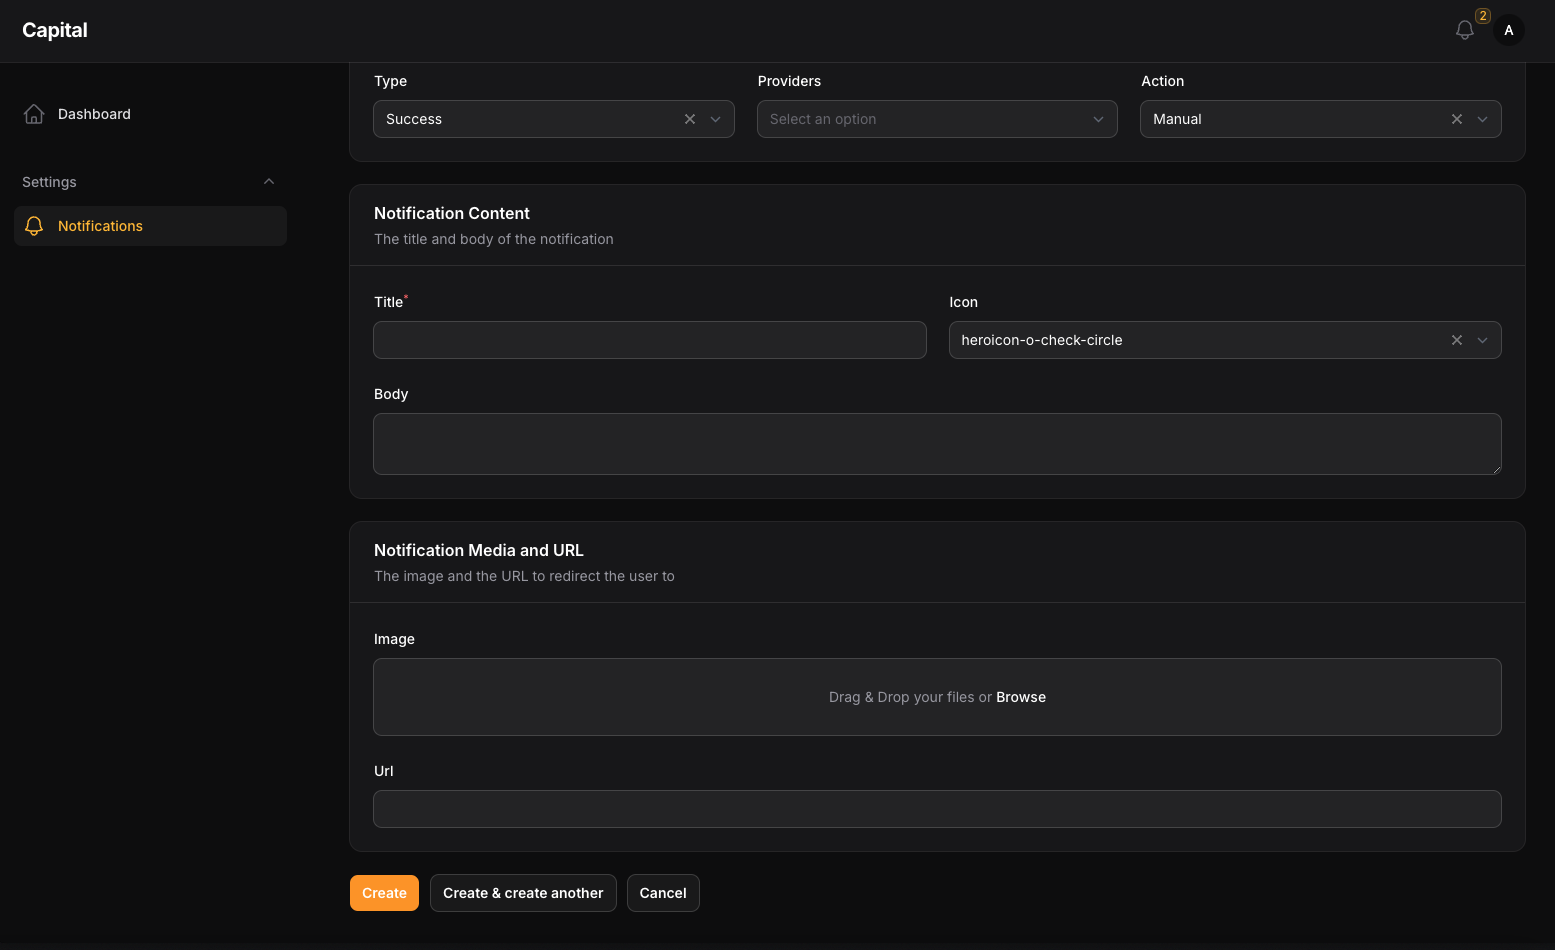
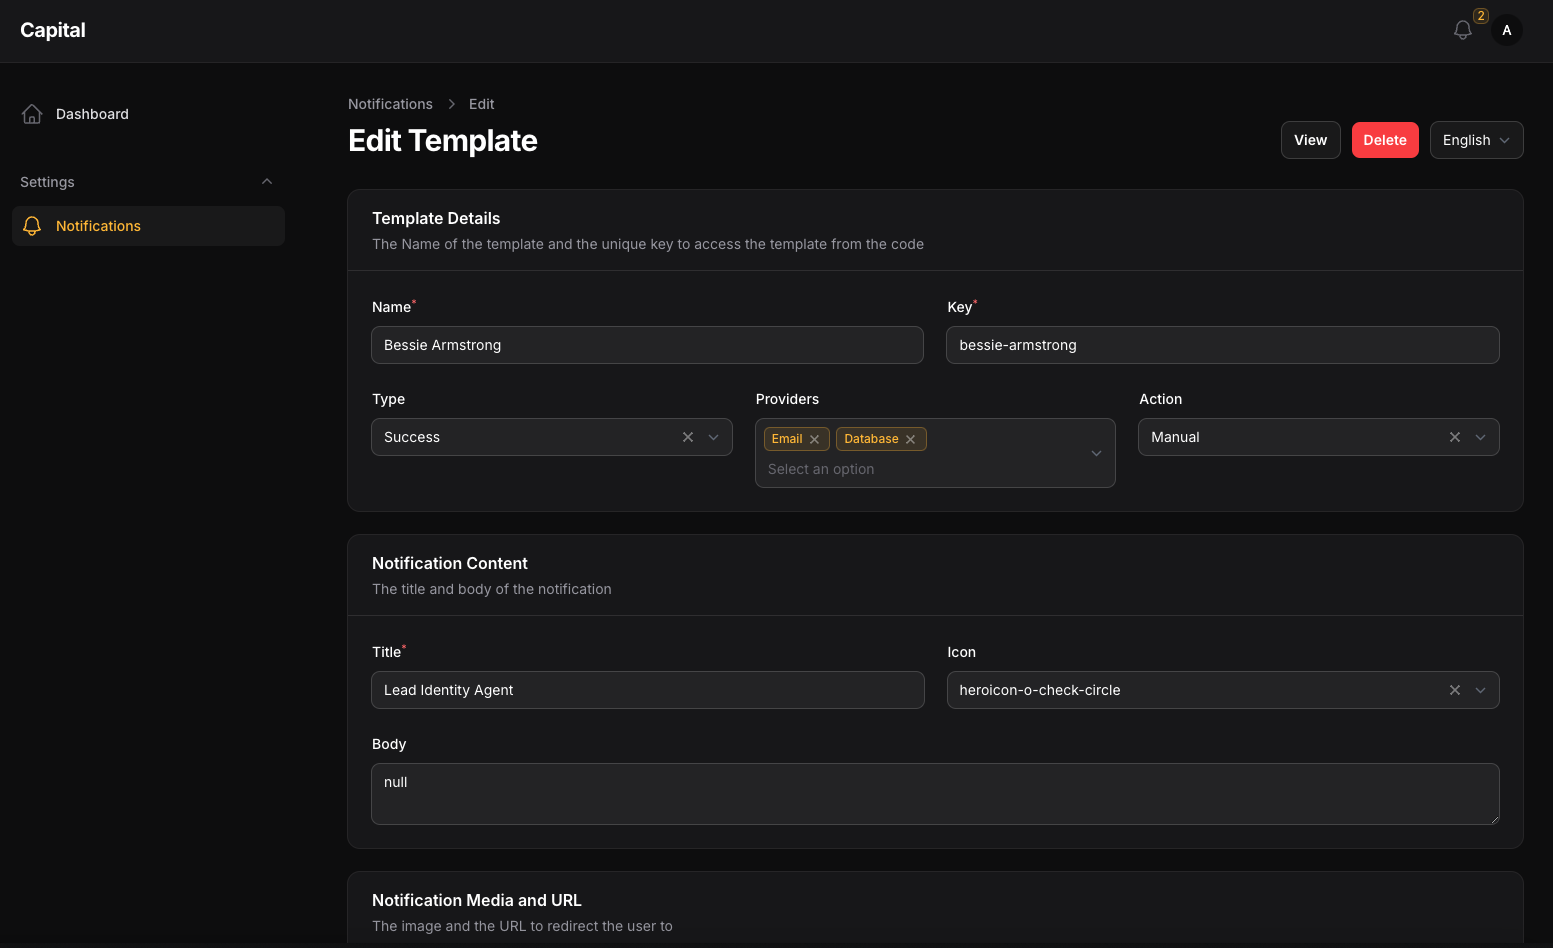
to create a new template you can use template CRUD and make sure that the template key is unique because you will use it on every single notification.
to send a notification you must use our helper SendNotification::class like
use TomatoPHP\FilamentAlerts\Facades\FilamentAlerts;

FilamentAlerts::notify(User::first())
    ->template($template->id)
    ->title([
        "find-text" => "change with this"
    ])
    ->body([
        "find-text" => "change with this"
    ])
    ->send();
where $template is selected of the template by key or id, and title, body use to select and replace string on the template with custom data
you can use multiple notification channels like
- Database
- Discord
- Firebase Cloud Messages
it can be working with direct user methods like
$user->notifyEmail(string $message, ?string $subject = null, ?string $url = null);
$user->notifyDB(string $message, ?string $title=null, ?string $url =null);to hide the notification resources from the sidebar you can use the plugin method hideNotificationsResources like
->plugin(\TomatoPHP\FilamentAlerts\FilamentAlertsPlugin::make()
    ->hideNotificationsResources()
)we have build a Email settings to change your SMTP settings direct from GUI to allow this feature just add this method to the plugin
->plugin(\TomatoPHP\FilamentAlerts\FilamentAlertsPlugin::make()
    ->useSettingsHub()
)you can add a custom driver follow up Driver abstract class like this
<?php

namespace TomatoPHP\FilamentAlerts\Services\Drivers;

use Filament\Notifications\Notification;
use TomatoPHP\FilamentAlerts\Jobs\NotifyDatabaseJob;

class DatabaseDriver extends Driver
{
    public function setup(): void
    {
        // TODO: Implement setup() method.
    }

    public function sendIt(
        string $title,
        string $model,
        int | string | null $modelId = null,
        ?string $body = null,
        ?string $url = null,
        ?string $icon = null,
        ?string $image = null,
        ?string $type = 'info',
        ?string $action = 'system',
        ?array $data = [],
        ?int $template_id = null,
        ?Notification $notification = null
    ): void {
        if ($modelId) {
            dispatch(new NotifyDatabaseJob([
                'model_type' => $model,
                'modelId' => $modelId,
                'title' => $title,
                'body' => $body,
                'url' => $url,
                'icon' => $icon,
                'type' => $type,
                'action' => $action,
                'data' => $data,
                'template_id' => $template_id,
            ]));
        } else {
            foreach ($model::all() as $user) {
                dispatch(new NotifyDatabaseJob([
                    'model_type' => $model,
                    'modelId' => $user->id,
                    'title' => $title,
                    'body' => $body,
                    'url' => $url,
                    'icon' => $icon,
                    'type' => $type,
                    'action' => $action,
                    'data' => $data,
                    'template_id' => $template_id,
                ]));
            }
        }

    }
}
then just use the facade service method in your service provider boot()
use TomatoPHP\FilamentAlerts\Facades\FilamentAlerts;

public function boot() {
    FilamentAlerts::register(
        \TomatoPHP\FilamentAlerts\Services\Concerns\NotificationDriver::make('database')
            ->label('Database')
            ->color('primary')
            ->icon('heroicon-o-bell')
            ->driver(\TomatoPHP\FilamentAlerts\Services\Drivers\DatabaseDriver::class)
    );
} you can add a custom type using facade service method in your service provider boot()
use TomatoPHP\FilamentAlerts\Facades\FilamentAlerts;

public function boot() {
    FilamentAlerts::register(
        \TomatoPHP\FilamentAlerts\Services\Concerns\NotificationType::make('system')
            ->label('System')
            ->color('primary')
            ->icon('heroicon-o-bell')
    );
} you can add a custom action using facade service method in your service provider boot()
use TomatoPHP\FilamentAlerts\Facades\FilamentAlerts;

public function boot() {
    FilamentAlerts::register(
        \TomatoPHP\FilamentAlerts\Services\Concerns\NotificationAction::make('system')
            ->label('System')
            ->color('primary')
            ->icon('heroicon-o-bell')
    );
} you can add a custom user type using facade service method in your service provider boot()
use TomatoPHP\FilamentAlerts\Facades\FilamentAlerts;

public function boot() {
    FilamentAlerts::register(
        \TomatoPHP\FilamentAlerts\Services\Concerns\NotificationUser::make(User::class)
            ->label('User')
            ->color('primary')
            ->icon('heroicon-o-bell')
    );
} we have add a lot of hooks to make it easy to attach actions, columns, filters, etc
use TomatoPHP\FilamentAlerts\Filament\Resources\NotificationsTemplateResource\Table\NotificationsTemplateTable;

public function boot()
{
    NotificationsTemplateTable::register([
        \Filament\Tables\Columns\TextColumn::make('something')
    ]);
}use TomatoPHP\FilamentAlerts\Filament\Resources\NotificationsTemplateResource\Table\NotificationsTemplateActions;
public function boot()
{
NotificationsTemplateActions::register([
\Filament\Tables\Actions\ReplicateAction::make()
]);
}use TomatoPHP\FilamentAlerts\Filament\Resources\NotificationsTemplateResource\Table\NotificationsTemplateFilters;
public function boot()
{
NotificationsTemplateFilters::register([
\Filament\Tables\Filters\SelectFilter::make('something')
]);
}use TomatoPHP\FilamentAlerts\Filament\Resources\NotificationsTemplateResource\Table\NotificationsTemplateBulkActions;
public function boot()
{
NotificationsTemplateBulkActions::register([
\Filament\Tables\BulkActions\DeleteAction::make()
]);
}use TomatoPHP\FilamentAlerts\Filament\Resources\NotificationsTemplateResource\Form\NotificationsTemplateForm;
public function boot()
{
NotificationsTemplateForm::register([
\Filament\Forms\Components\TextInput::make('something')
]);
}use TomatoPHP\FilamentAlerts\Filament\Resources\NotificationsTemplateResource\Actions\ManagePageActions;
use TomatoPHP\FilamentAlerts\Filament\Resources\NotificationsTemplateResource\Actions\EditPageActions;
use TomatoPHP\FilamentAlerts\Filament\Resources\NotificationsTemplateResource\Actions\ViewPageActions;
use TomatoPHP\FilamentAlerts\Filament\Resources\NotificationsTemplateResource\Actions\CreatePageActions;
public function boot()
{
ManagePageActions::register([
Filament\Actions\Action::make('action')
]);
EditPageActions::register([
Filament\Actions\Action::make('action')
]);
ViewPageActions::register([
Filament\Actions\Action::make('action')
]);
CreatePageActions::register([
Filament\Actions\Action::make('action')
]);
}use TomatoPHP\FilamentAlerts\Filament\Resources\NotificationsTemplateResource\Infolist\NotificationsTemplateInfoList;
public function boot()
{
NotificationsTemplateInfoList::register([
\Filament\Infolists\Components\TextEntry::make('something')
]);
}you can customize all resource classes to be any class you want with the same return from the config file
/**
 * ---------------------------------------------
 * Resource Building
 * ---------------------------------------------
 * if you want to use the resource custom class
 */
'resource' => [
    'table' => [
        'class' => \TomatoPHP\FilamentAlerts\Filament\Resources\NotificationsTemplateResource\Table\NotificationsTemplateTable::class,
        'filters' => \TomatoPHP\FilamentAlerts\Filament\Resources\NotificationsTemplateResource\Table\NotificationsTemplateFilters::class,
        'actions' => \TomatoPHP\FilamentAlerts\Filament\Resources\NotificationsTemplateResource\Table\NotificationsTemplateActions::class,
        'header-actions' => \TomatoPHP\FilamentAlerts\Filament\Resources\NotificationsTemplateResource\Table\NotificationsTemplateHeaderActions::class,
        'bulkActions' => \TomatoPHP\FilamentAlerts\Filament\Resources\NotificationsTemplateResource\Table\NotificationsTemplateBulkActions::class,
    ],
    'form' => [
        'class' => \TomatoPHP\FilamentAlerts\Filament\Resources\NotificationsTemplateResource\Form\NotificationsTemplateForm::class,
    ],
    'infolist' => [
        'class' => \TomatoPHP\FilamentAlerts\Filament\Resources\NotificationsTemplateResource\Infolist\NotificationsTemplateInfoList::class,
    ],
    'pages' => [
        'list' => \TomatoPHP\FilamentAlerts\Filament\Resources\NotificationsTemplateResource\Actions\ManagePageActions::class,
        'create' => \TomatoPHP\FilamentAlerts\Filament\Resources\NotificationsTemplateResource\Actions\CreatePageActions::class,
        'edit' => \TomatoPHP\FilamentAlerts\Filament\Resources\NotificationsTemplateResource\Actions\EditPageActions::class,
        'view' => \TomatoPHP\FilamentAlerts\Filament\Resources\NotificationsTemplateResource\Actions\ViewPageActions::class,
    ],
]you can publish config file by use this command
php artisan vendor:publish --tag="filament-alerts-config"you can publish views file by use this command
php artisan vendor:publish --tag="filament-alerts-views"you can publish languages file by use this command
php artisan vendor:publish --tag="filament-alerts-lang"you can publish migrations file by use this command
php artisan vendor:publish --tag="filament-alerts-migrations"if you like to run PEST testing just use this command
composer testif you like to fix the code style just use this command
composer formatif you like to check the code by PHPStan just use this command
composer analyseCheckout our Awesome TomatoPHP
