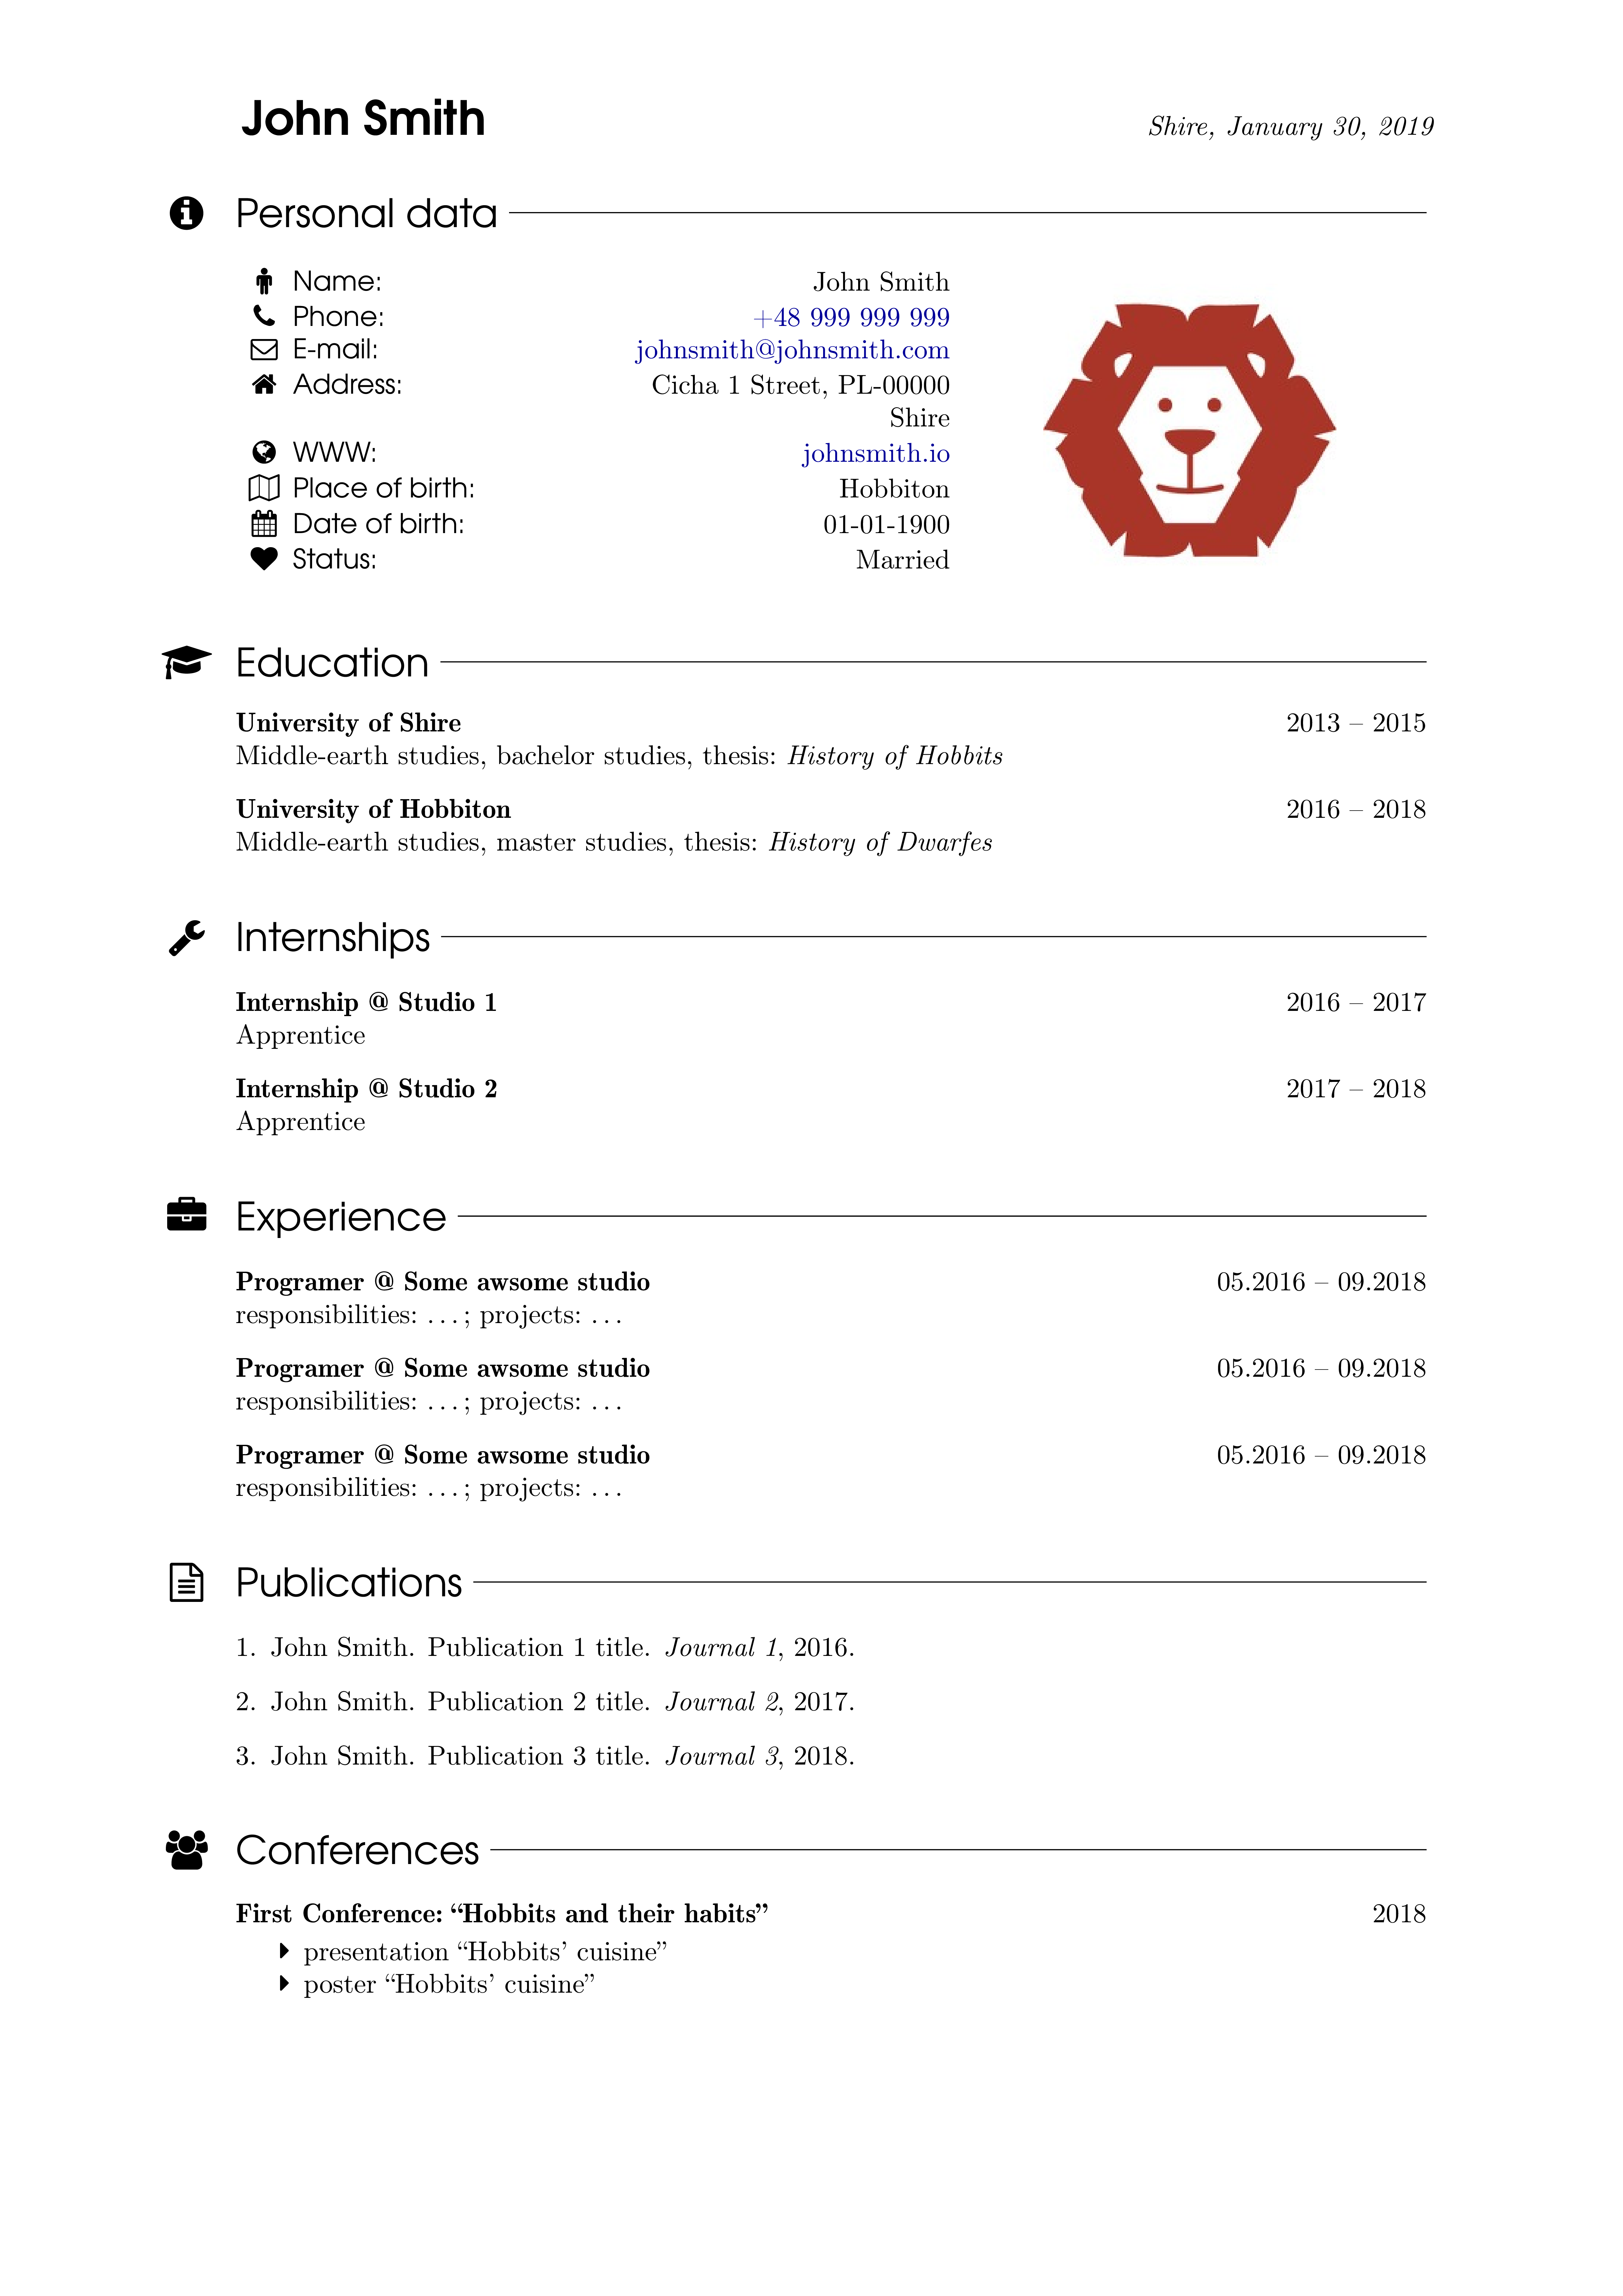
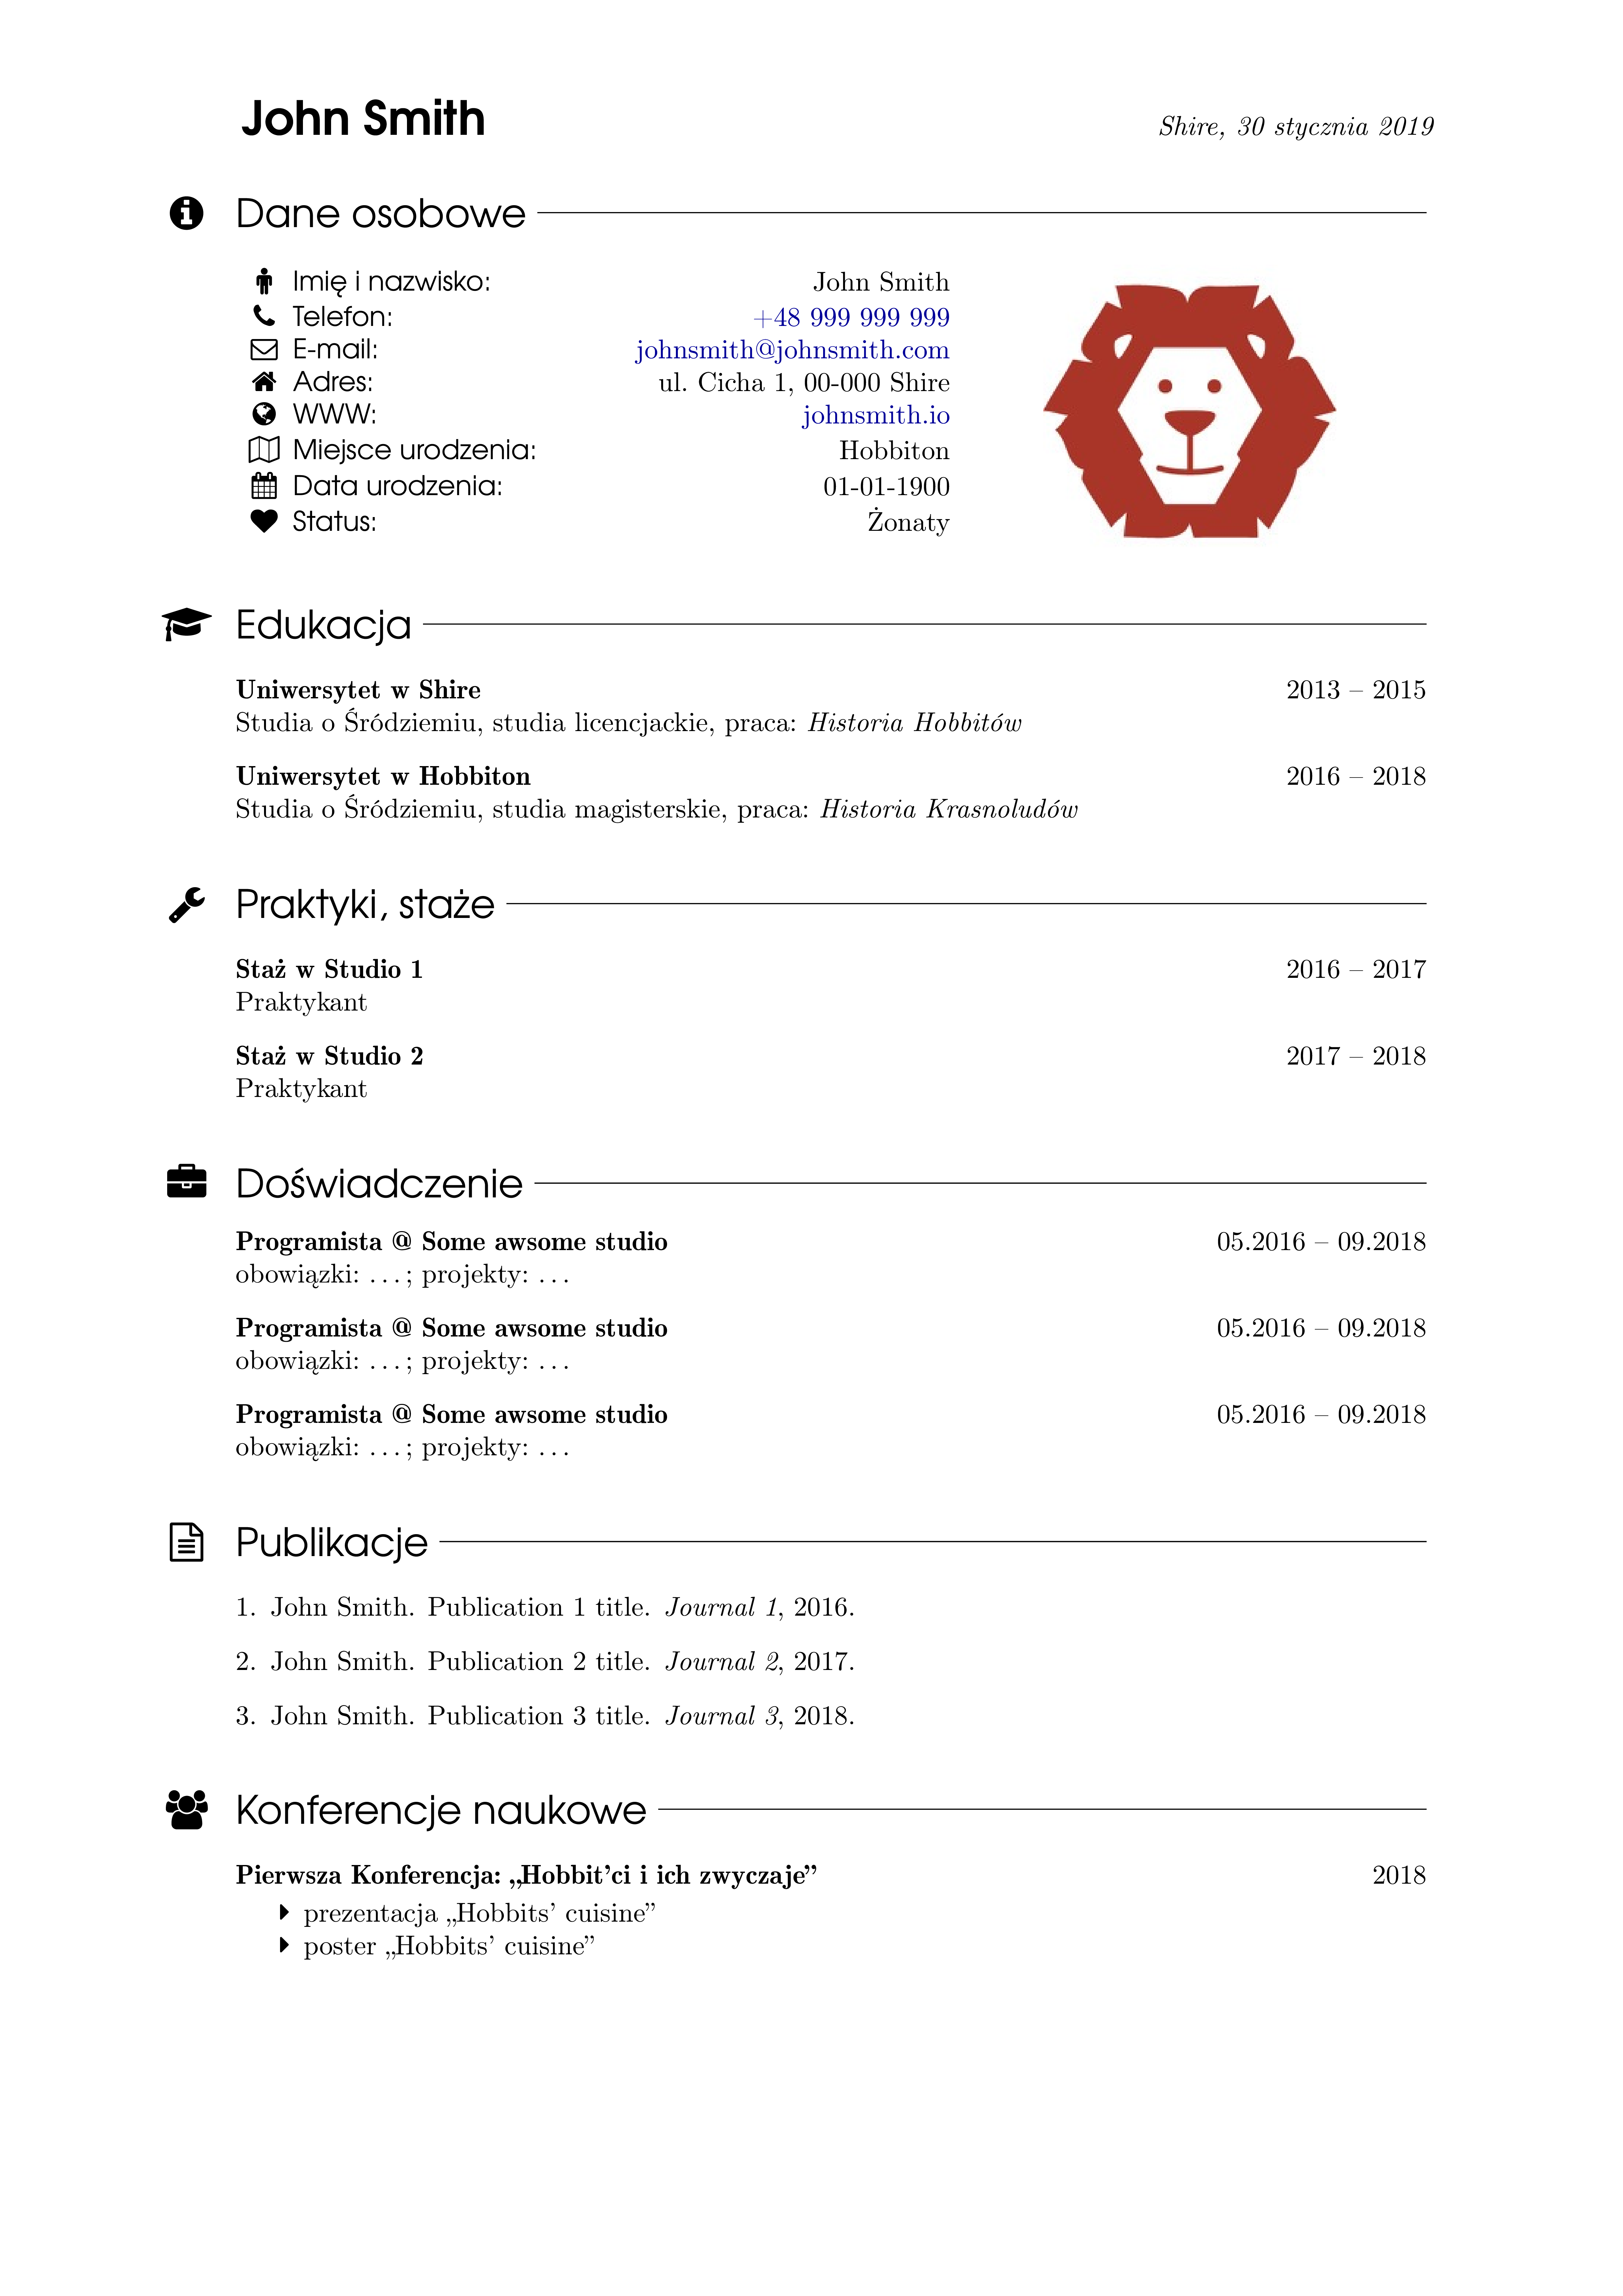
Multi language LaTeX CV template: use single command to swap between languages.
- Preview
- Purpose of this pack
- Pack stucture
- How to use it?
- How to define own sections/fields?
- How to add other language?
- Supported languages
| English | Polish |
|---|---|
 |
 |
- Prepare CV document, which is ready to print in few languages.
- Modern, but modest layout
- Automation
Pack is devided into 3 parts:
- Matter: includes CV contents
- Packages: includes CV class macros
- Settings: include CV settings like section definitions, icons, etc
(4. main.tex: main file to compile)
(5. CV.cls: CV document LaTeX class)
One can select language by setting class option (in main.tex):
\documentclass[english]{CV}
To change language to polish just change english into polish:
\documentclass[polish]{CV}
Provided class contains pre-defined sections (e.g. \publications) and fields (e.g. \phone{}) with coresponding icons.
Personal data section includes many pre-defined fields, which user can easly disable.
When you do not want to print your phone number, just set empty field by: \phone{} (by default all contact informations are present in Matter/contact.tex).
To change the order of fields in Personal Data section just go to Settings/FillContactOrder.sty.
There are several different pre-defined sections, which can be set by \<sectionname> for example \publications.
To change section name in selected language go to: Setting/LANG/... and just edit the \def\<sectionname>Name{Section Name} macro.
In most CV documents one should show experience, education and etc. over the years.
This CV class provide \timeitem[ <Details> ]{ <What?> }{ <When?> } macro, which take care of some your history record.
Example:
\time[Middle-earth studies, bachelor studies, thesis: \textit{History of Hobbits}]{University of Shire}{2013 -- 2015}
Output:

By default image height is controlled by number of non-zero fields in \personaldata section.
To override this add aditional argument to \image[ <height in number of rows> ]{ <image file> }.
Quotation markings are different in many languages.
By default this class load csquotes packages with babel option.
This package contain some pre-defined behaviours for selected languages with expection of polish language.
However in Setting/LANG/polish.sty there is included implementation of proper quotation for polish language.
To use quotation marking use the following command: \enquote{ <Something to quote> }.
To modify width of corresponding fields, timeitems go to Settings/WidthSettings.sty
There are defined some macro definitions, which can produce other macro, which produce the other macro. Sounds complicated, but this is a very elegant way to define you own fields and sections.
To define new section in CV use \DefineSection{ <section> }.
This command will create:
- macro
\<section>, which is responsible for section placement; - macro
\<section>Icon, which is responsible for selecting section icon. To change Icon just type\def\<section>Icon{ <my new section icon> }; - macro
\<section>Name, which is responsible for section name output (seeSetting/LANG/...). If you didn't specify\<section>Iconor\<section>Name, no icon will be assigned to section and name will be the same as sectionvariable'. **Example**: consider new fieldmemberships`:
\DeclareSection{memberships}
\ENG{\def\membershipsName{Memberships and organisations}} % or insert \def\membershipsName in
\PL{\def\membershipsName{Członek organizacji}}            % coresponding `Settings/LANG/file.sty`
\def\membershipsIcon{\faBank}
Main idea behind fields is similar to \author or \title fields in standard LaTeX classes.
User can insert some text into \author{ <name of the author> } and then user can refer to it using \@author macro.
This is the way, in what \DefineField works, additionaly creating some icon macro.
Example:
Let's create github field.
\DefineField{github}
\def\githubName{GitHub}
\def\githubIcon{\faGithub}
Now user is able to fill this field:
\github{ <my github> }
To obtain the content of github field just refer to it with @:
\@github
There are two ways to add this field into \makecontact list.
One: treating field as general field \ifnotemptyfield{github} or one can specify it with href field using: \ifnotemptyhref{github}{https://}.
Href version has additional prefix argument for hyperlink (like tel:, http:, for more see Uniform Resoure Identifier).
To add this field to contact section, one have to specify the order of the fields in Settings/FillContactOrder.sty:
\def\fillcontact{%
    \ifnotemptyfield{author}
    \ifnotemptyhref{phone}{tel:}
    \ifnotemptyhref{email}{mailto:}
    \ifnotemptyfield{address}
    \ifnotemptyhref{www}{https://}
    \ifnotemptyhref{github}{https://}
    \ifnotemptyfield{placeofbirth}
    \ifnotemptyfield{dateofbirth}
    \ifnotemptyfield{status}
}
In this example let's consider german language.
First, copy one of the file from Setting/LANG/ directory and edit it to fullfill other language vocabulary.
Create Setting/LANG/german.sty.
Second, append CV.cls file:
- declare your other language at the beggining of
CV.clsfile:
\DeclareOption{german}{
\PassOptionsToPackage{\CurrentOption}{babel}
}
- pass the path of file containing default definitions of section names, etc.:
\def\@LANG#1{\iflanguage{#1}{\usepackage{Settings/LANG/#1}}{}}
\@LANG{polish}
\@LANG{english}
\@LANG{german}
- for convinience declare toggle macro for your other language:
\def\GER#1{\iflanguage{german}{#1}{}}
That's it! Now you are able to toggle between different languages everywhere in the document.
(Feel free to append this list)
- polish
- english
- russian
- spanish