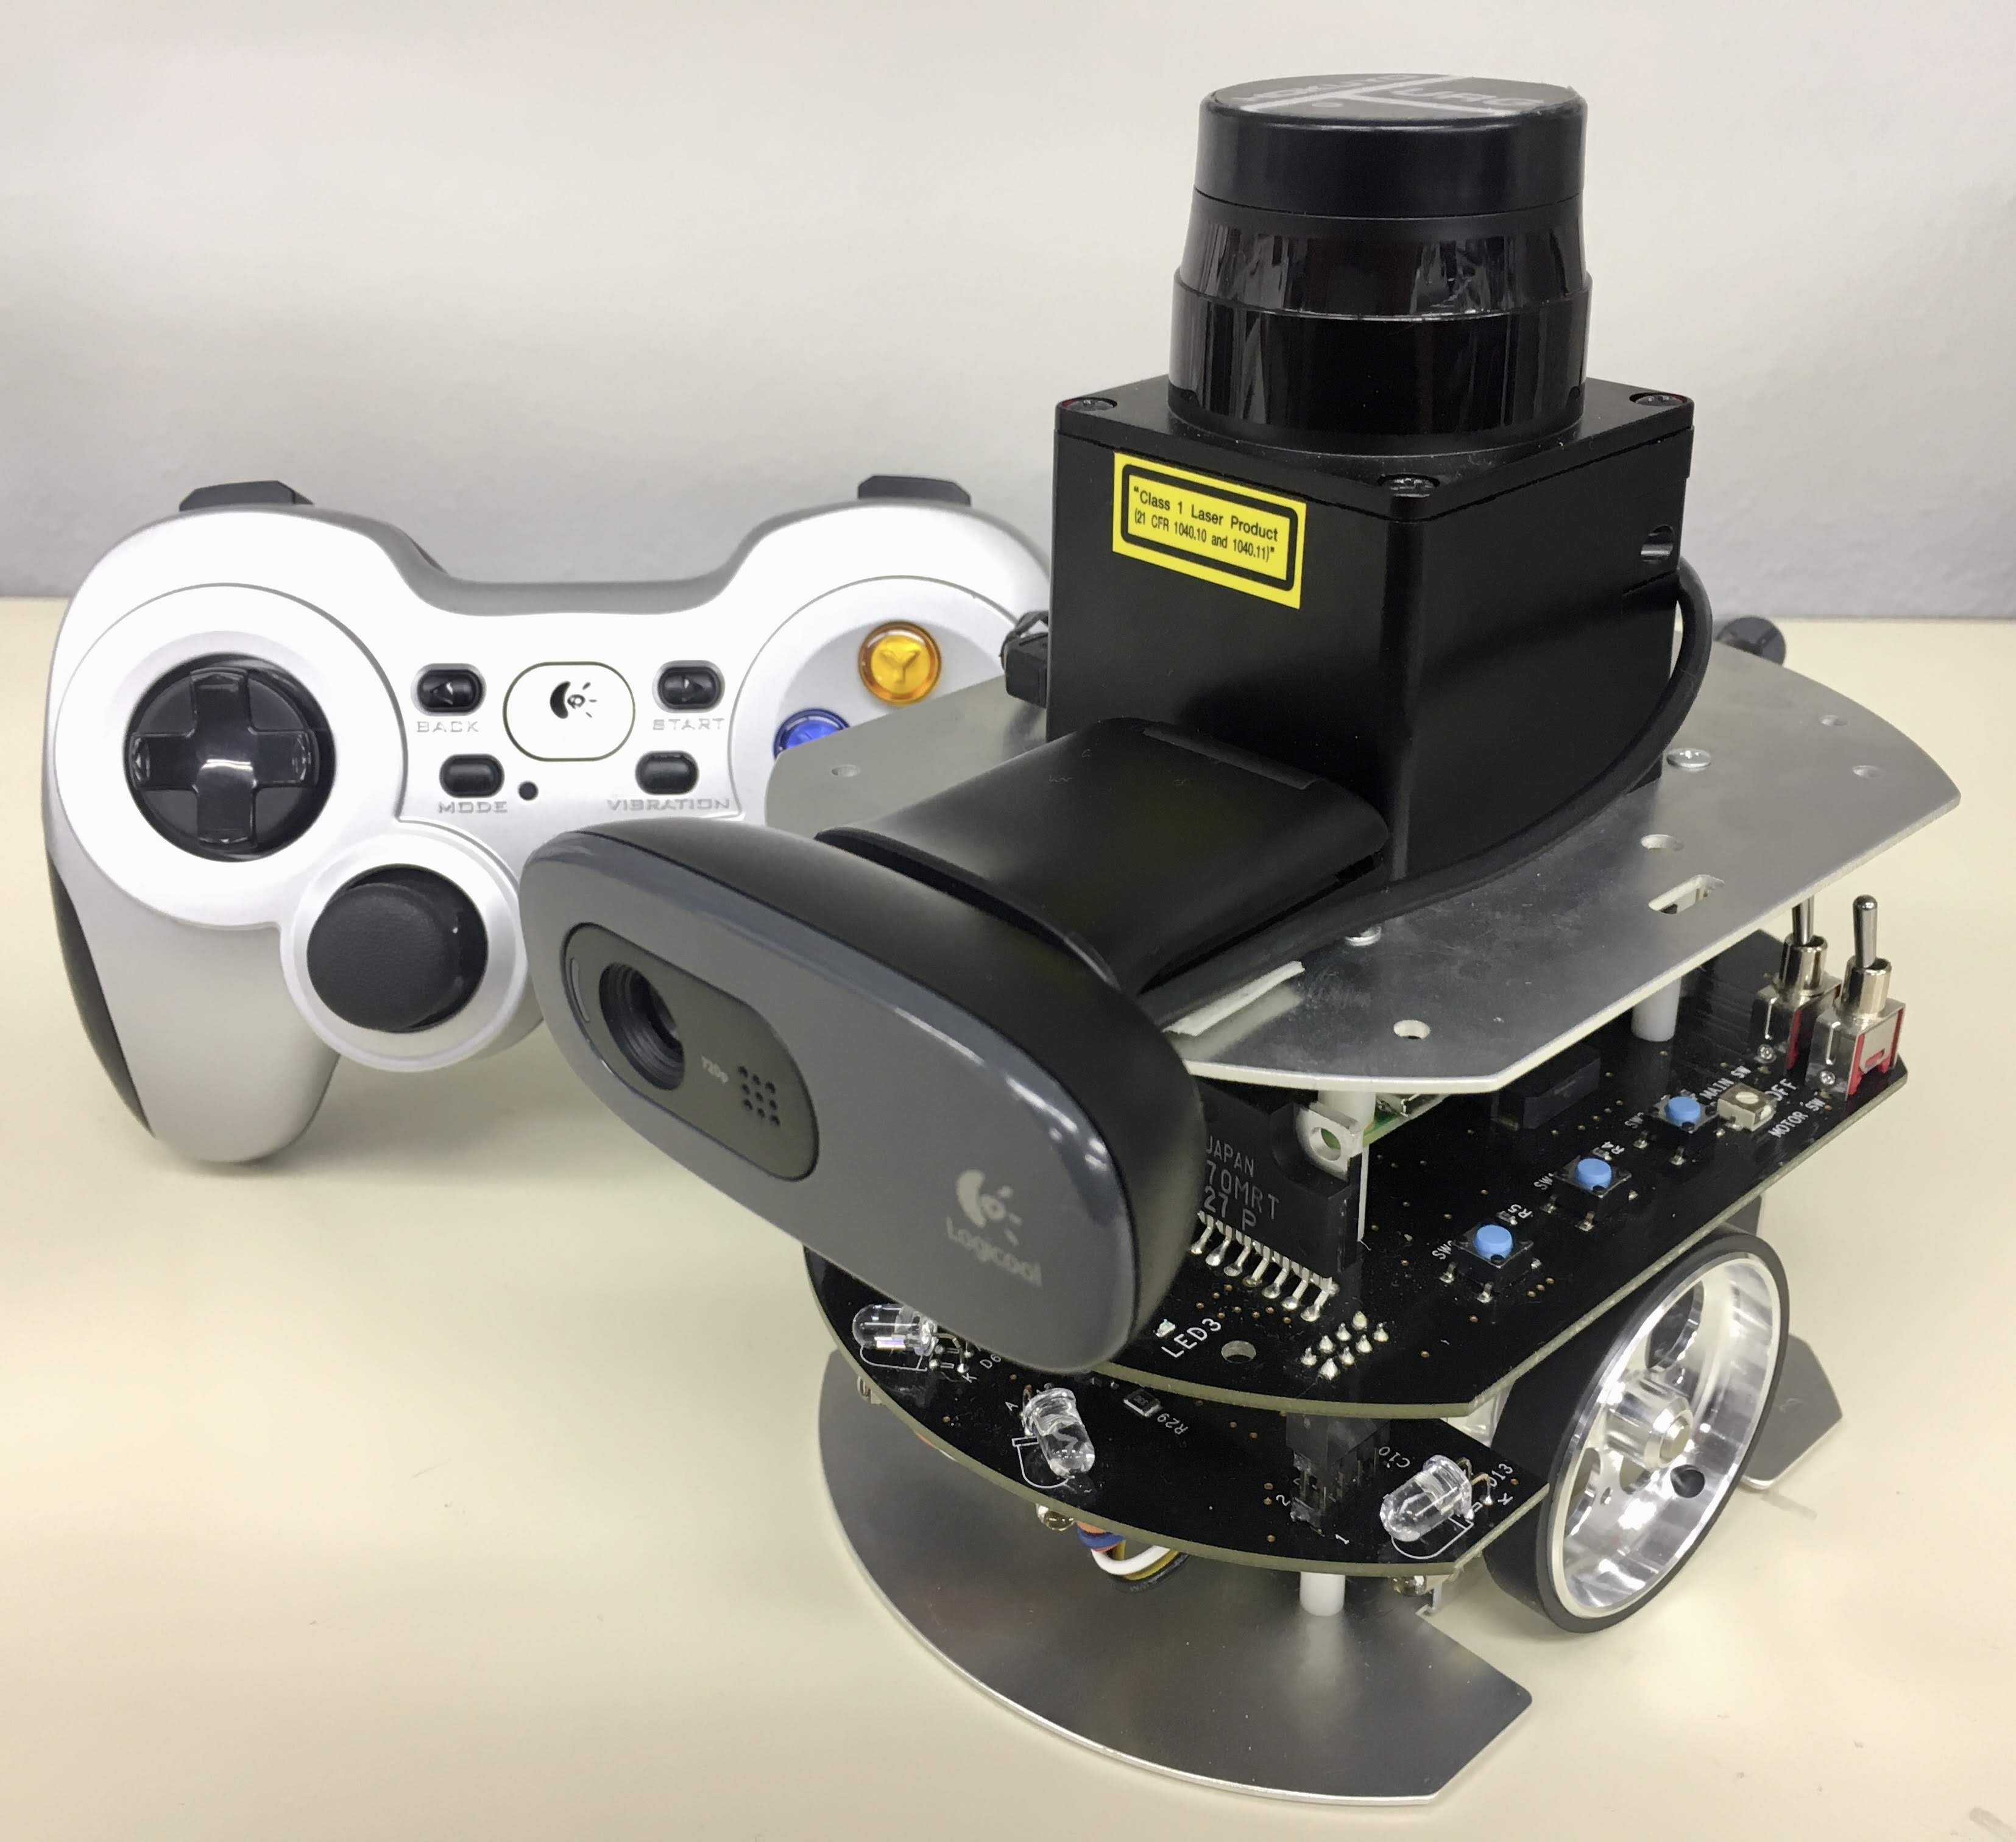
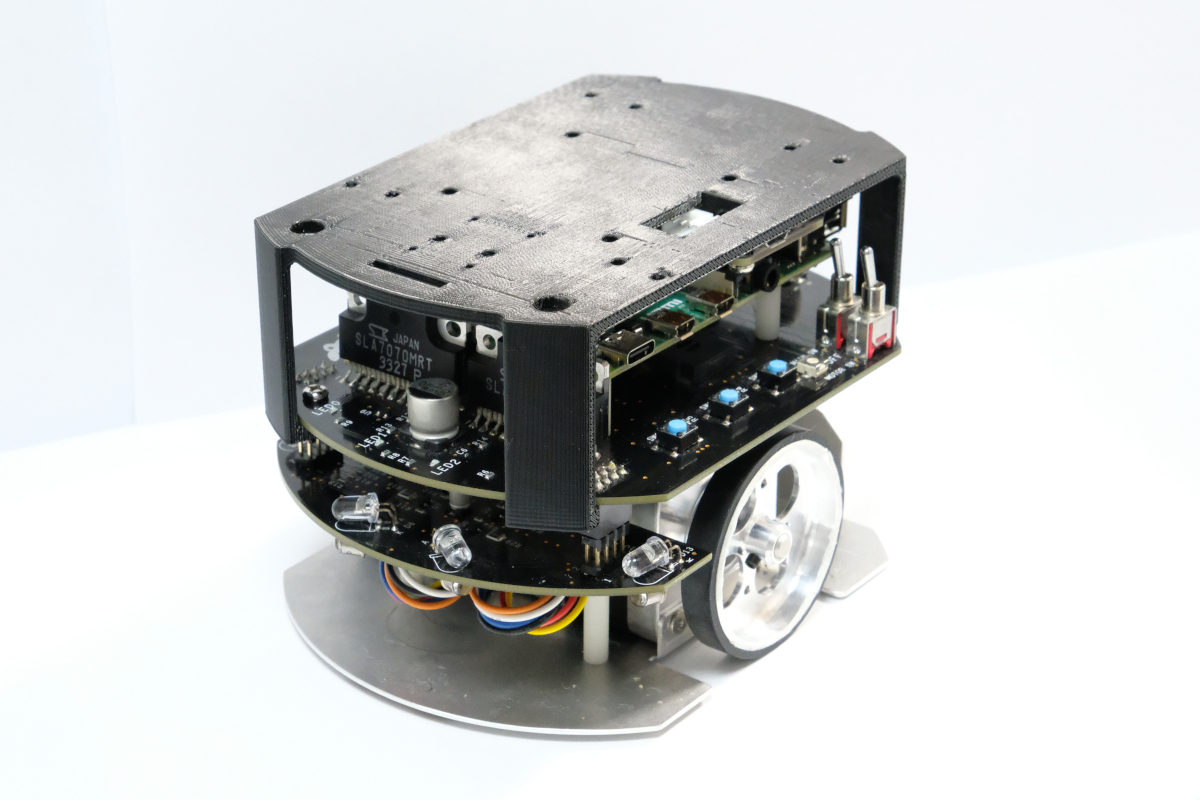
Raspberry Pi MouseのROS 2サンプルコード集です。
ROS1のサンプルコード集はこちら。
Gazebo(シミュレータ)でも動作します。詳細はこちら。
- Foxy
- Humble (This branch)
- Raspberry Pi Mouse
- https://rt-net.jp/products/raspberrypimousev3/
- Linux OS
- Ubuntu server 22.04
- https://ubuntu.com/download/raspberry-pi
- Device Driver
- ROS
- Raspberry Pi Mouse ROS 2 package
- Remote Computer (Optional)
- ROS
- Raspberry Pi Mouse ROS 2 package
$ cd ~/ros2_ws/src
# Clone package
$ git clone -b $ROS_DISTRO-devel https://github.com/rt-net/raspimouse_ros2_examples.git

# Install dependencies
$ rosdep install -r -y --from-paths . --ignore-src

# Build & Install
$ cd ~/ros2_ws
$ colcon build --symlink-install
$ source ~/ros2_ws/install/setup.bashこのリポジトリはApache 2.0ライセンスの元、公開されています。 ライセンスについてはLICENSEを参照ください。
ジョイスティックコントローラでRaspberryPiMouseを動かすコード例です。
- Joystick Controller
次のコマンドでノードを起動します。
# Use F710
$ ros2 launch raspimouse_ros2_examples teleop_joy.launch.py joydev:="/dev/input/js0" joyconfig:=f710 mouse:=true

# Use DUALSHOCK 3
$ ros2 launch raspimouse_ros2_examples teleop_joy.launch.py joydev:="/dev/input/js0" joyconfig:=dualshock3 mouse:=true

# Control from remote computer
## on RaspberryPiMouse
$ ros2 run raspimouse raspimouse
## on remote computer
$ ros2 launch raspimouse_ros2_examples teleop_joy.launch.py mouse:=false
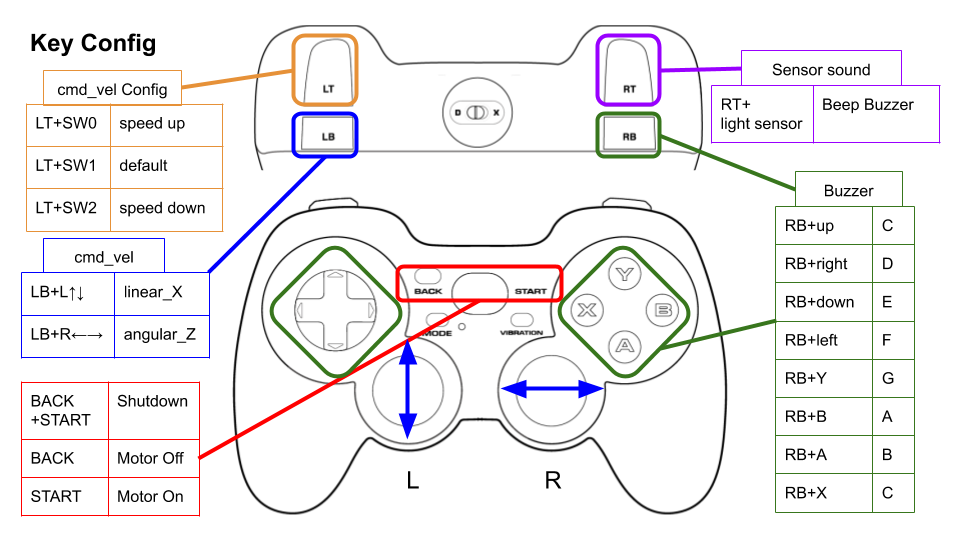
デフォルトのキー割り当てはこちらです。
Logicool Wireless Gamepad F710を使う場合はモード切替スイッチを D (DirectInput Mode)に設定します。
./config/joy_f710.yml、./config/joy_dualshock3.yml のキー番号を編集することで、キー割り当てを変更できます。
button_shutdown_1       : 8
button_shutdown_2       : 9

button_motor_off        : 8
button_motor_on         : 9

button_cmd_enable : 4色情報をもとにオレンジ色のボールの追跡を行うコード例です。 USB接続のWebカメラとOpenCVを使ってボール追跡をします。
- Webカメラ
- カメラマウント
- ボール(Optional)
- Software
- OpenCV
- v4l-utils
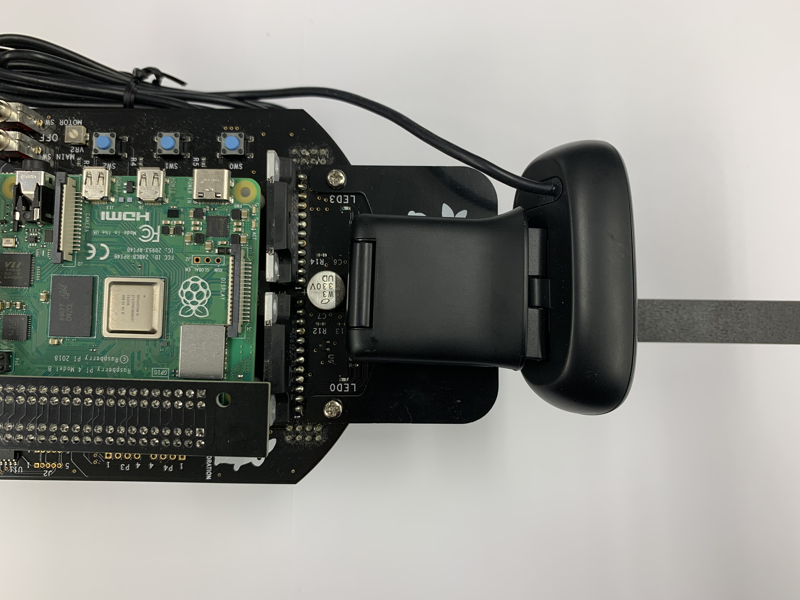
Raspberry Pi Mouseにカメラマウントを取り付け、WebカメラをRaspberry Piに接続します。
次のスクリプトを実行して、カメラの自動調節機能(自動露光,オートホワイトバランス等)を切ります。
$ cd ~/ros2_ws/src/raspimouse_ros2_examples/config
$ ./configure_camera.bash
次のコマンドでノードを起動します。
$ ros2 launch raspimouse_ros2_examples object_tracking.launch.py video_device:=/dev/video0カメラ画像はcamera/color/image_raw、物体検出画像はresult_imageというトピックとして発行されます。
これらの画像はRViz
やrqt_image_view
で表示できます。
画像を表示するとノードの動作が不安定になり、cmd_velや画像トピックが発行されないことがあります。
追跡対象の色を変更するには
./src/object_tracking_component.cpp
を編集します。
物体検出精度が悪い時にはカメラの露光や関数内のパラメータを調整して下さい。
void Tracker::tracking(const cv::Mat & input_frame, cv::Mat & result_frame)
{
  cv::inRange(hsv, cv::Scalar(9, 100, 100), cv::Scalar(29, 255, 255), extracted_bin);  // Orange
  // cv::inRange(hsv, cv::Scalar(60, 100, 100), cv::Scalar(80, 255, 255), extracted_bin);  // Green
// cv::inRange(hsv, cv::Scalar(100, 100, 100), cv::Scalar(120, 255, 255), extracted_bin); // Blueライントレースのコード例です。
- ライントレースセンサ
- フィールドとライン (Optional)
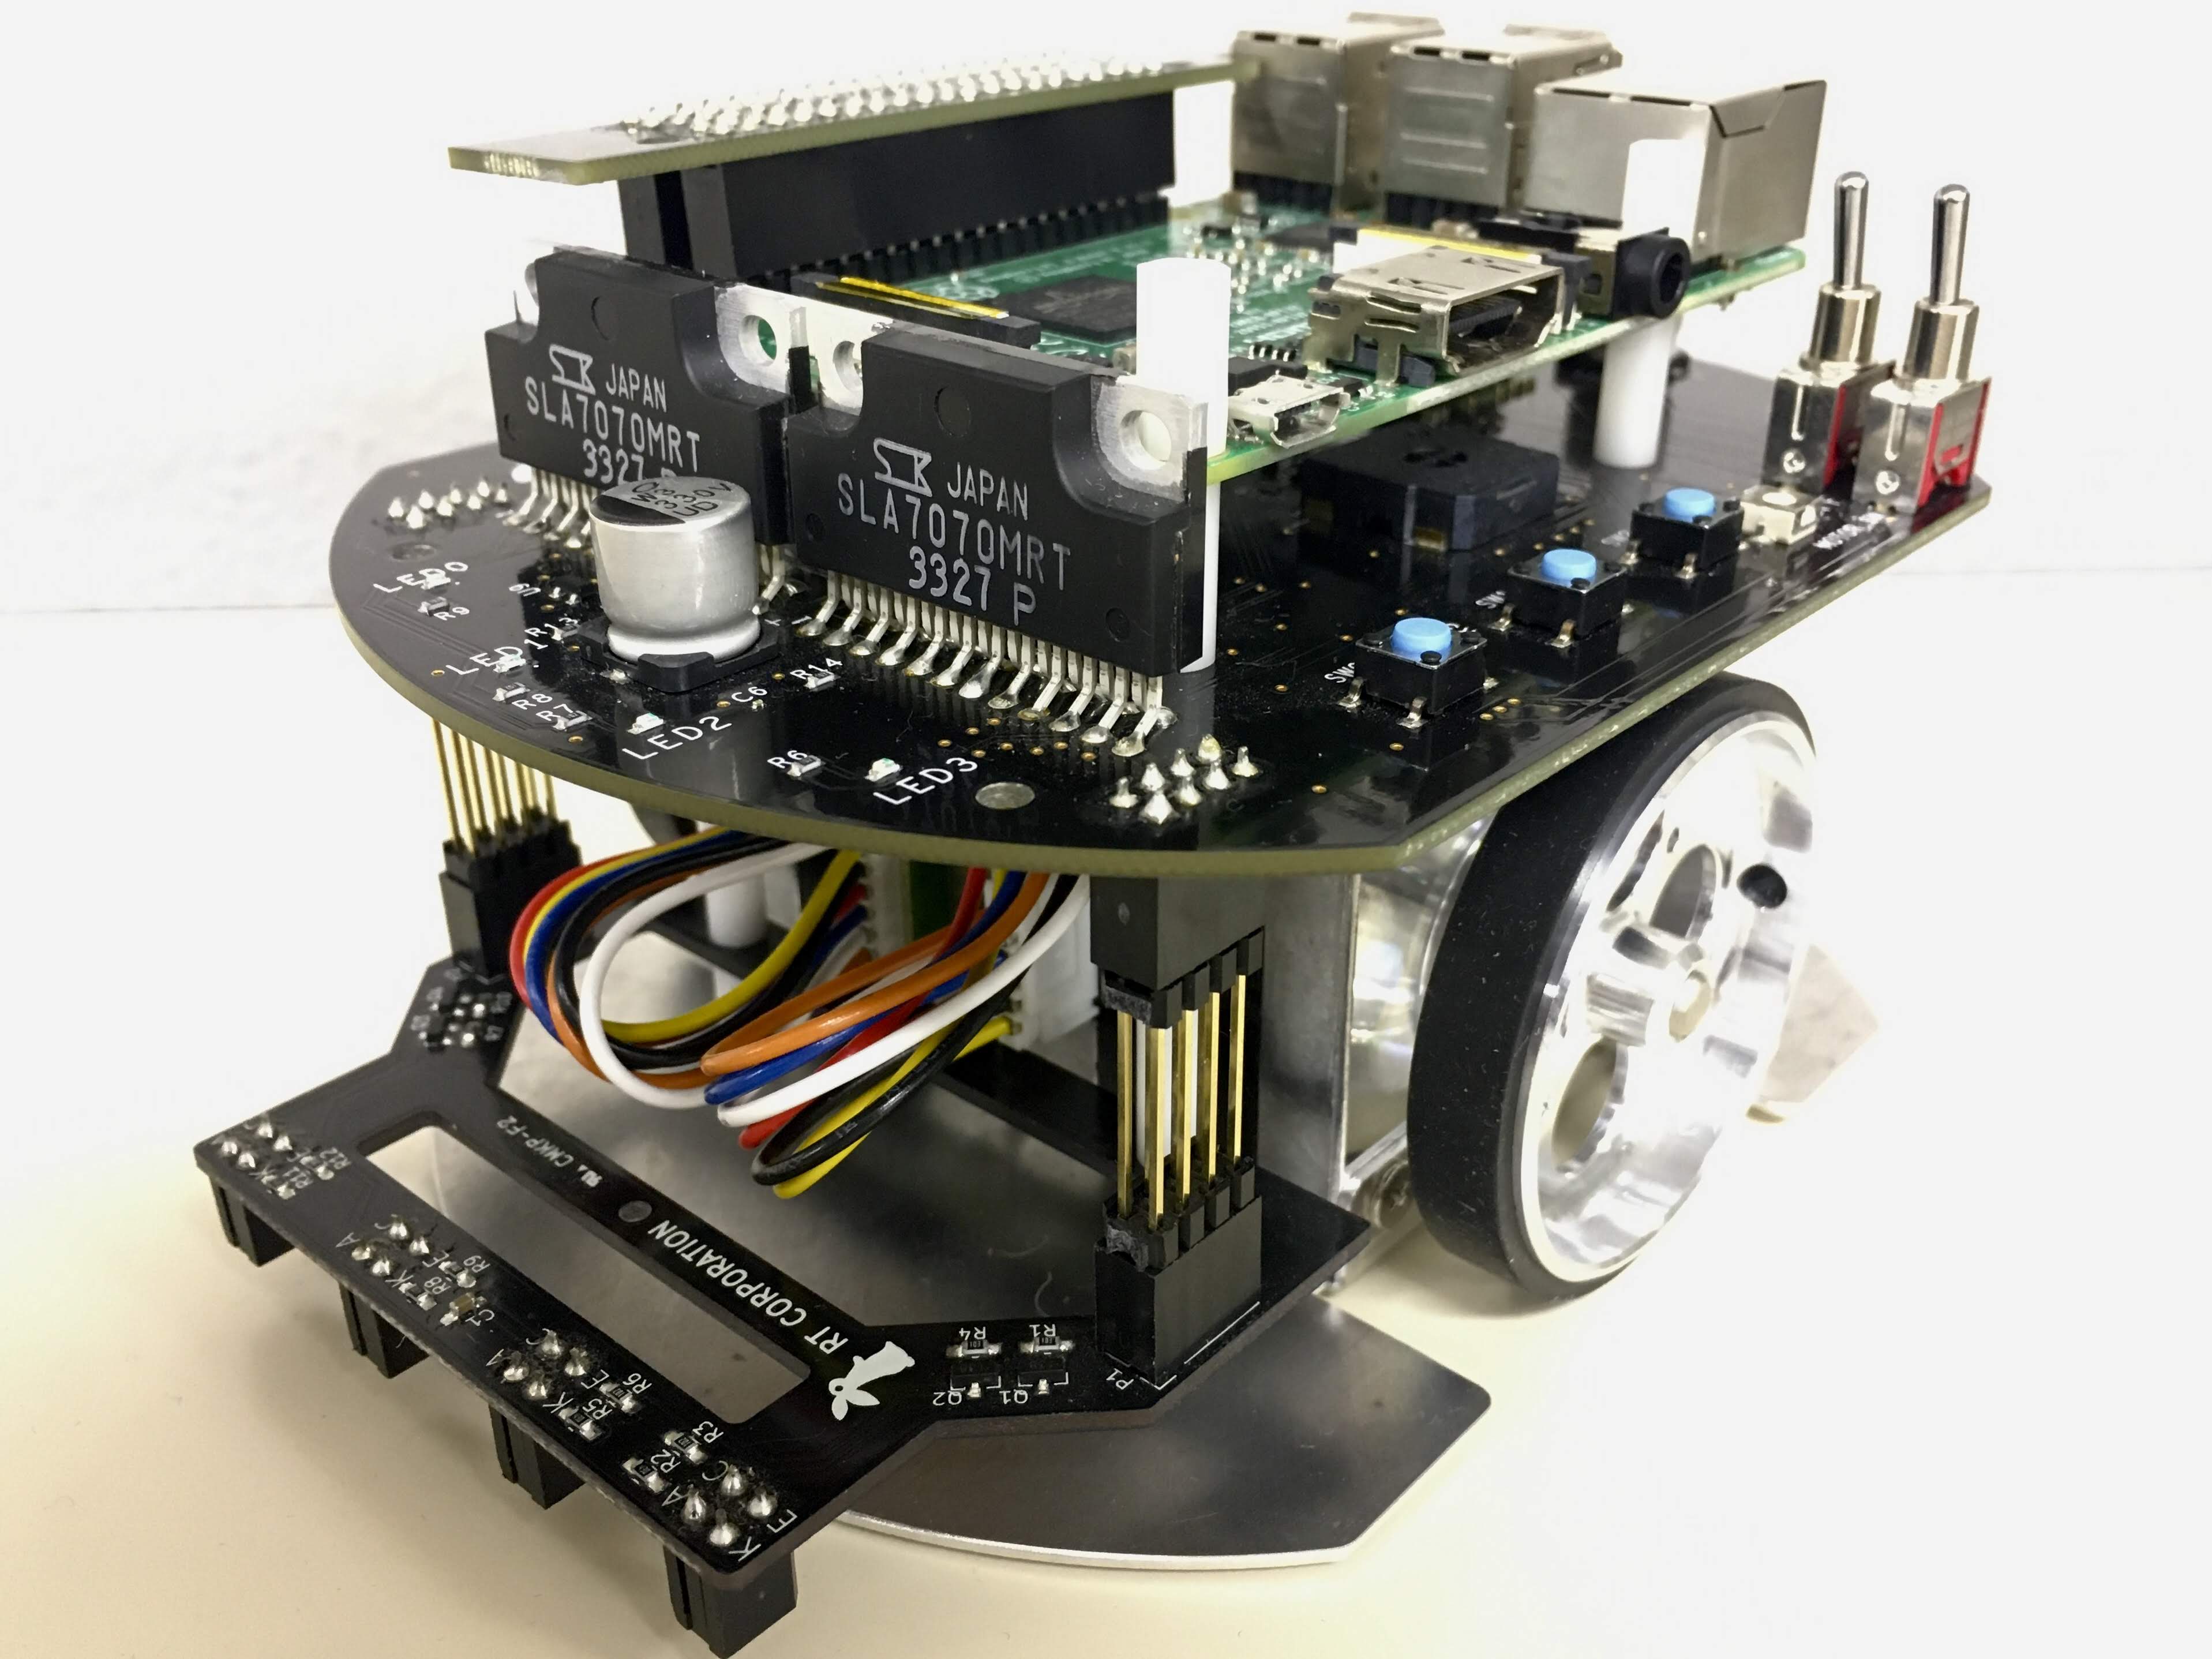
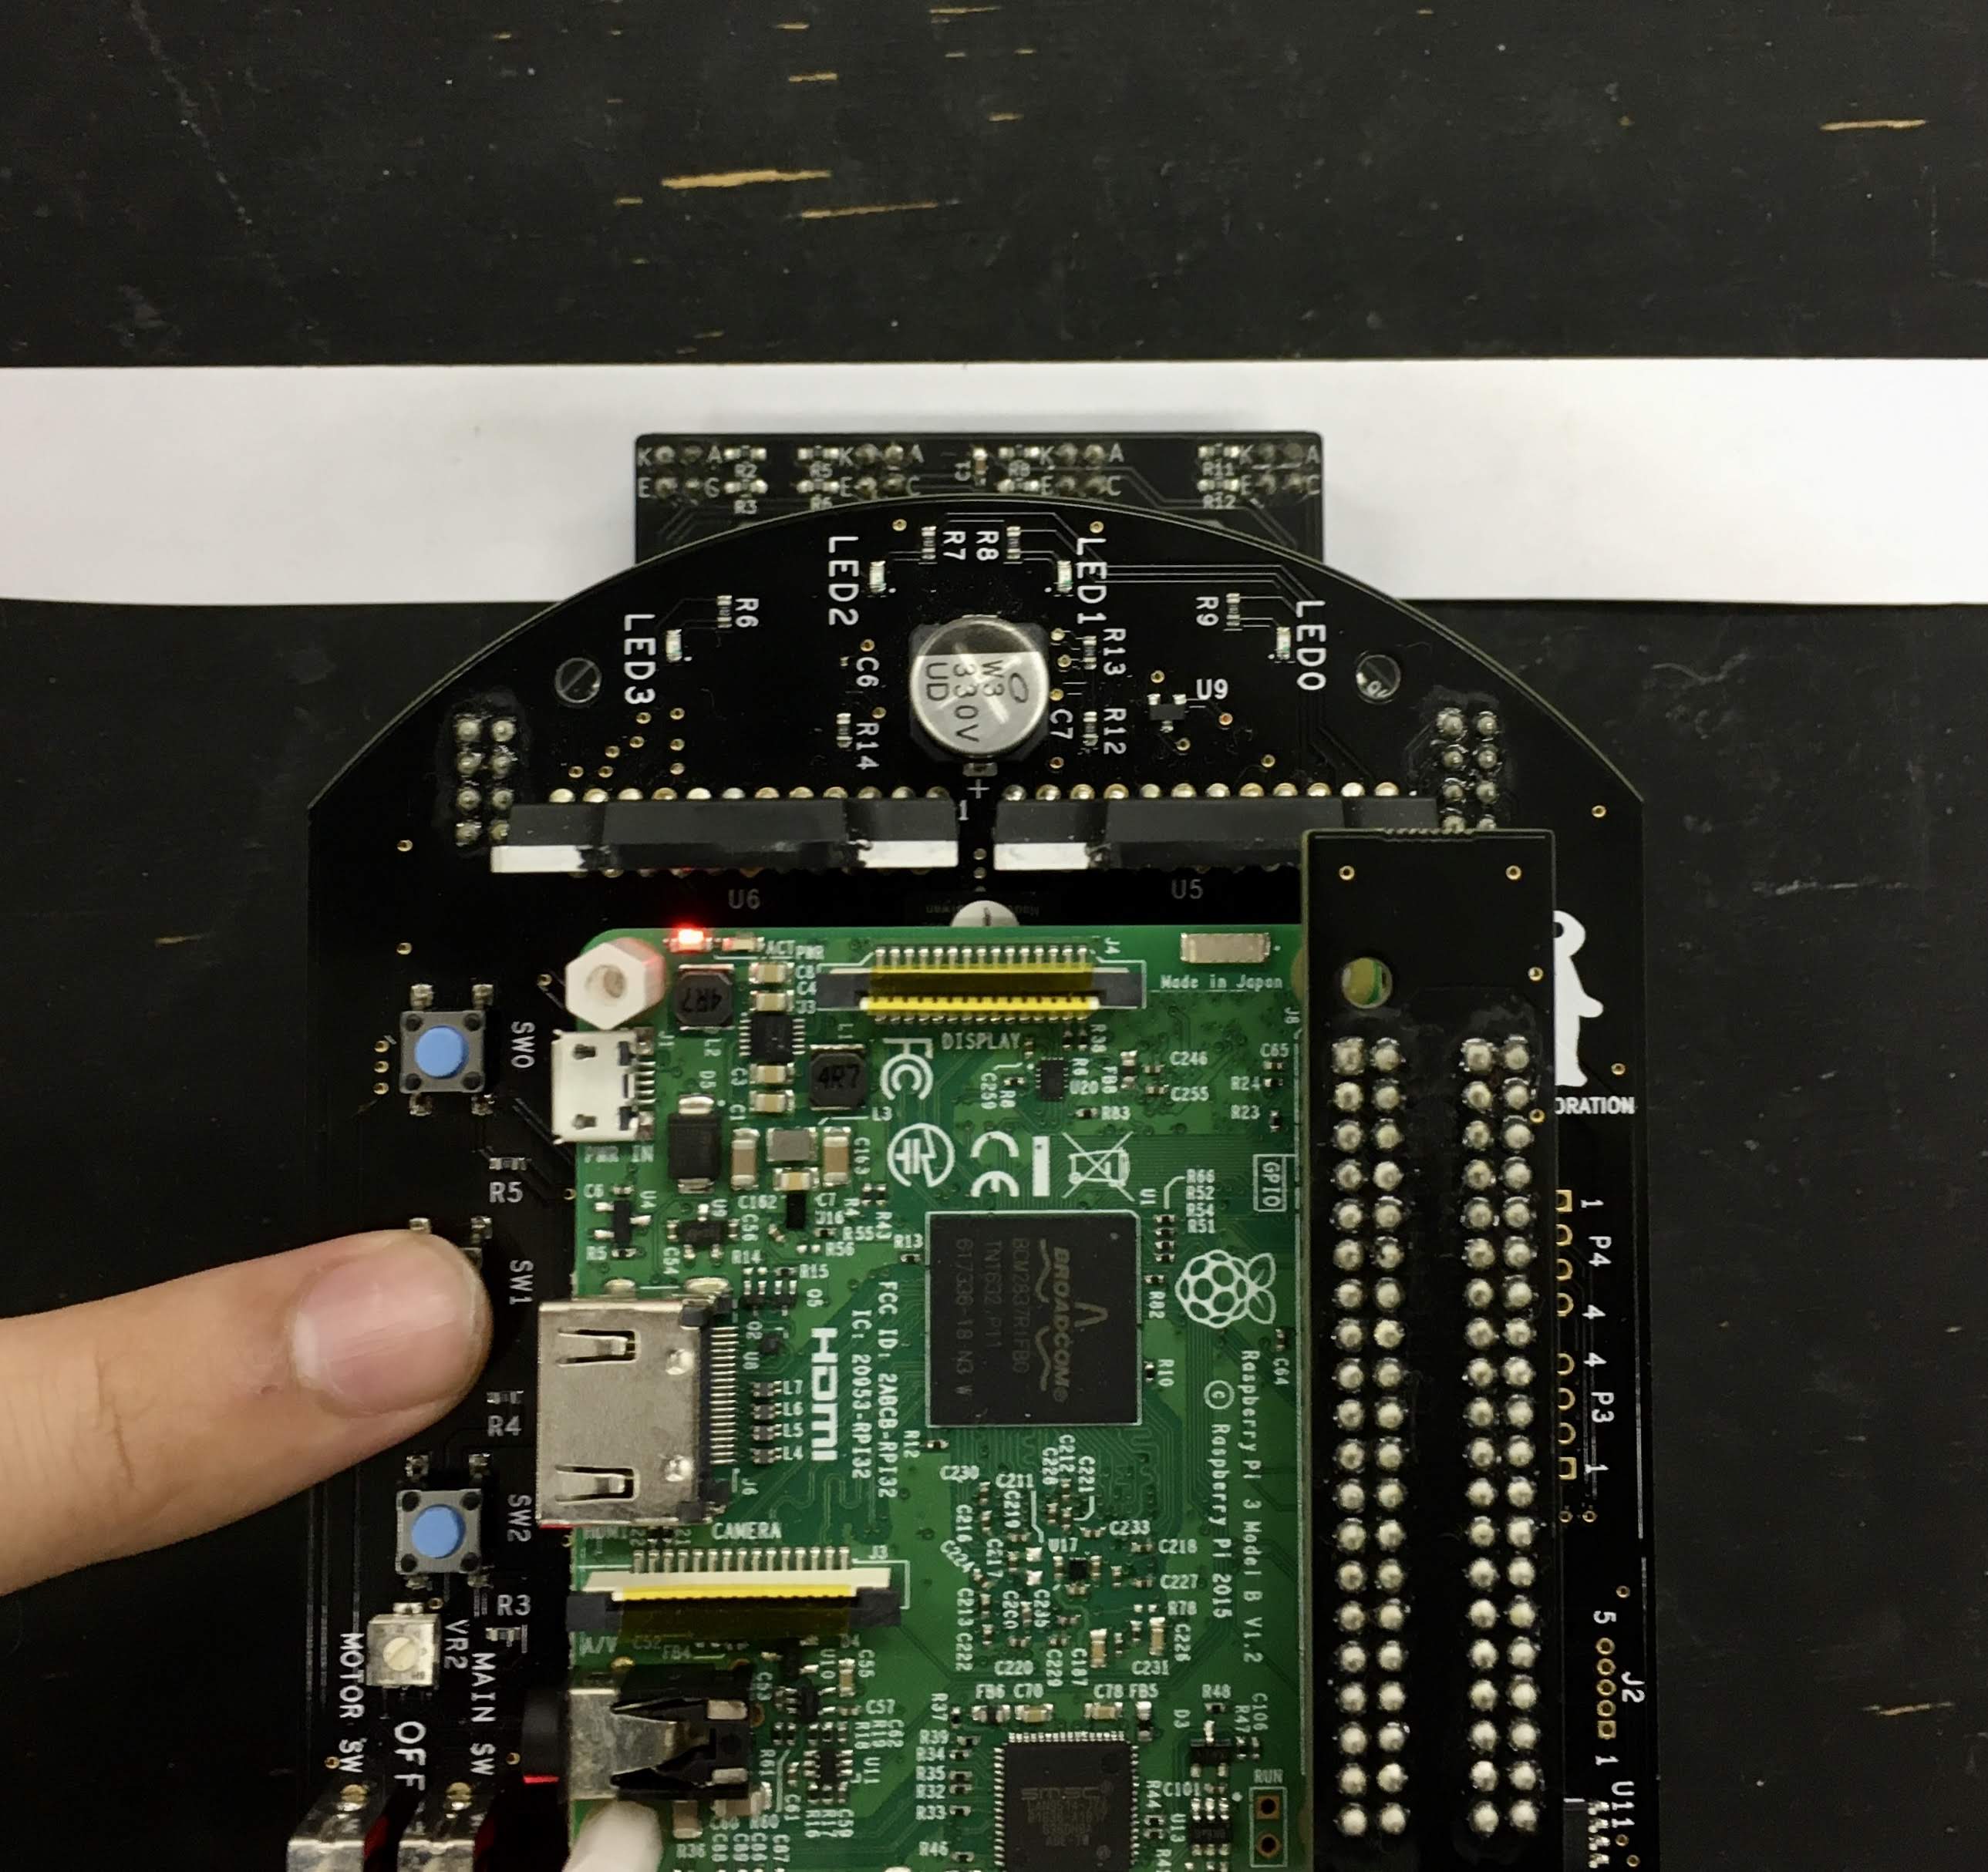
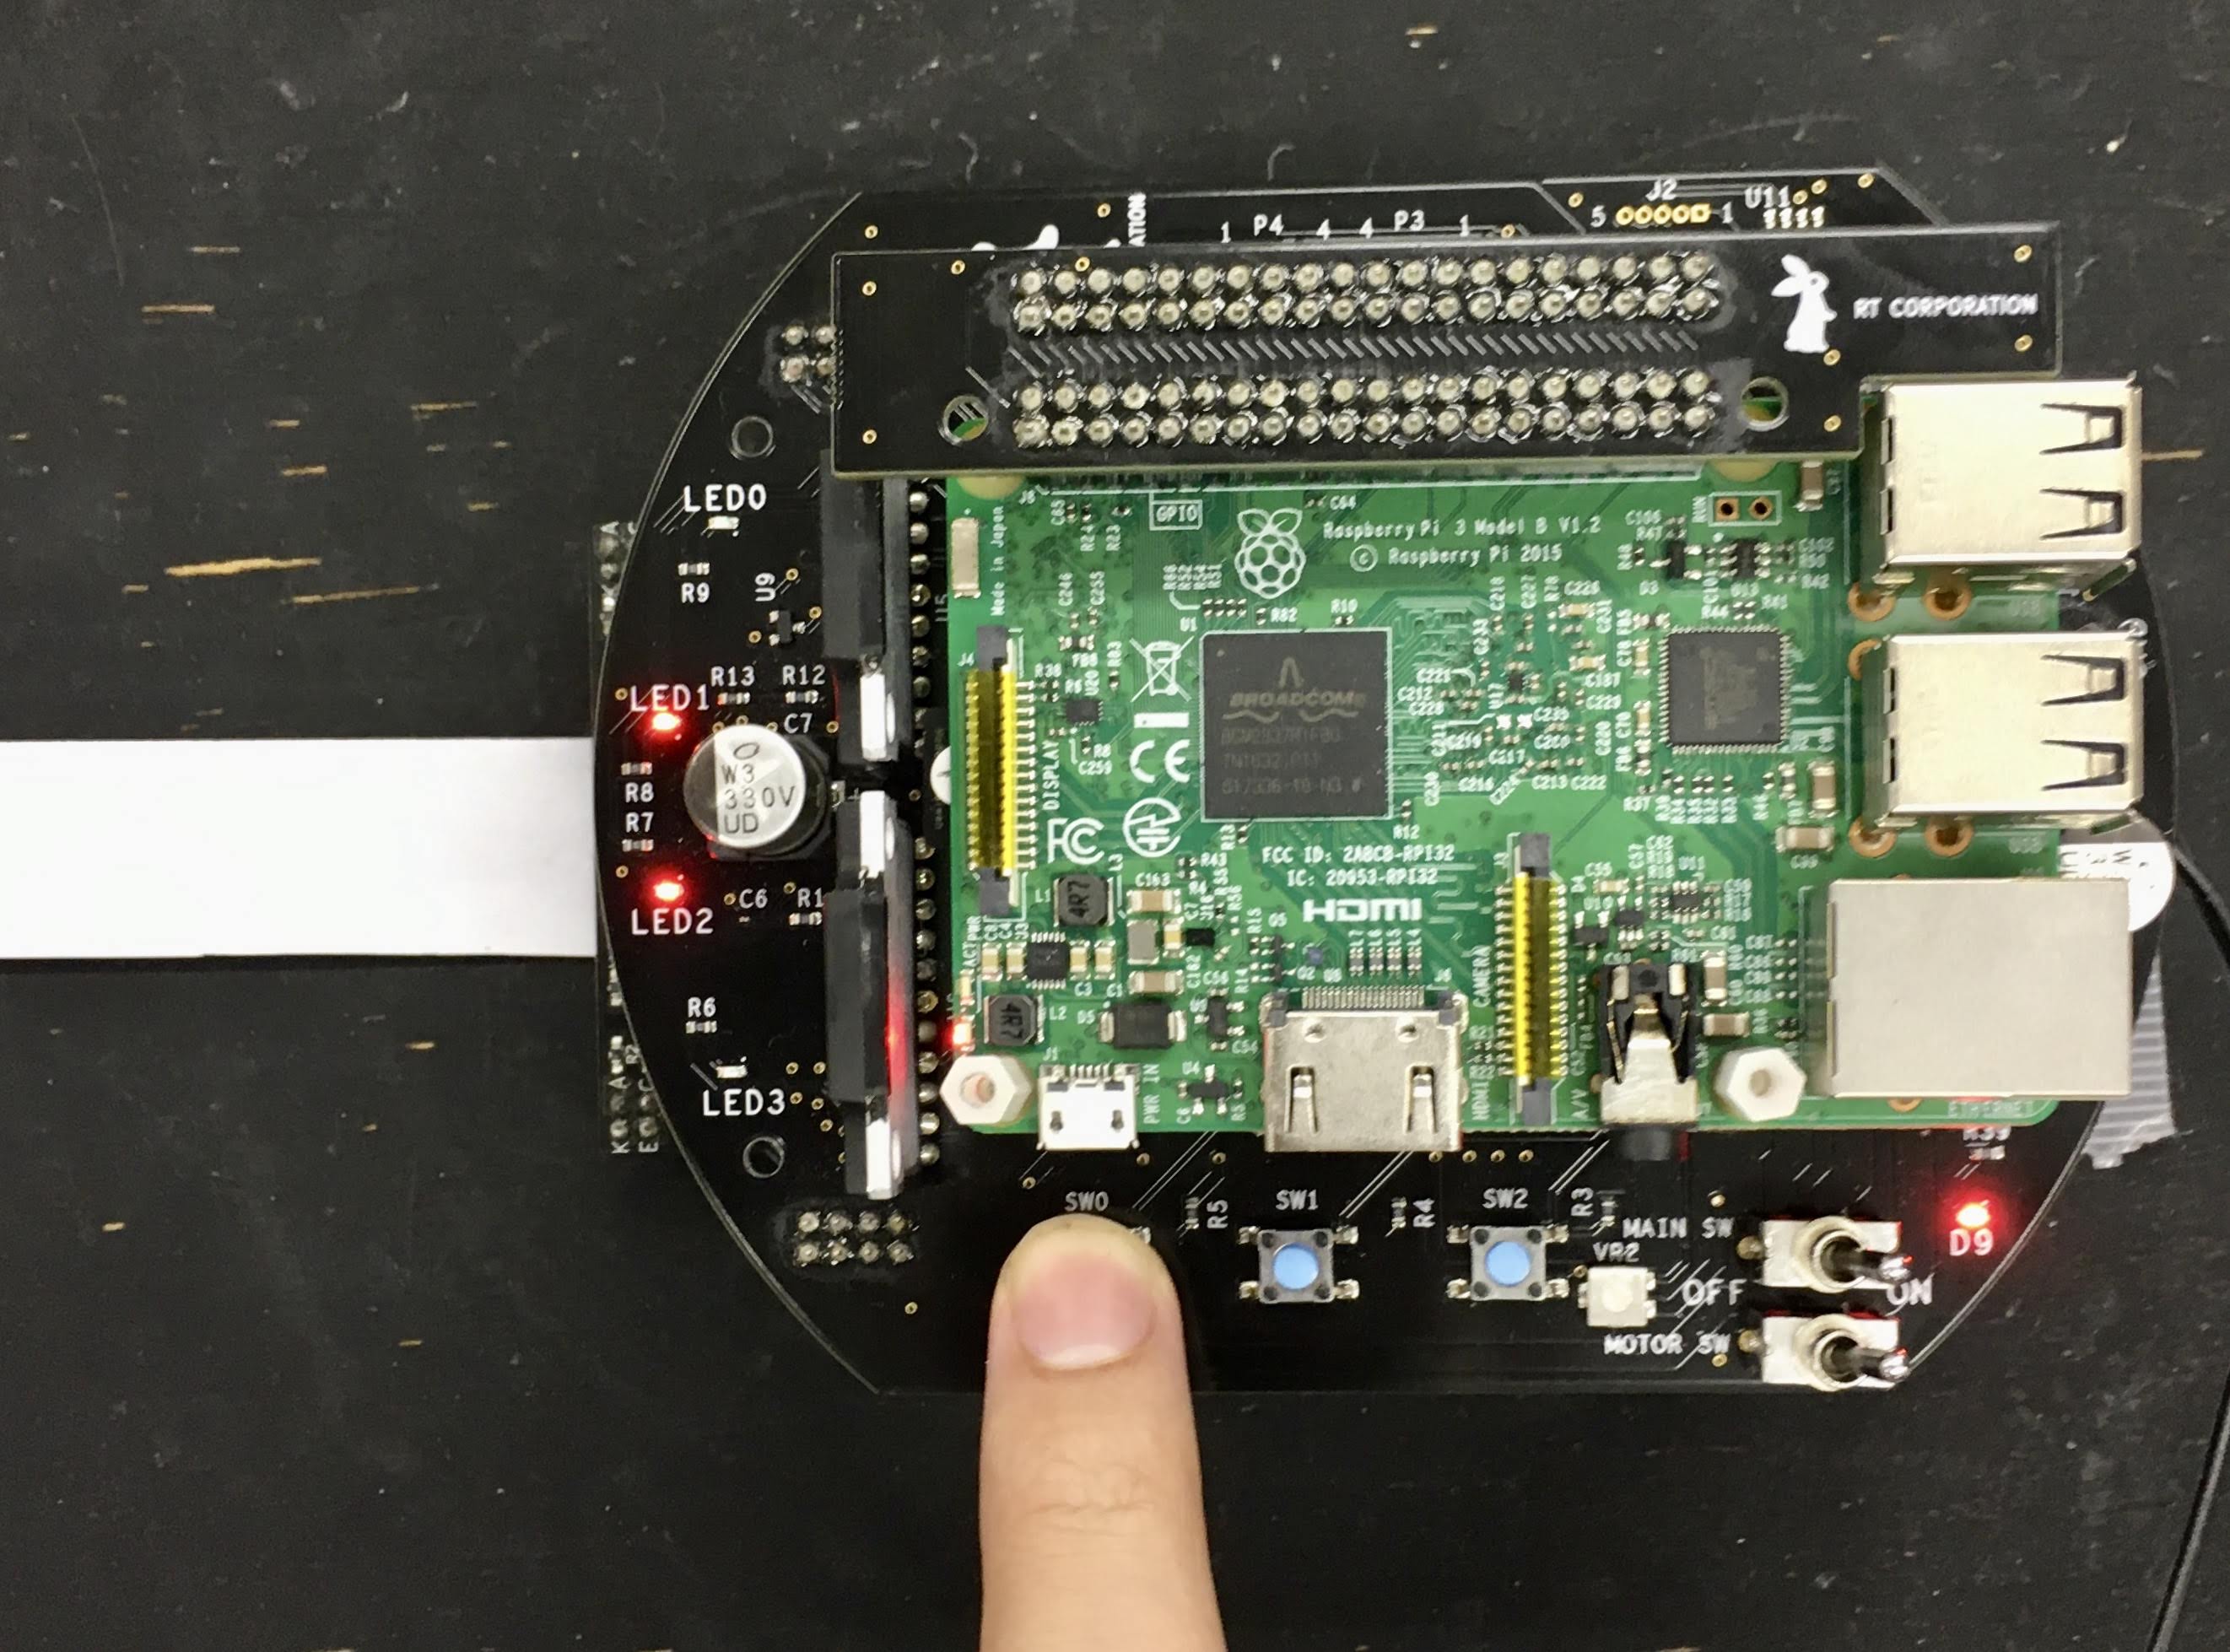
Raspberry Pi Mouseにライントレースセンサを取り付けます。
次のコマンドでノードを起動します。
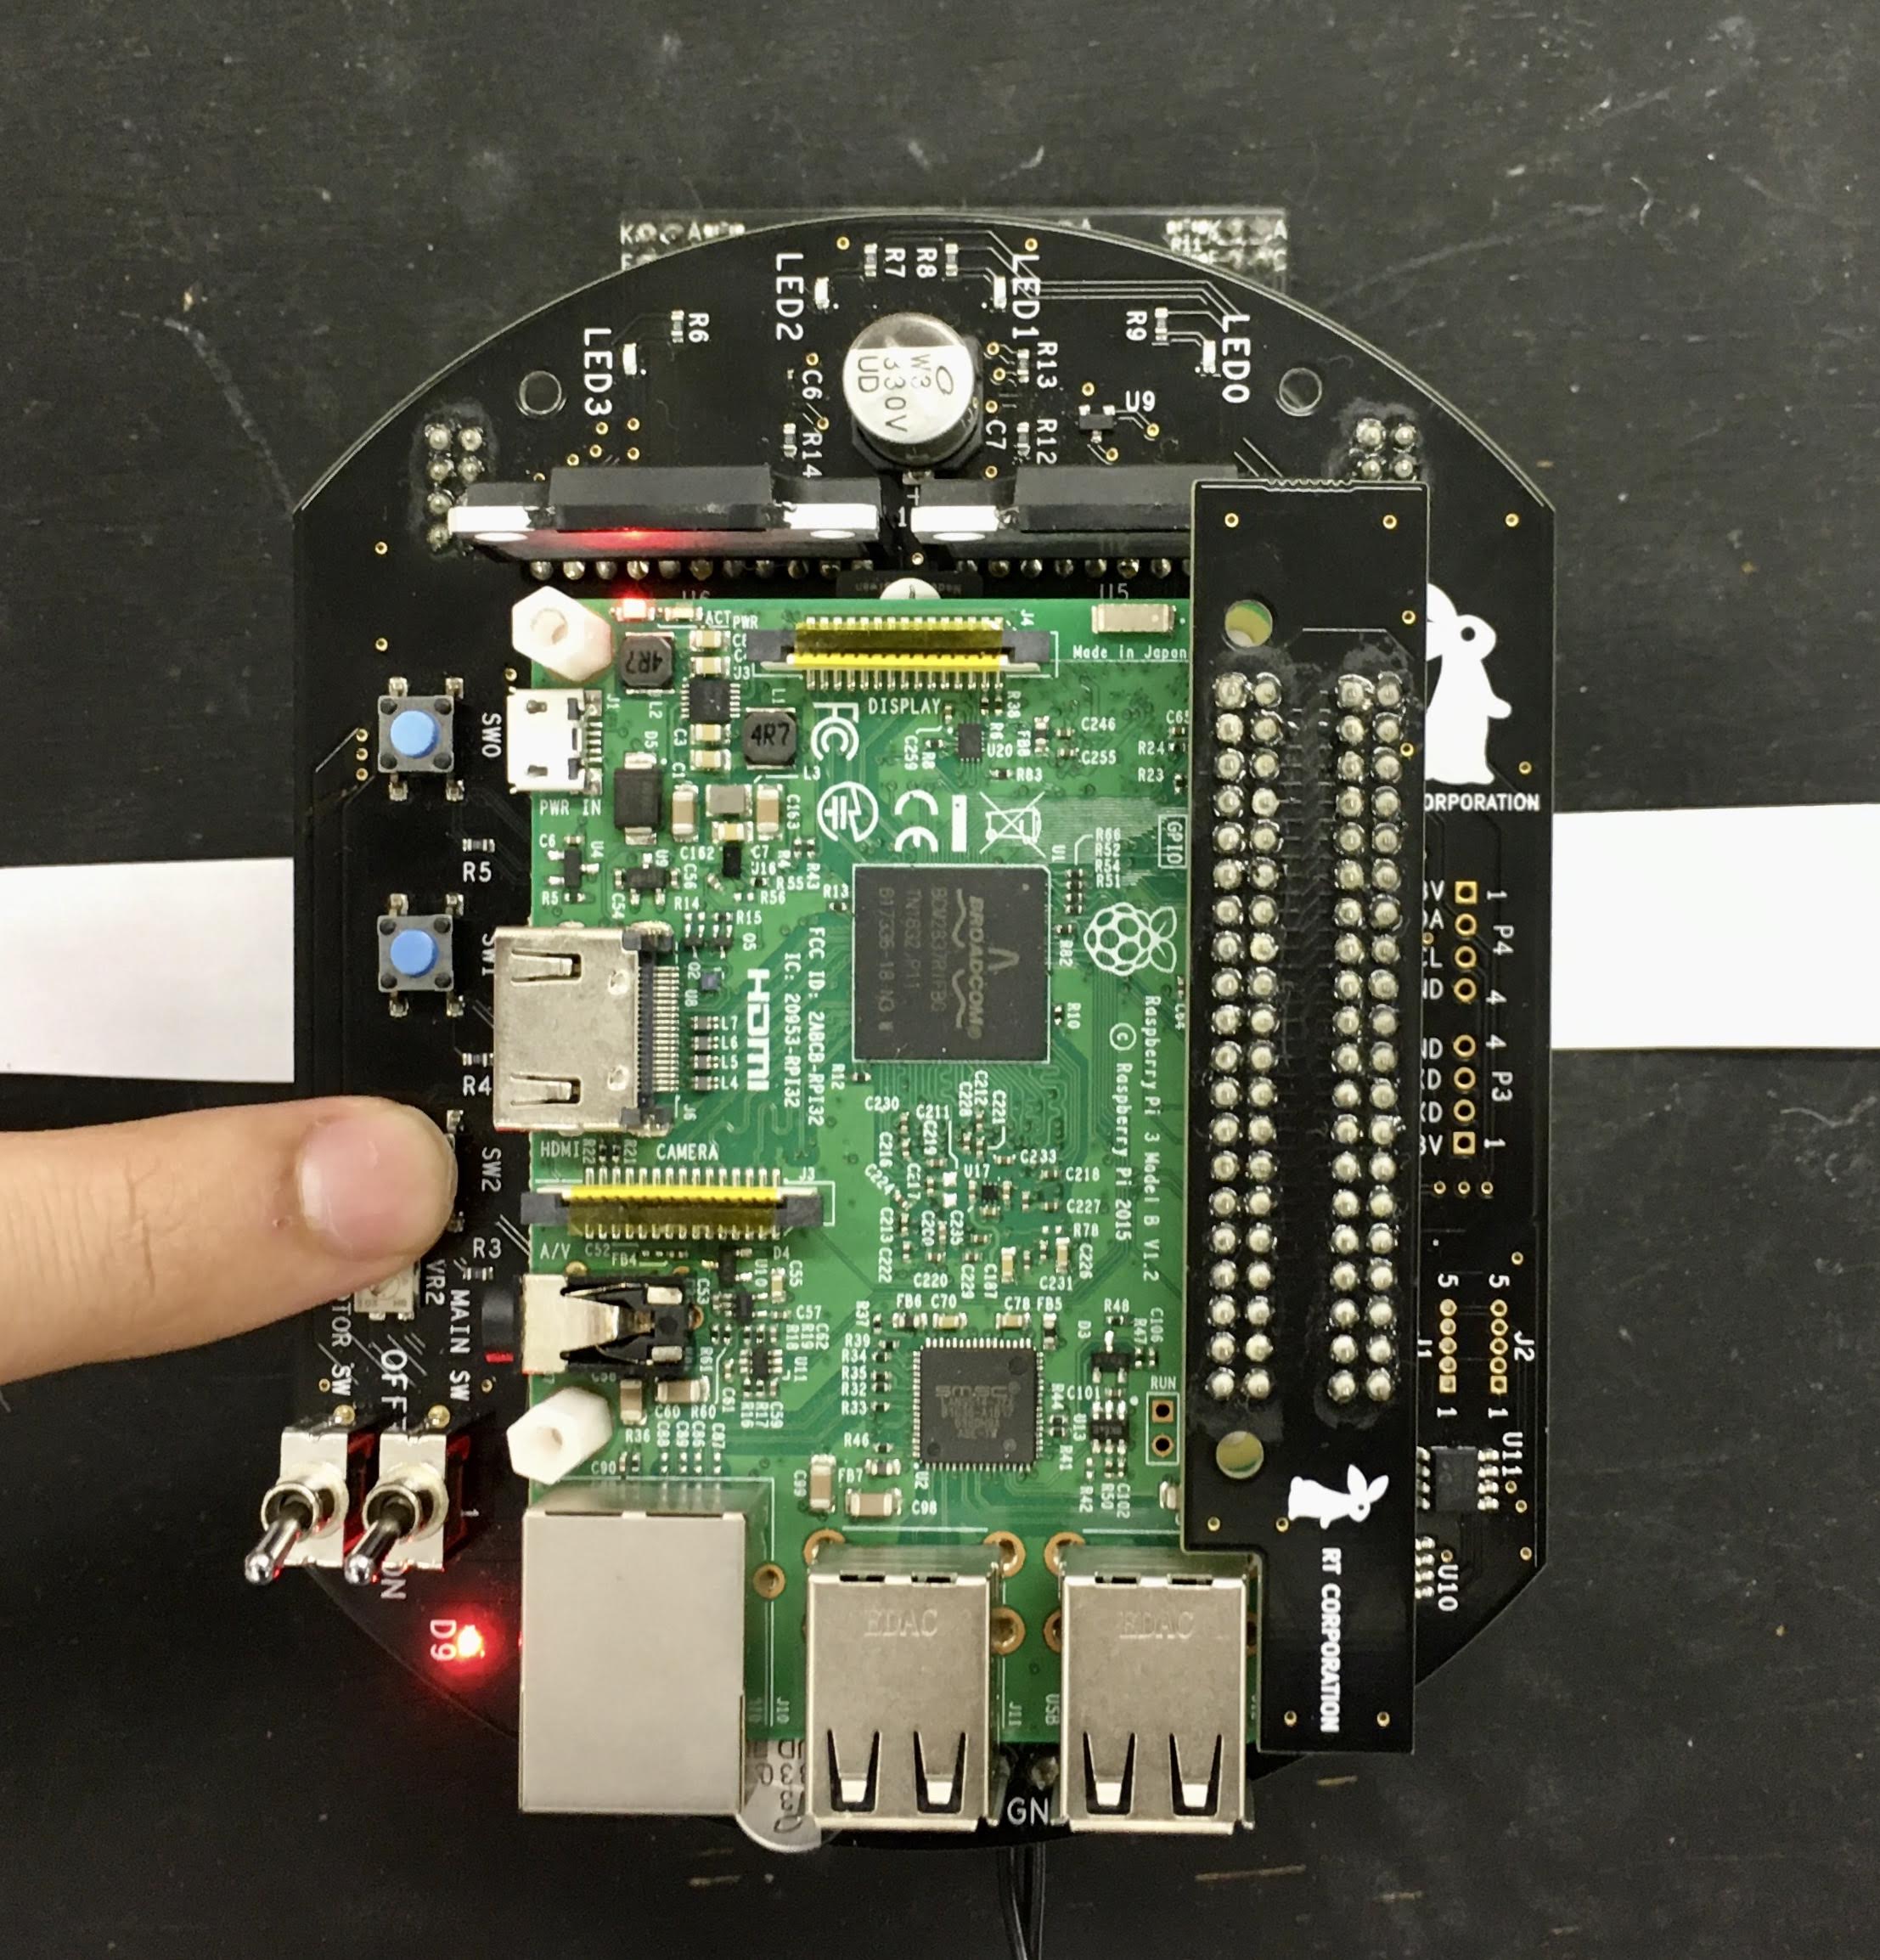
$ ros2 launch raspimouse_ros2_examples line_follower.launch.pyRaspberry Pi Mouseをフィールドに置き、SW2を押してフィールド上のセンサ値をサンプリングします。
次に、センサとラインが重なるようにRaspberry Pi Mouseを置き、SW1を押してライン上のセンサ値をサンプリングします。
最後に、ライン上にRaspberry Pi Mouseを置き、SW0を押してライントレースを開始します。
もう一度SW0を押すとライントレースを停止します。
走行速度を変更するには./src/line_follower_component.cppを編集します。
void Follower::publish_cmdvel_for_line_following(void)
{
  const double VEL_LINEAR_X = 0.08;  // m/s
  const double VEL_ANGULAR_Z = 0.8;  // rad/s
const double LOW_VEL_ANGULAR_Z = 0.5; // rad/sRGBカメラによるライントレースのコード例です。
Raspberry Pi Mouseにカメラマウントを取り付け、WebカメラをRaspberry Piに接続します。
次のコマンドでノードを起動します。
$ ros2 launch raspimouse_ros2_examples camera_line_follower.launch.py video_device:=/dev/video0ライン上にRaspberry Pi Mouseを置き、SW2を押してライントレースを開始します。 停止させる場合はSW0を押します。
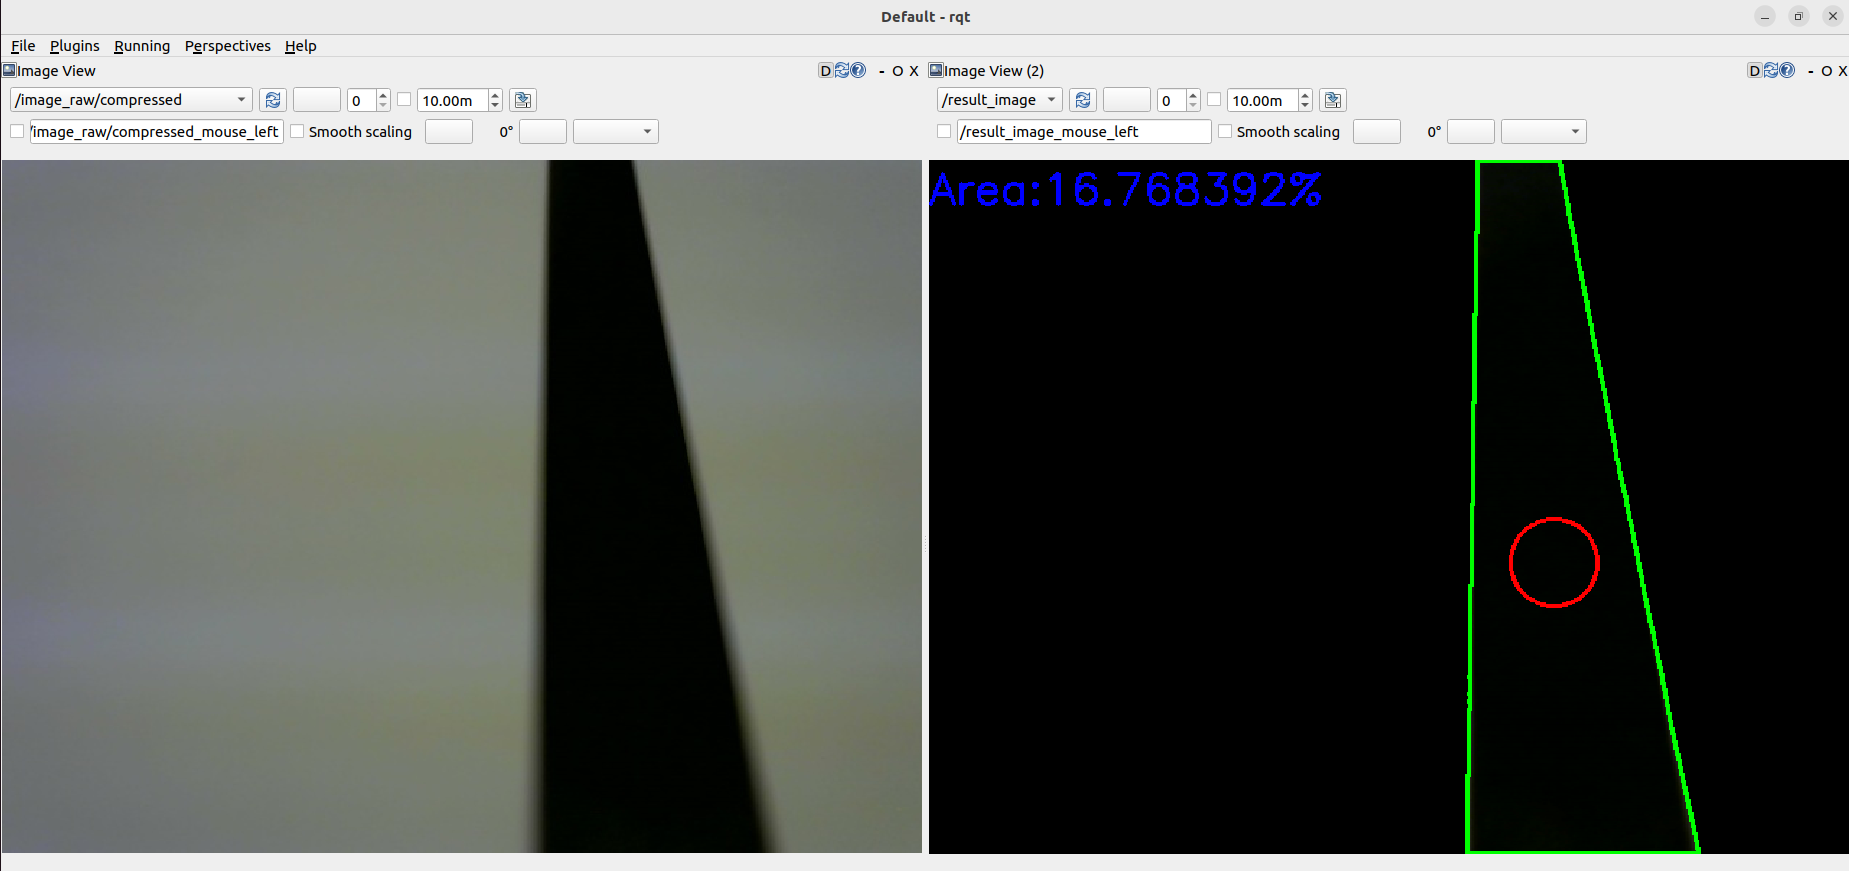
カメラ画像はcamera/color/image_raw、物体検出画像はresult_imageというトピックとして発行されます。
これらの画像はRViz
やrqt_image_view
で表示できます。
画像を表示するとノードの動作が不安定になり、cmd_velや画像トピックが発行されないことがあります。
max_brightness- Type:
int - Default: 90
- 画像の2値化のしきい値の最大値
- Type:
min_brightness- Type:
int - Default: 0
- 画像の2値化のしきい値の最小値
- Type:
max_linear_vel- Type:
double - Default: 0.05
- 直進速度の最大値
- Type:
max_angular_vel- Type:
double - Default: 0.8
- 旋回速度の最大値
- Type:
area_threthold- Type:
double - Default: 0.20
- 走行を開始するためのライン面積のしきい値
- Type:
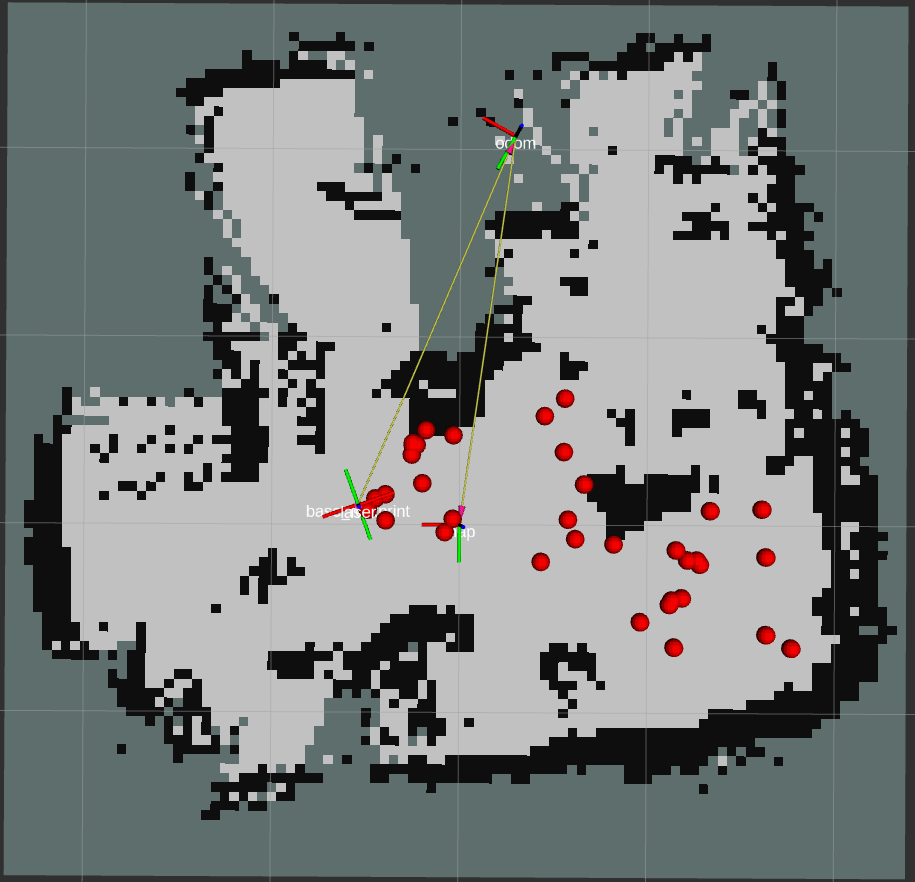
ros2 param set /camera_follower max_brightness 80Raspberry Pi MouseでSLAMとNavigationを行うサンプルはrt-net/raspimouse_slam_navigation_ros2へ移行しました。
IMUセンサを使用した角度制御のコード例です。
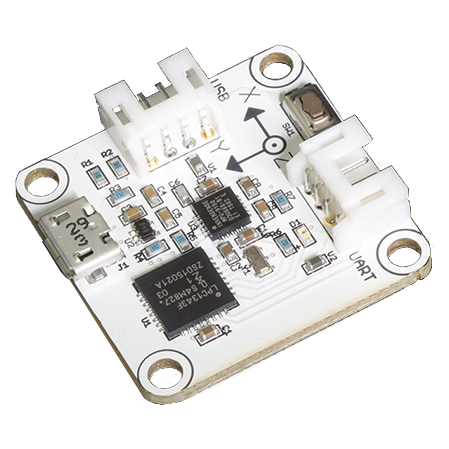
- USB出力9軸IMUセンサモジュール
- LiDAR Mount (Raspberry Pi Mouse オプションキットNo.8 [マルチLiDARマウント])
- RT-USB-9axisIMU ROS Package
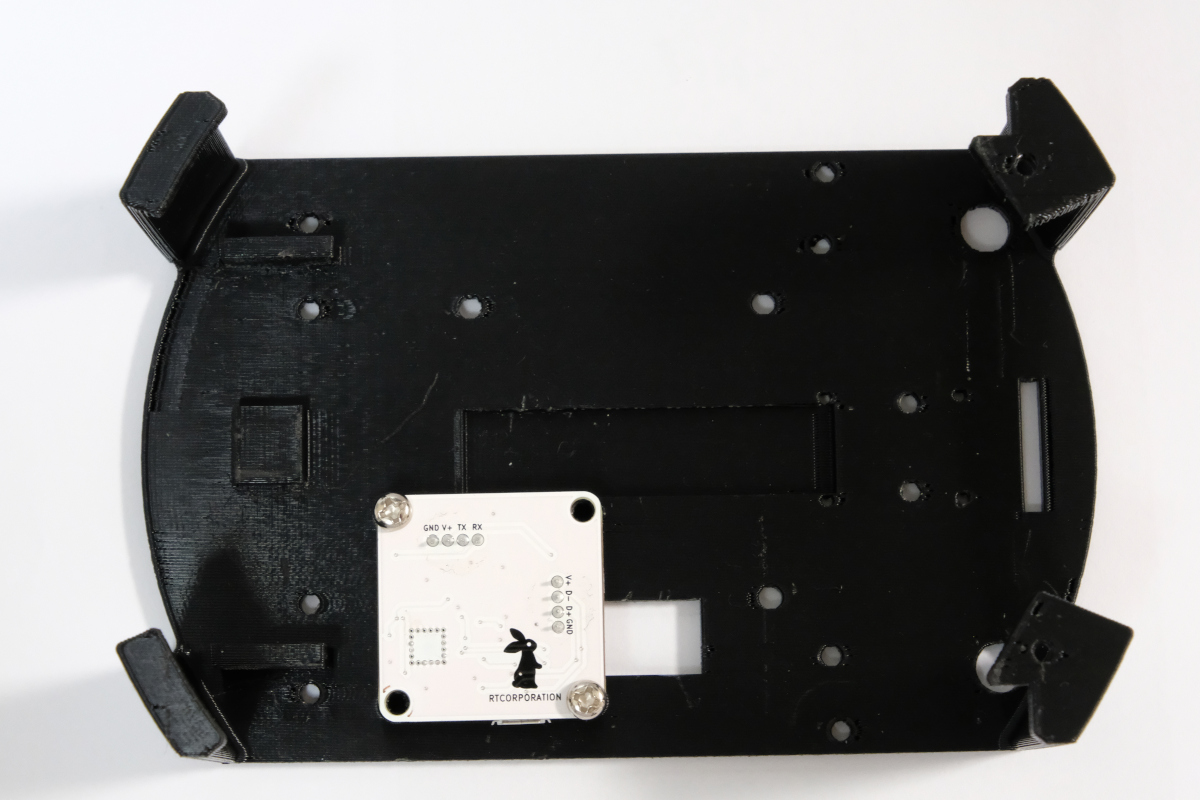
LiDAR MountにIMUセンサモジュールを取り付けます。
Raspberry Pi Mouse にLiDAR Mountを取り付けます。
次のコマンドでノードを起動します。
$ ros2 launch raspimouse_ros2_examples direction_controller.launch.pySW0 ~ SW2を押して動作モードを切り替えます。
- SW0: ジャイロセンサのバイアスをキャリブレーションし、ラズパイマウスの方位角を
0 radにリセットします - SW1: 方位角を
0 radに維持する角度制御を開始します- SW0 ~ SW2を押すか、ラズパイマウス本体を横に傾けると終了します
- SW2: 方位角を
-π ~ π radに変化させる角度制御を開始します- SW0 ~ SW2を押すか、ラズパイマウス本体を横に傾けると終了します
IMUの接続が正常に行われない場合があります。
その時は、IMUのUSBケーブルを抜き差ししてください。
抜き差し実施後は、コマンドを再度実行してください。
パラメータで角度制御に使うPIDゲインを変更できます。
$ ros2 param set /direction_controller p_gain 10.0
Set parameter successful

$ ros2 param set /direction_controller i_gain 0.5
Set parameter successful

$ ros2 param set /direction_controller d_gain 0.0
Set parameter successful- p_gain
- Proportional gain of a PID controller for the direction control
- default: 10.0, min:0.0, max:30.0
- type: double
- i_gain
- Integral gain of a PID controller for the direction control
- default: 0.0, min:0.0, max:5.0
- type: double
- d_gain
- Derivative gain of a PID controller for the direction control
- default: 20.0, min:0.0, max:30.0
- type: double
- target_angle
- Target angle for the SW1 control mode.
- default: 0.0, min:-π, max:+π
- type: double
- heading_angle
- Heading angle of the robot that calculated from the IMU module sensor values.
- type: std_msgs/Float64
